
On this page
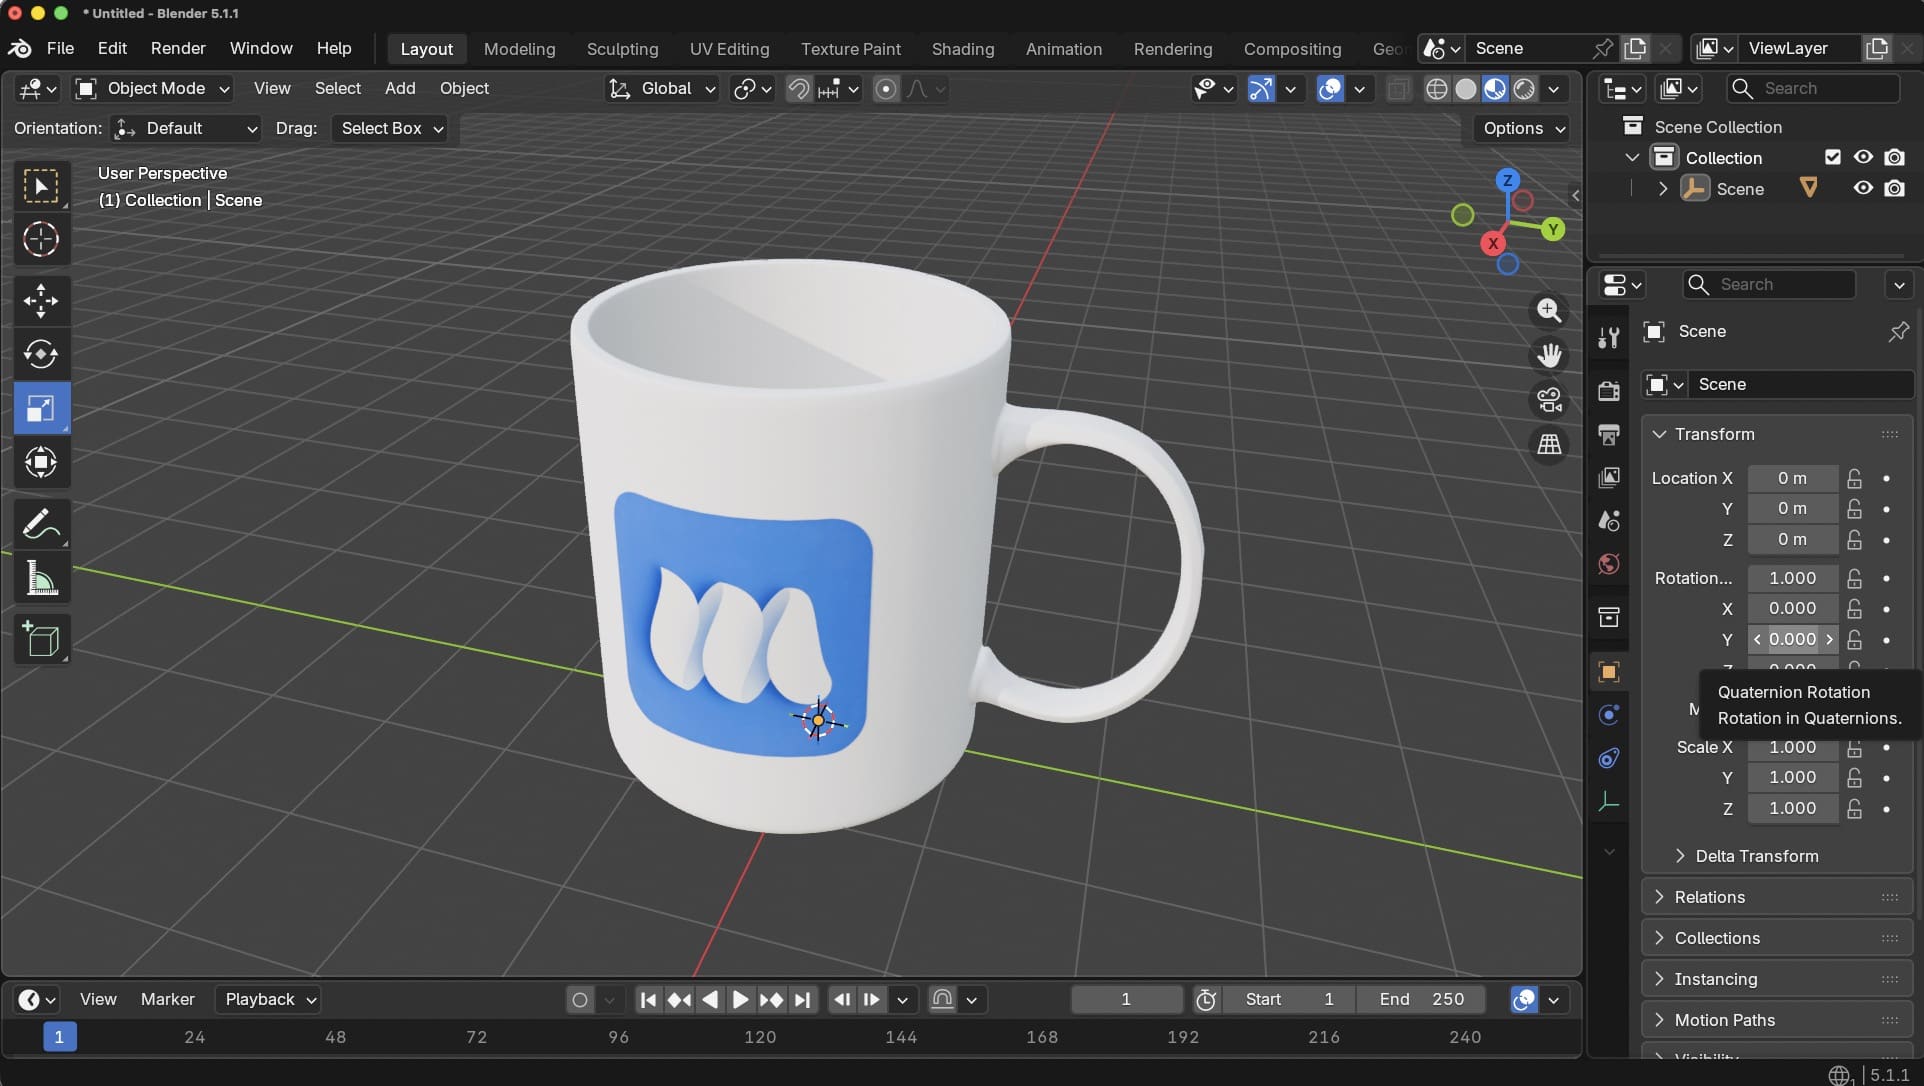
You have a logo, a label, or an image you want to see on a real product.
How will it look around a cup, across a box, or on the front of a bottle?
With Mockaps, you can put your artwork on an editable 3D model online and check it from different angles as you work.
In this guide, we’ll add a logo to a paper cup, adjust its placement, and download the finished mockup.
The quick version: choose a template, open Add artwork, upload your image, position it on the design surface, and check the 3D preview before exporting.
Before you start
Have your logo or image ready as a PNG, JPG, SVG, or PDF.
For a logo without a background, a transparent PNG is a useful starting point.
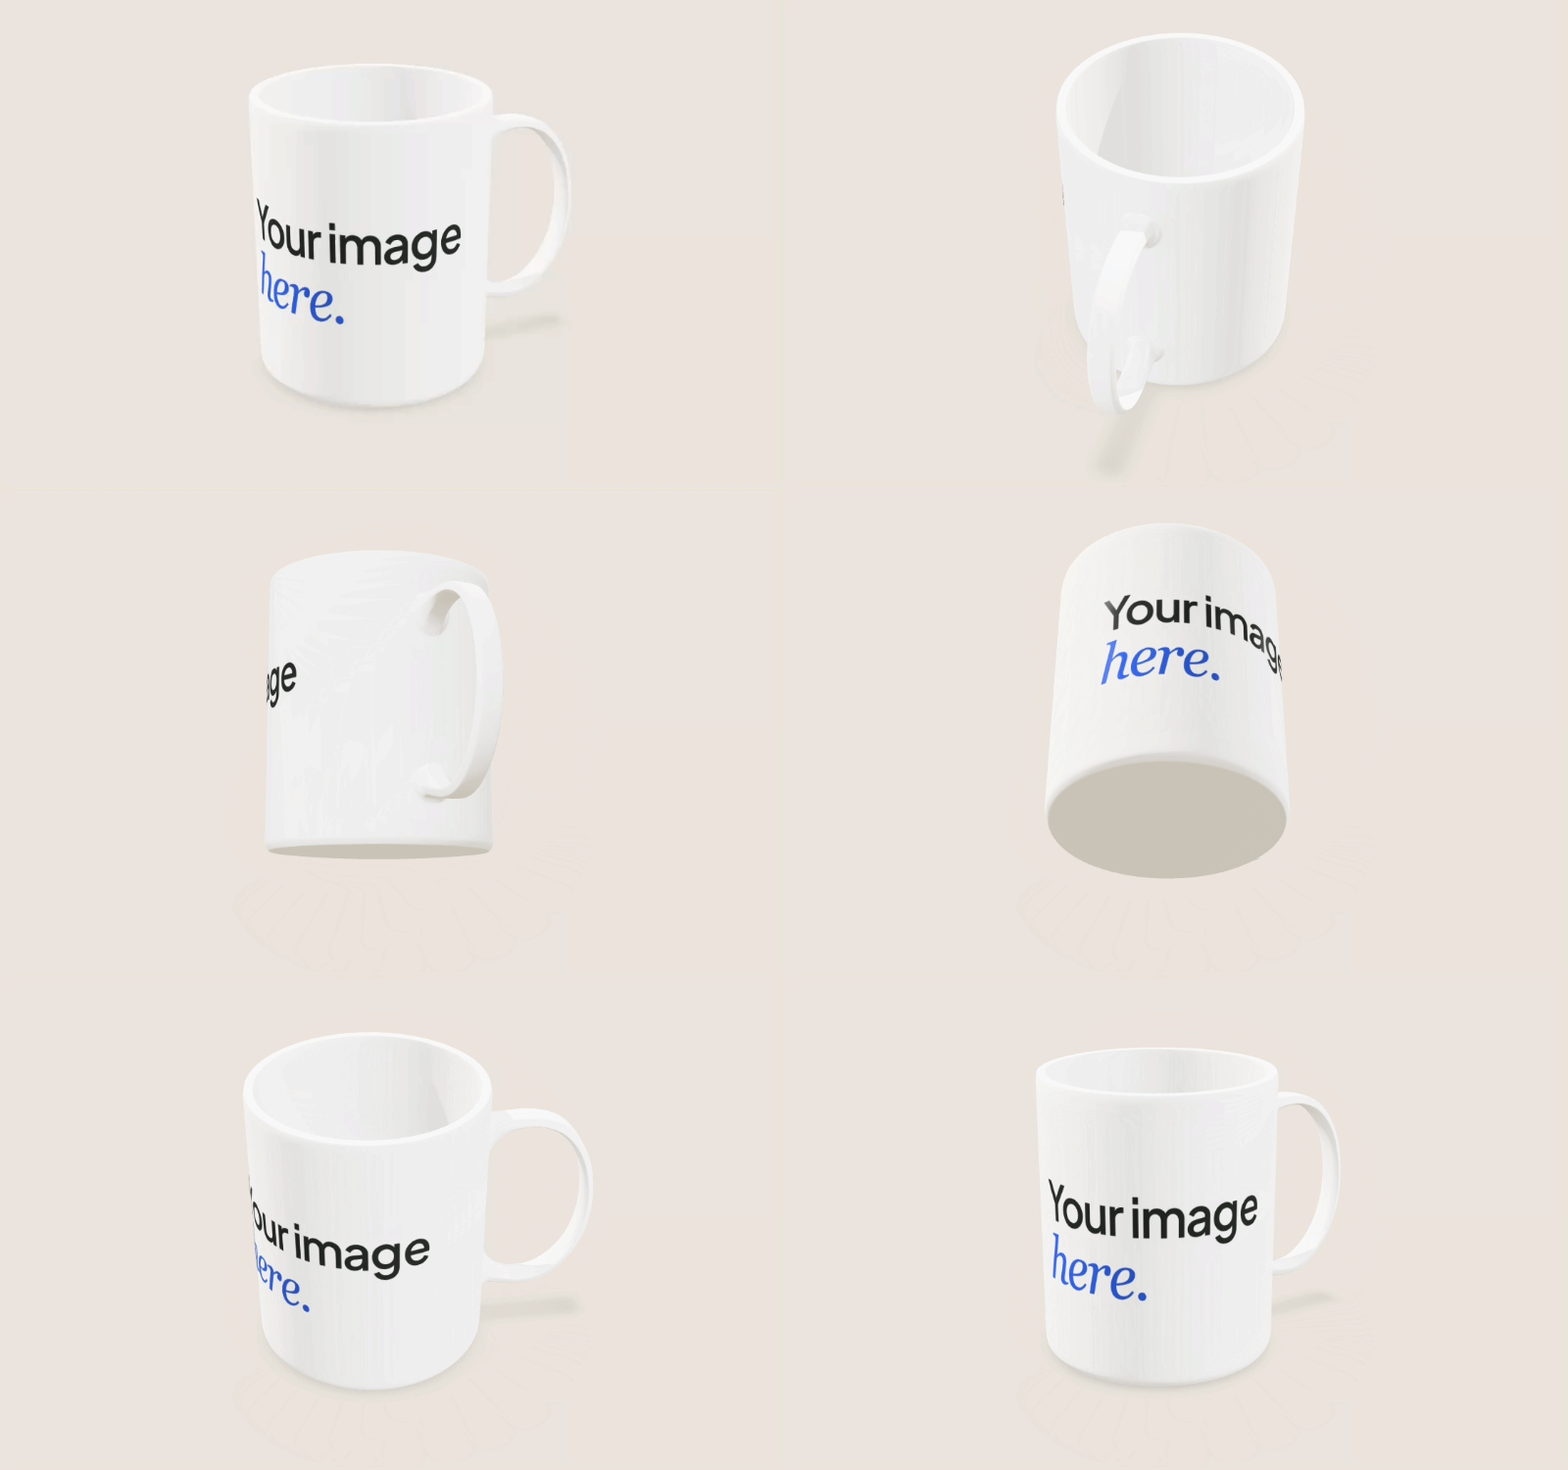
Meanwhile, a JPG works well for a photograph or artwork that already includes its own background.
Choose a clear source file with enough detail for the size you want to show.
Making a small, blurry image larger will not restore the missing detail.
This workflow uses a model from the Mockaps template library, with prepared surfaces for your artwork.
Your image becomes part of the model’s appearance; uploading a product photo does not automatically build a new 3D shape from it.
1. Choose a model that fits your design
First, open the 3D Mockup to follow along.
You can choose any product from the library, such as a box, bottle, book or business card.
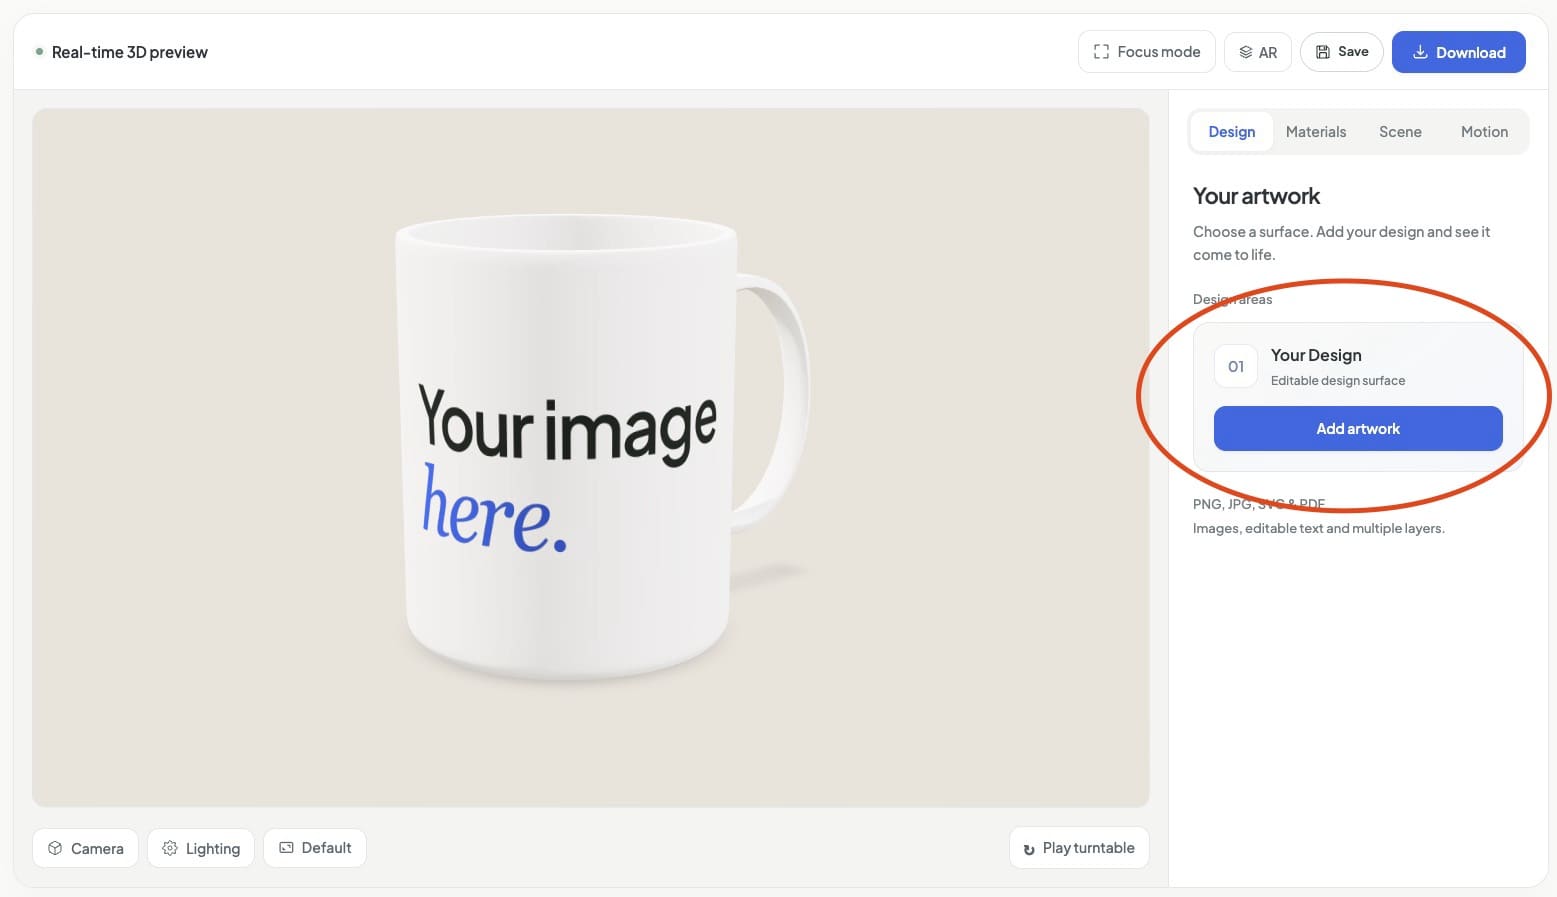
Look for a shape and an editable surface that suit your artwork.
For example, a small logo needs space to breathe, while a full packaging design may need separate front, back, and side areas.
Wait for the model to load, then take a moment to look around the preview.
If your product has a different shape or needs an exact dieline, explore custom mockup creation before trying to force the artwork onto an unsuitable template.
2. Open the surface you want to edit
Next, select the Design tab beside the 3D preview.
Under Your artwork, you’ll see the template’s available design areas.
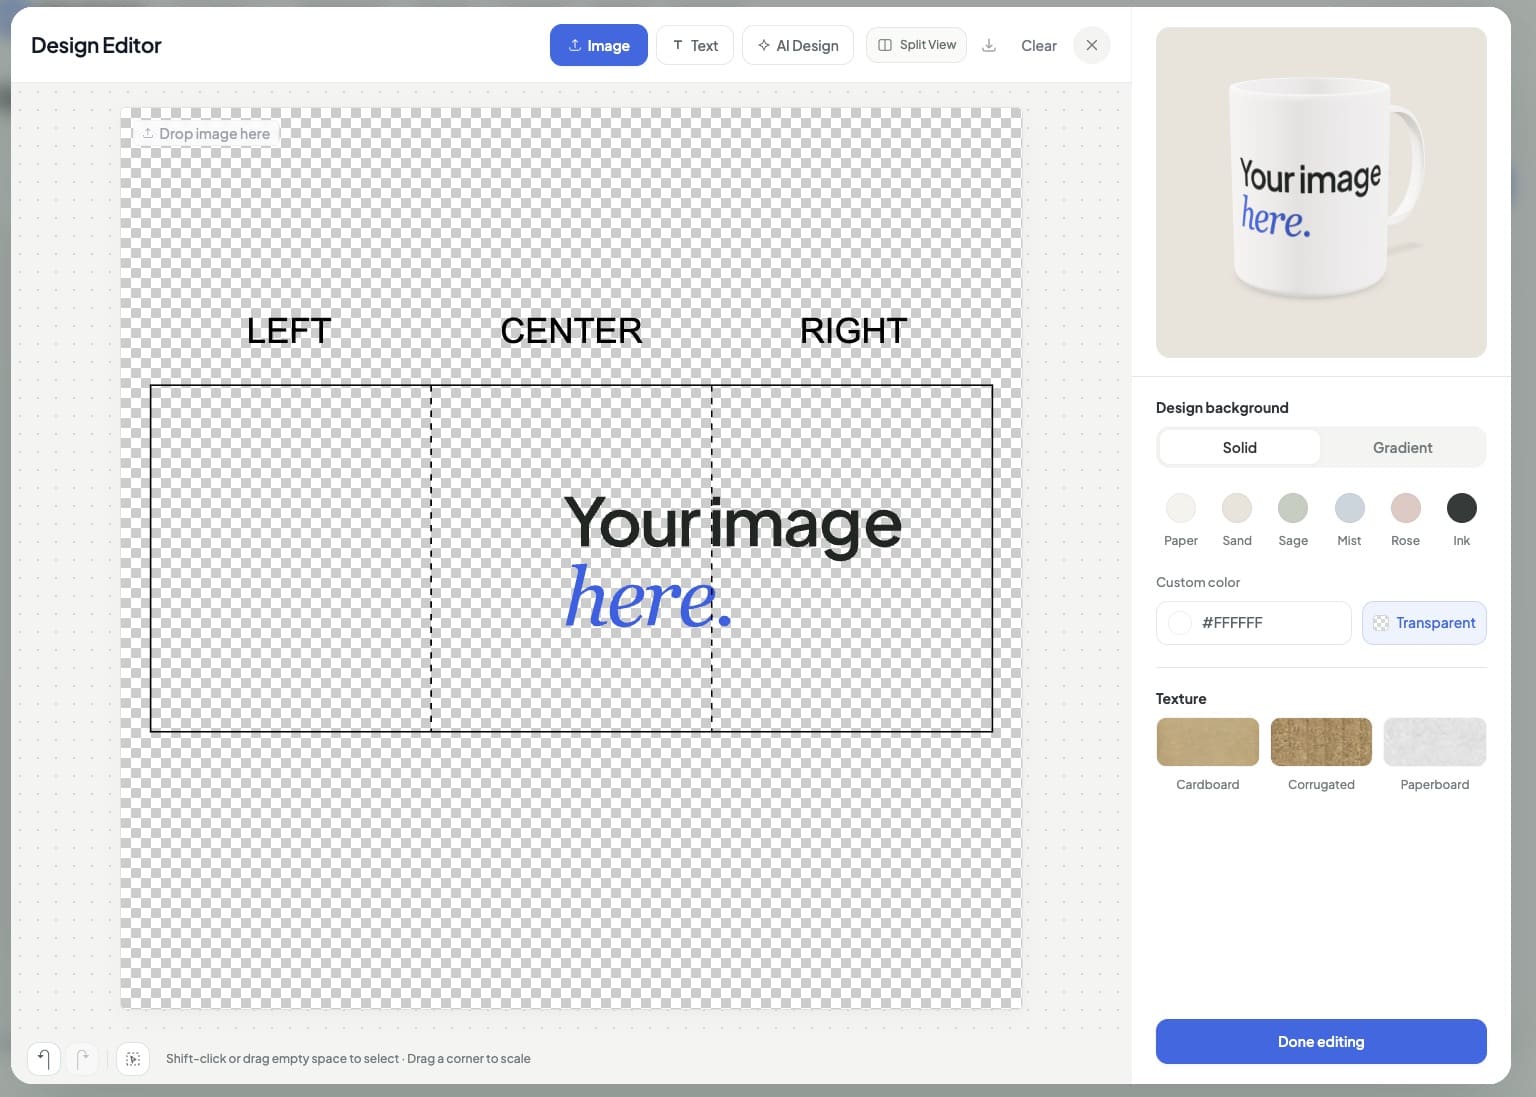
On the paper cup, choose Add artwork for the Front area.
This opens the Design Editor, where you work on a flat layout that maps onto the 3D surface.
Think of this layout as the artwork before it wraps around the product.
Other templates may offer several areas, so choose the one you want to change before uploading.
3. Upload your logo or image
Now, drag your file into the area marked Drop image here.
Alternatively, use Add image to choose a file from your device.
Once the artwork appears, select it on the canvas.
If your logo has a white rectangle around it, check the original file.
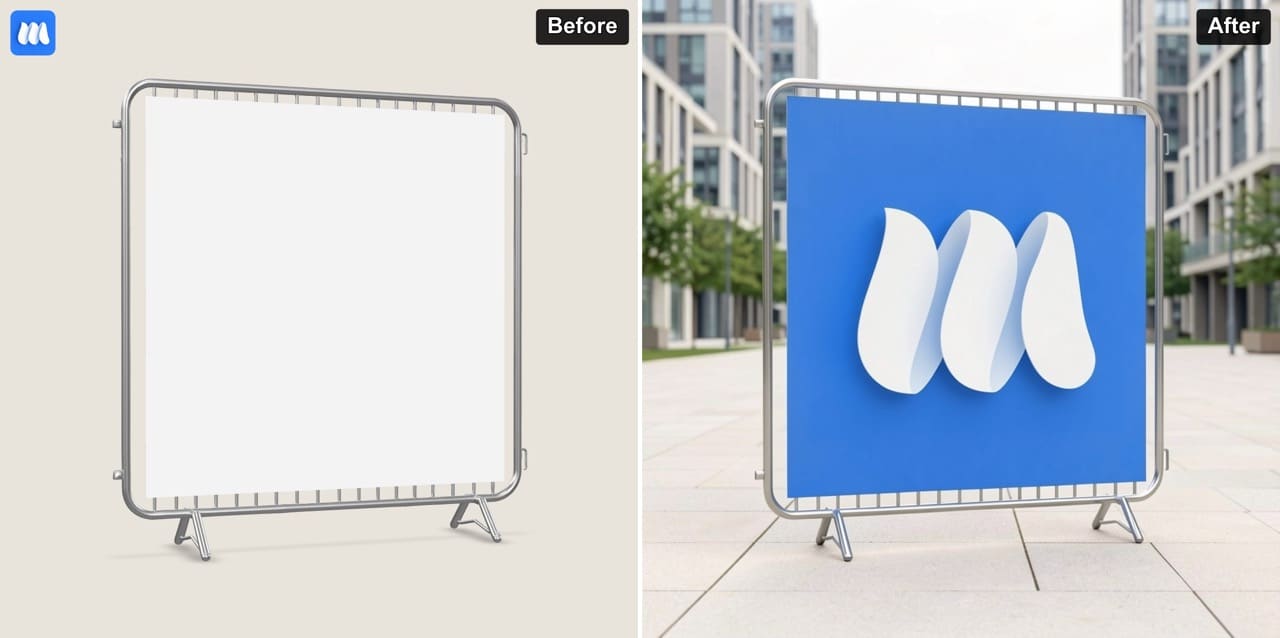
A white background saved inside a JPG is part of that image, so use a version with transparency if you want only the logo to appear.
You can add more than one image, but start with a single logo while you learn the placement controls.
4. Adjust the size and position
Next, drag the selected artwork to move it across the design canvas.
Drag a corner handle to change its size.
Begin with a modest size and leave space around the logo.
Then use Split View to see the design canvas and 3D preview side by side.
This makes it easier to check how a change on the flat layout looks on the finished product.
For the paper cup, aim to place the logo where it reads clearly from the viewing angle you want to use.
If it wraps too far around the sides, reduce its size and check again.
Use Undo if you move or resize something by mistake.
5. Check the artwork around the model
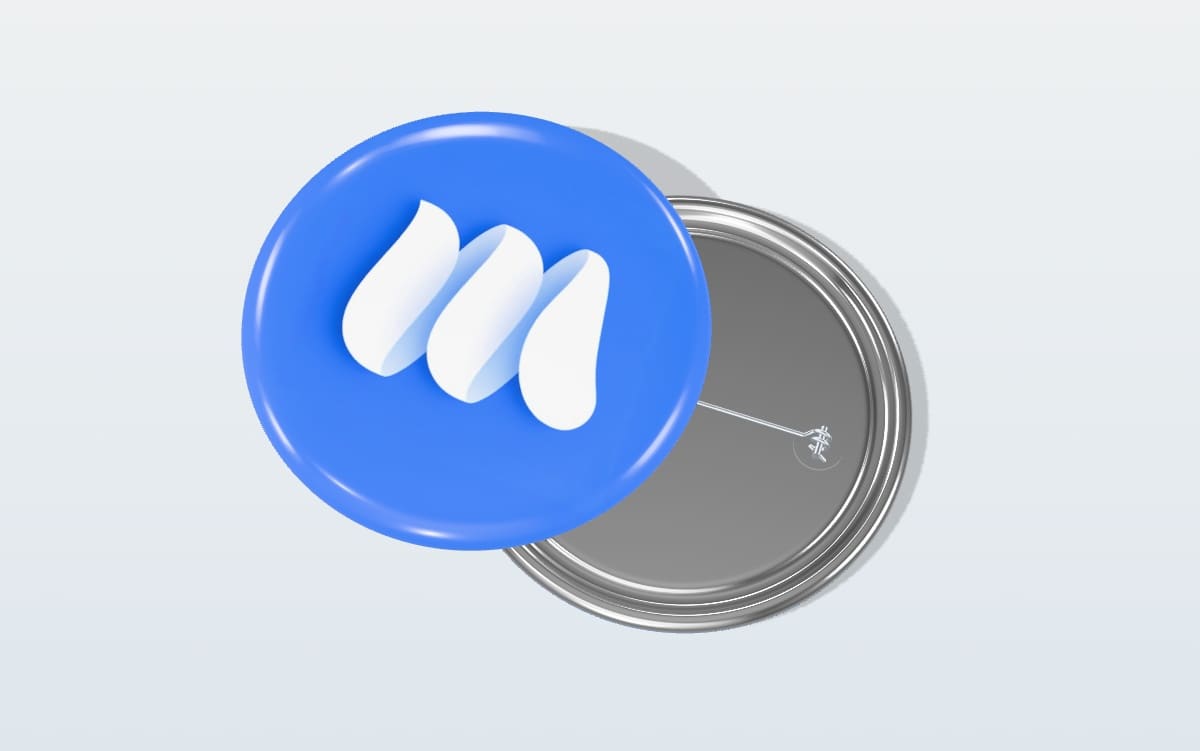
Before choosing your final view, inspect the design from more than one angle.
Use Done editing to return to the studio, then drag inside the 3D preview to rotate the view.
Check the front, sides, and any seams or folds near your artwork.
A logo can look centered on the flat canvas but appear off-center from a particular camera angle.
Similarly, a design that looks good from the front may wrap farther around a curved surface than you expected.
If something looks awkward, reopen Add artwork, make a small adjustment, and check the preview again.
- Can you read the logo and any small text?
- Does an important detail cross a seam, fold, or edge?
- Is the image stretched or cropped where you did not intend it?
- If the template has several design areas, have you checked each one?
6. Set the colors, lighting, and final view
Once the placement works, refine the presentation.
Use Materials to adjust the available model colors and surface settings.
Then use Scene for the scene background and Lighting to compare the available lighting presets.
The design background and scene background do different jobs.
The design background belongs to the artwork surface; the scene background sits behind the whole product.
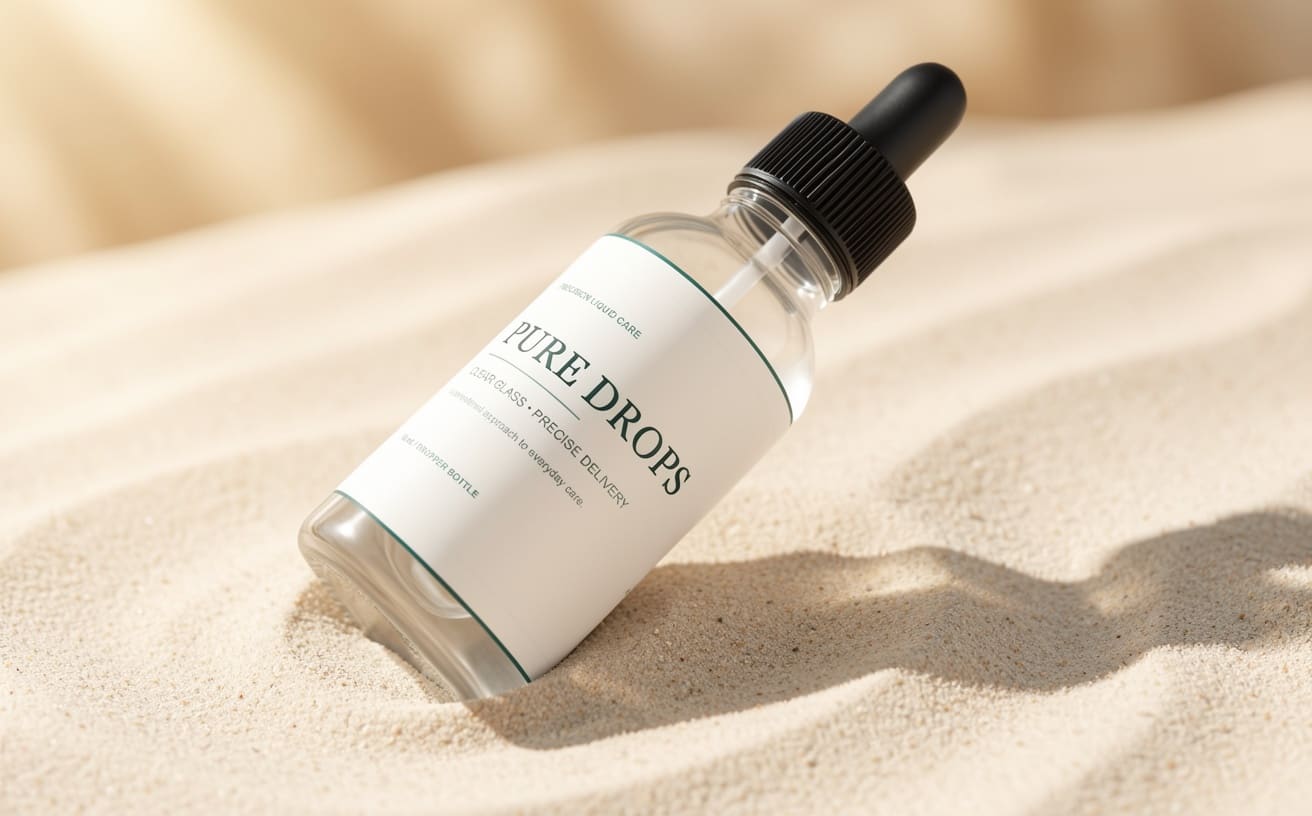
For a first mockup, try a simple background that gives your logo enough contrast.
Finally, choose a view that shows the artwork clearly and leaves some room around the product.
7. Download your finished mockup
When you’re happy with the result, open Download above the 3D preview.
Choose the format for what you want to do next:
- JPG: download an image with the scene background. Standard JPG downloads are free.
- PNG: export with a transparent background for placing the mockup in another layout. This requires Pro.
- GLB: download the customized 3D model with your artwork included.
Higher-resolution image downloads are also included with Pro.
Check the current plans and usage terms for your project; commercial use is included with Pro.
After downloading, open the file and check the logo at the size you plan to use.
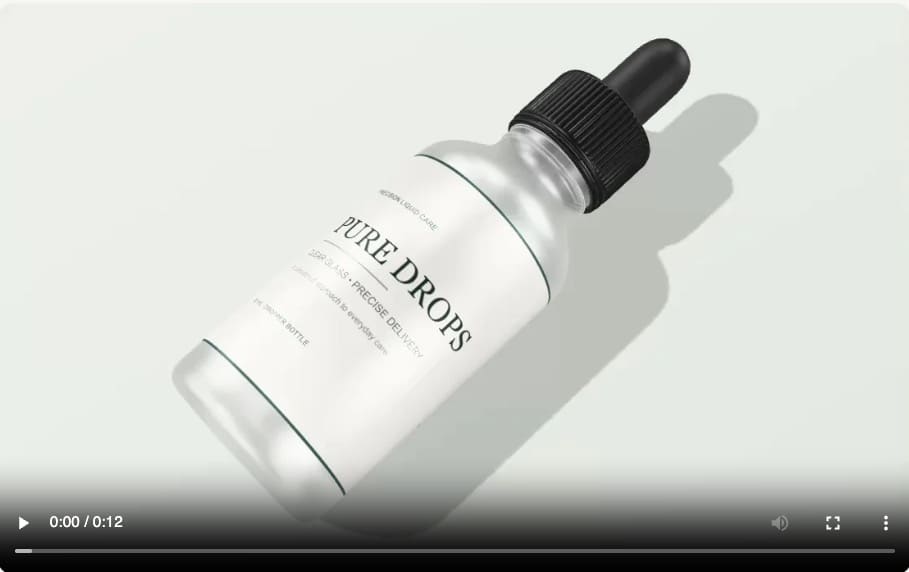
If you want to return to the editable setup later, use Save mockup to your account with Pro before leaving.
Downloading a JPG or PNG gives you a finished image, not an editable saved project.
Common questions
Why does my logo look blurry?
First, check the original file and how much you enlarged it.
Try a higher-quality source, or reduce the logo’s size on the model.
A higher-resolution export can help preserve detail, but it cannot recover detail missing from the original image.
Why does the image look stretched?
A curved or tapered surface changes how flat artwork appears in the 3D view.
Try a smaller design, move important details away from edges, and check several viewing angles.
If the artwork was made for a different product shape, choose a closer template or request a custom model.
Can I upload any 3D model and add a logo?
This guide covers the prepared design surfaces in the Mockaps library.
An unrelated 3D file may need its own texture mapping and editable surfaces before the same workflow will work.
If you already have a model you want to use, get in touch about the setup it needs.
Can I turn the result into a video?
Yes, you can use the same customized mockup as the starting point for an animation.
Next, follow the guide to creating 3D animated mockups to add movement and record a video with Pro.
Or, if you need several product views, learn how to create a mockup pack from one design.
Try it with your own logo
Start with one image and one product.
Place the artwork, check it around the model, and make a few small adjustments until it feels right.
Open the paper cup mockup and add your logo, or find a template for your next idea.
KEEP EXPLORING
Need a hand with this guide? Ask a question ↗