
On this page
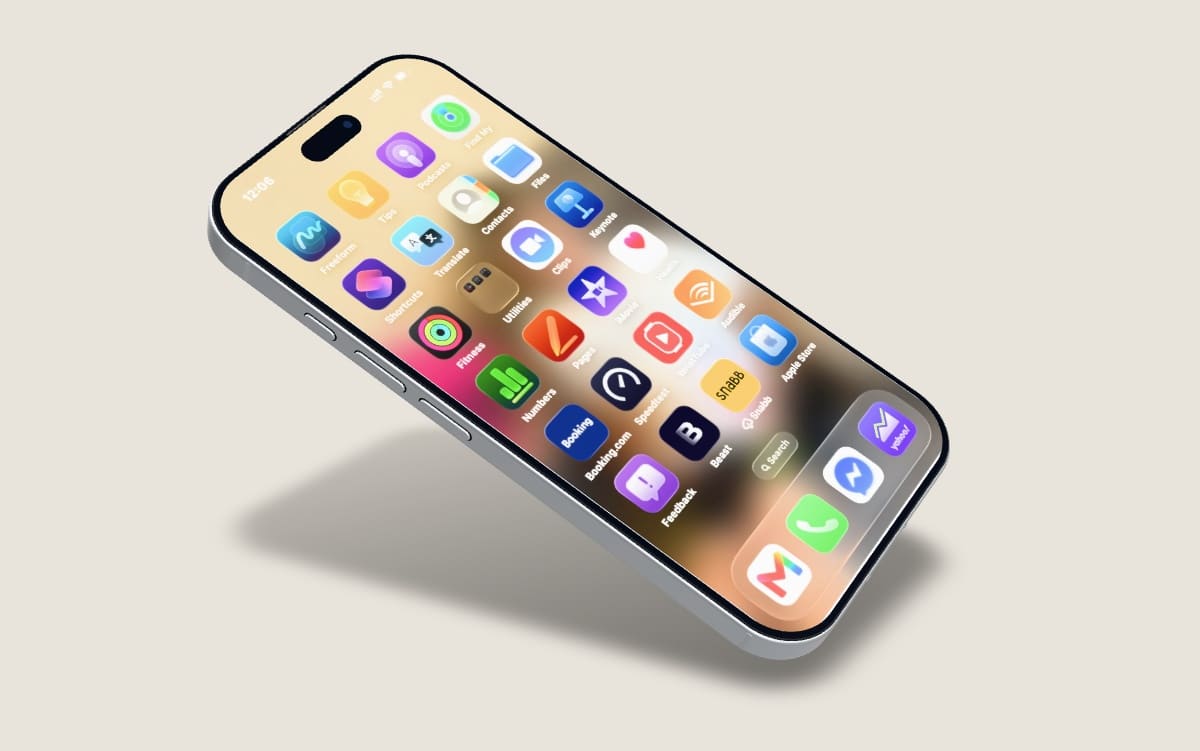
A good mockup starts with a useful view.
You might want to inspect a label, look around the back of a box, or leave space beside a product for a big headline text.
In Mockaps, you can do this by rotating the view, then moving it across the frame and zooming in or out.
This guide explains those three movements and shows you how to find your way back if the product disappears from view.
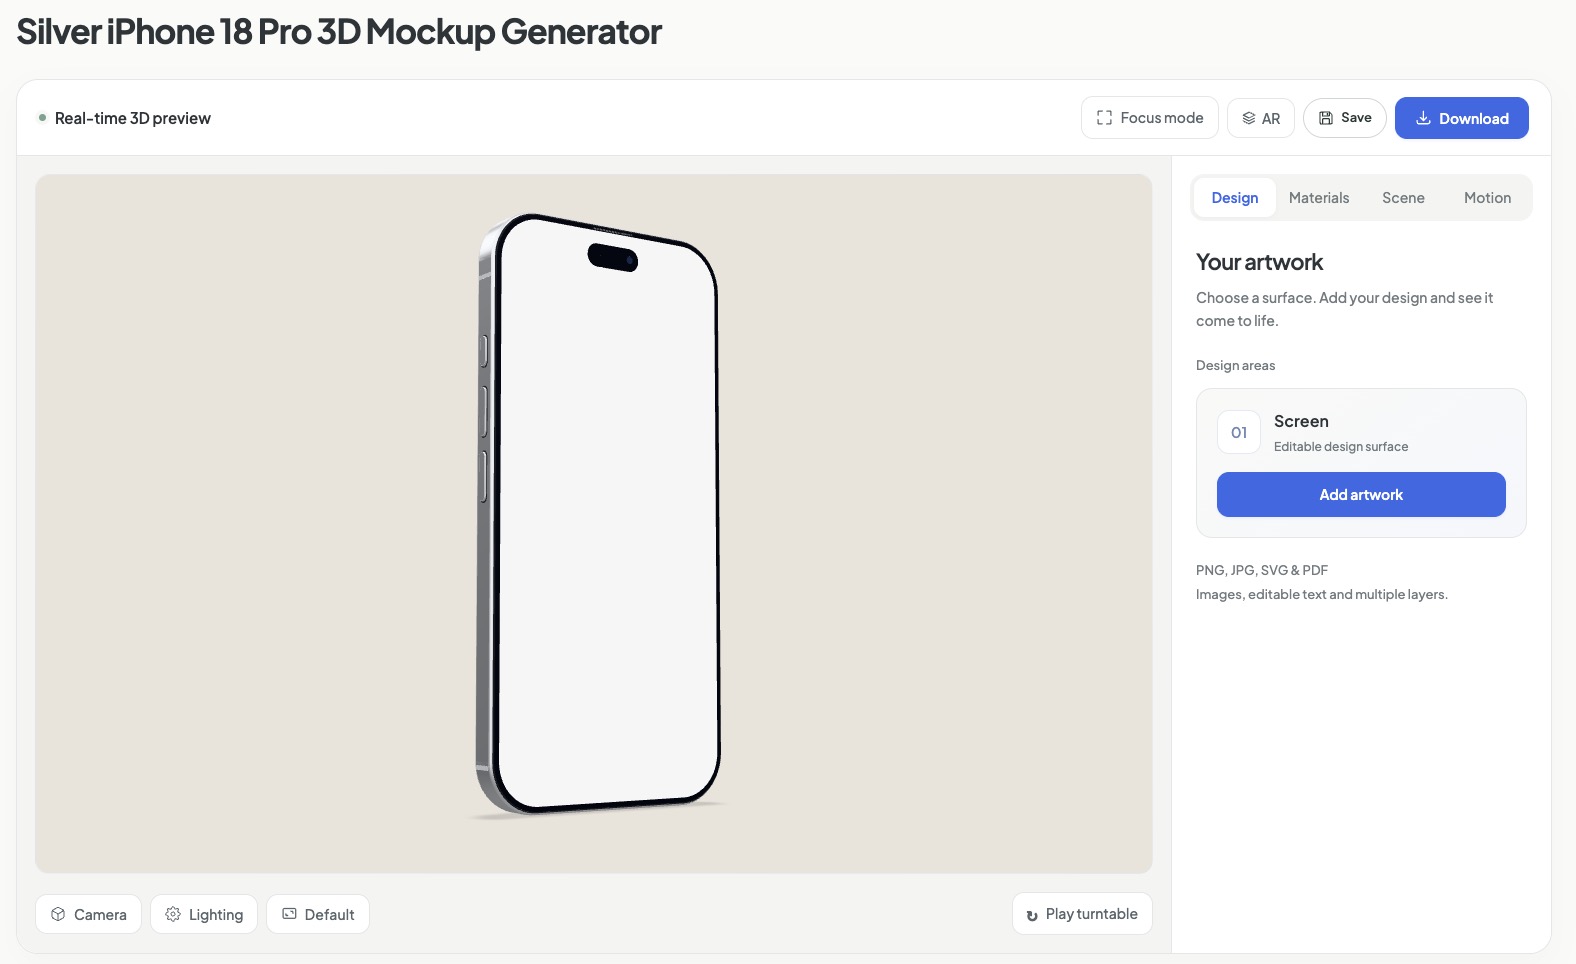
Start inside the 3D preview
First open a template from the mockup library and wait for the model to load.
You can follow along with the Disposable Paper Cup 3D Mockup.
Place your pointer over the large 3D preview, where you can see the product.
These controls work in that preview, rather than on the flat artwork canvas inside the Design Editor.
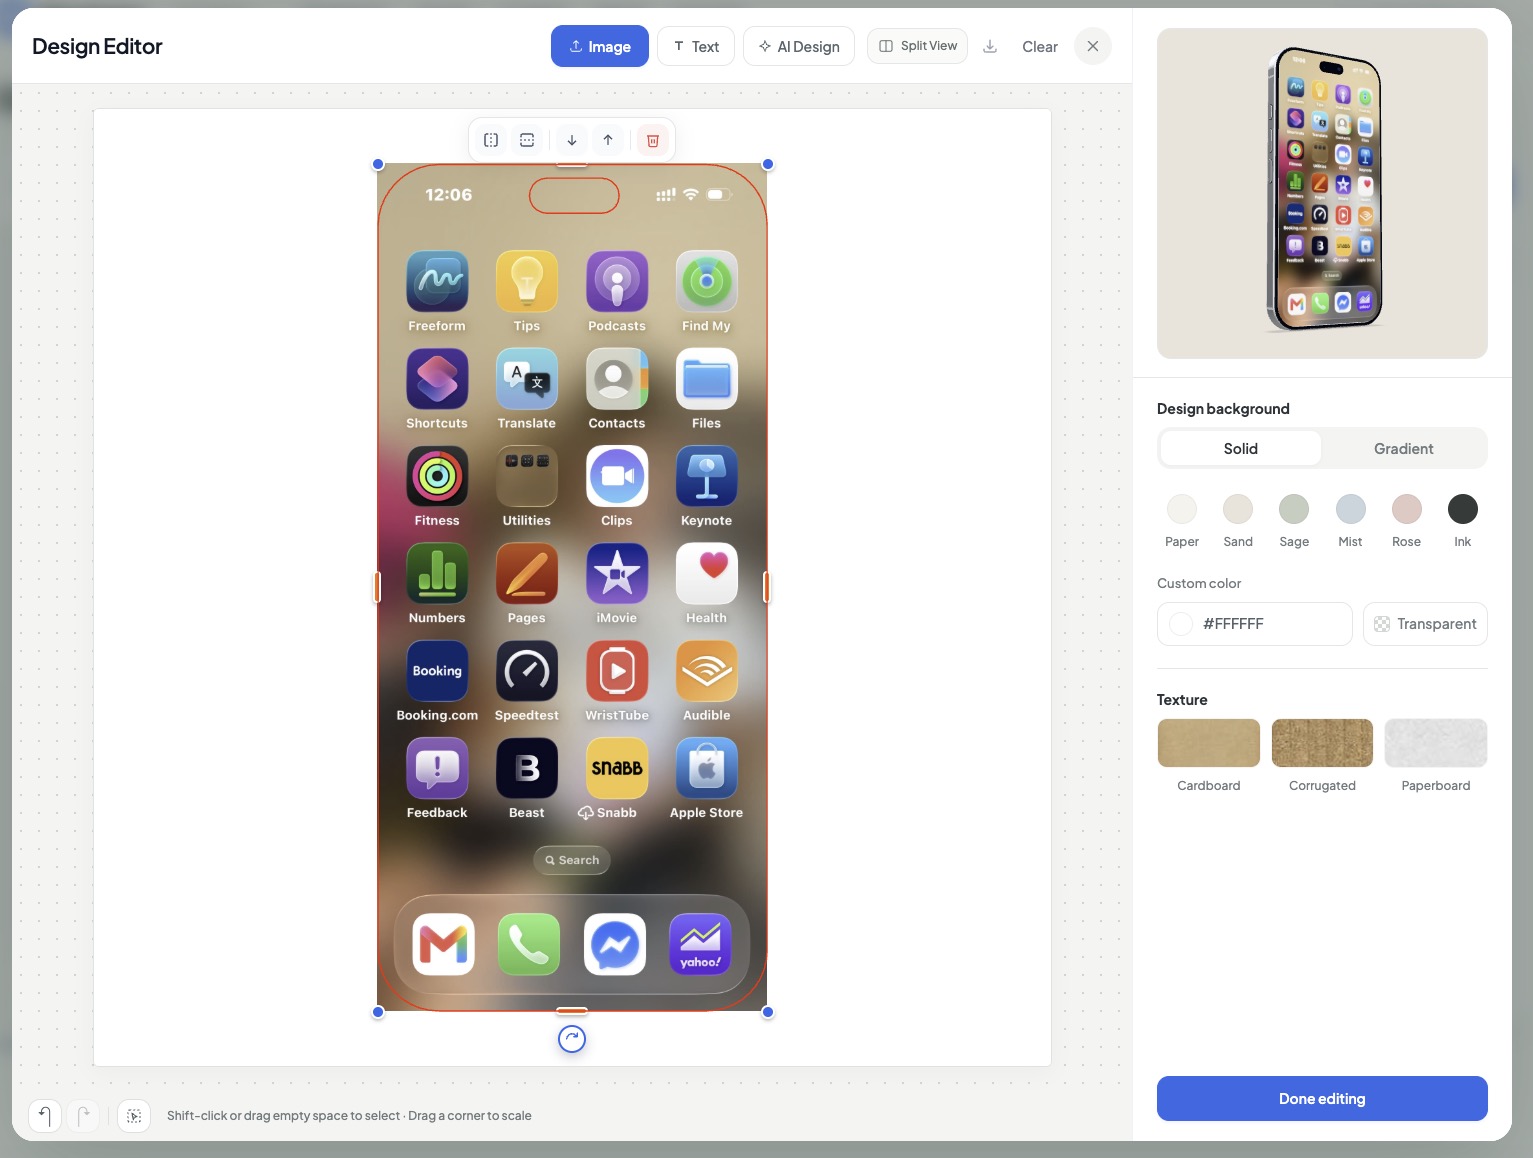
If the Design Editor is open then choose Done editing to return to the studio.
For easier practice, turn off Play turntable and stop any camera-animation playback.
Now you can move the view without another animation moving it at the same time.
A quick guide to the controls
| What you want to do | Mouse | Trackpad | Touchscreen |
|---|---|---|---|
| Rotate the view | Left-click and drag | Click and drag | Drag with one finger |
| Move the view across the frame | Right-click and drag, or hold Shift while left-dragging | Hold Shift while clicking and dragging | Move two fingers together |
| Zoom in or out | Scroll the mouse wheel | Use a two-finger scroll gesture | Spread two fingers to zoom in; pinch them together to zoom out |
Keep your pointer or fingers inside the preview while using these controls.
Trackpad scrolling direction depends on your device settings, so start with a small movement.
1. Rotate the view to look around the product
To begin, left-click inside the preview and drag a short distance.
The camera moves around the product, revealing it from another angle.
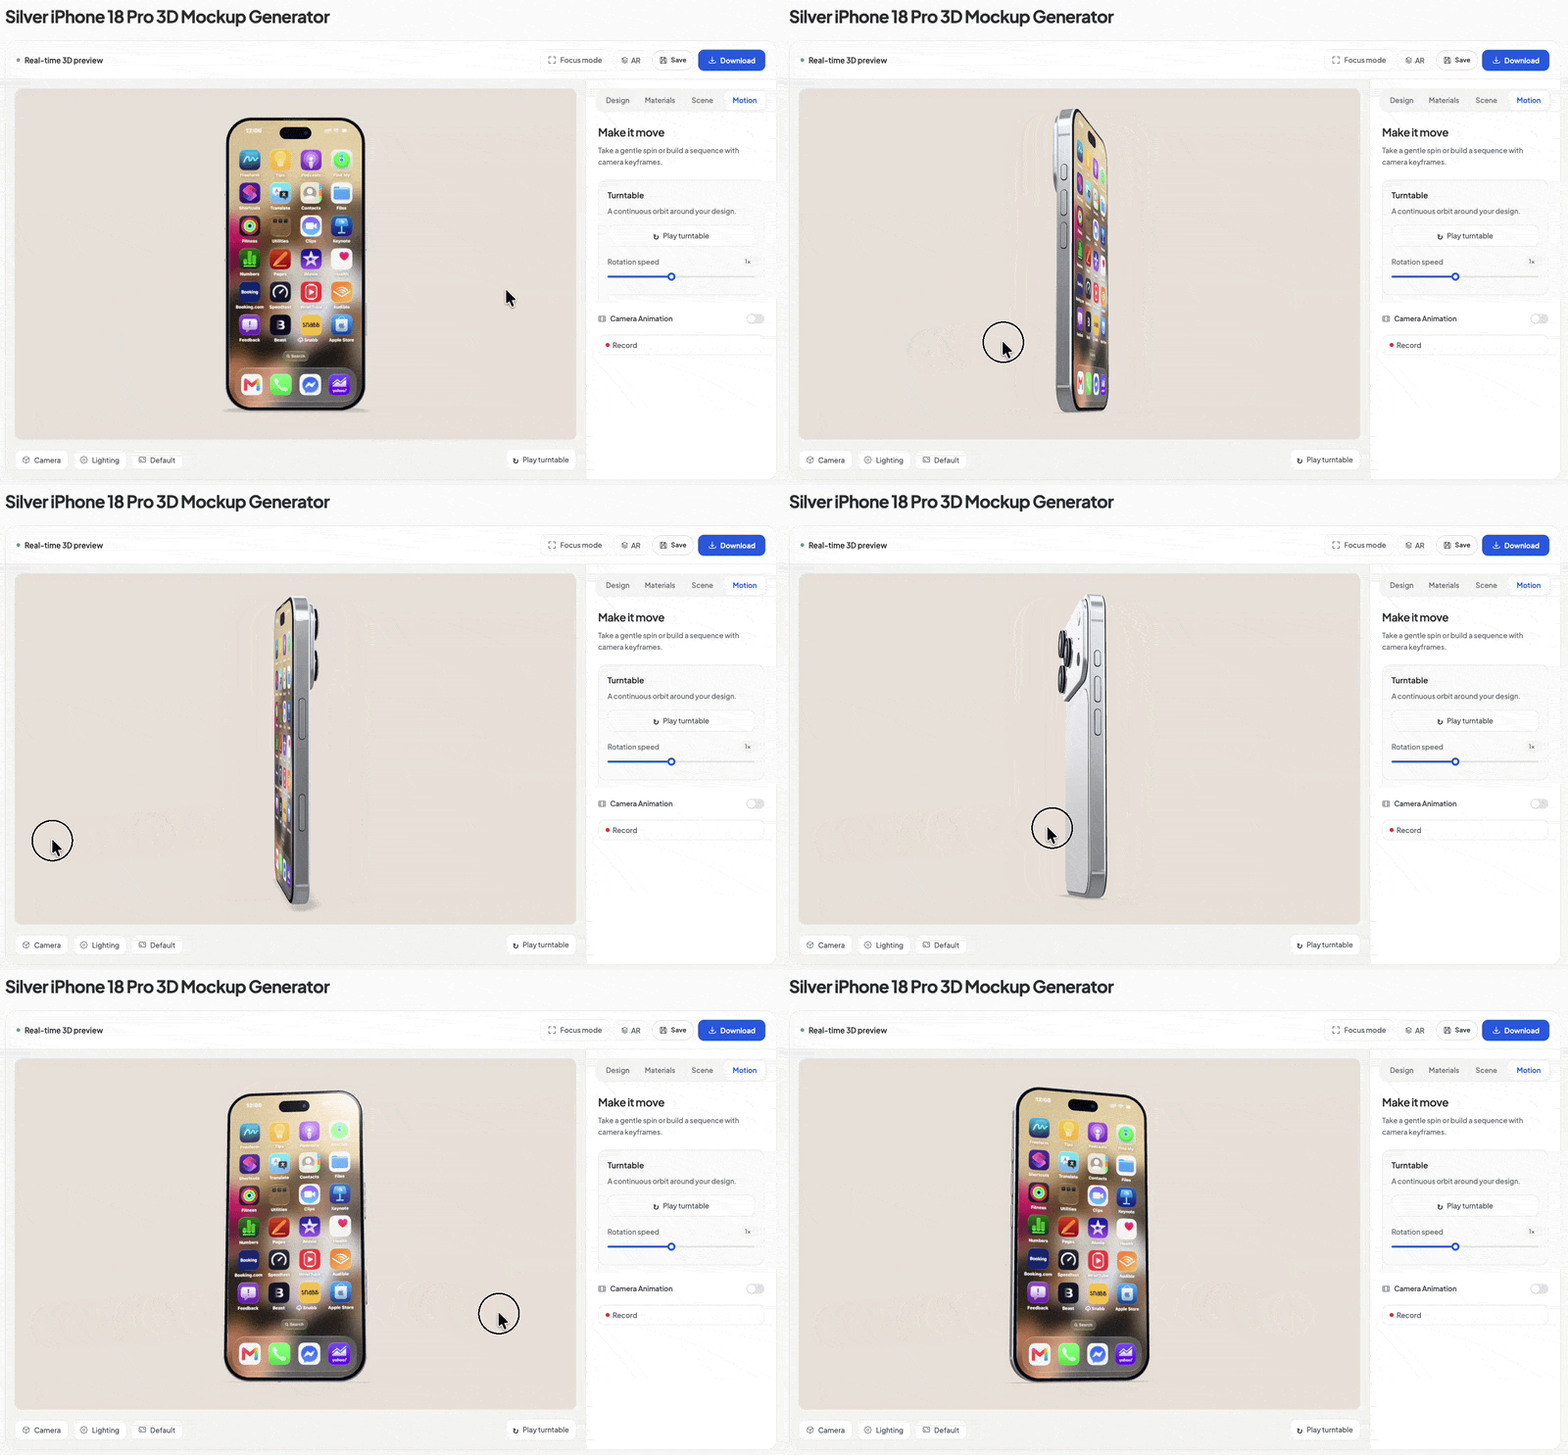
This movement is also called orbiting.
Try a small sideways drag to inspect another side, then a gentle vertical drag to look from higher or lower down.
On a trackpad, use a normal click-and-drag gesture.
On a touchscreen, use one finger.
Release when you reach an angle you like.
The movement may settle briefly after you let go.
Try this: turn the paper cup until you can see its opening, then move back toward a front view.
2. Move the view across the frame
Next, try moving the product’s position within the picture without circling around it.
This is called panning.
With a mouse, hold the right button and drag.
Alternatively, hold Shift while left-clicking and dragging.
The Shift shortcut is also useful on a trackpad.
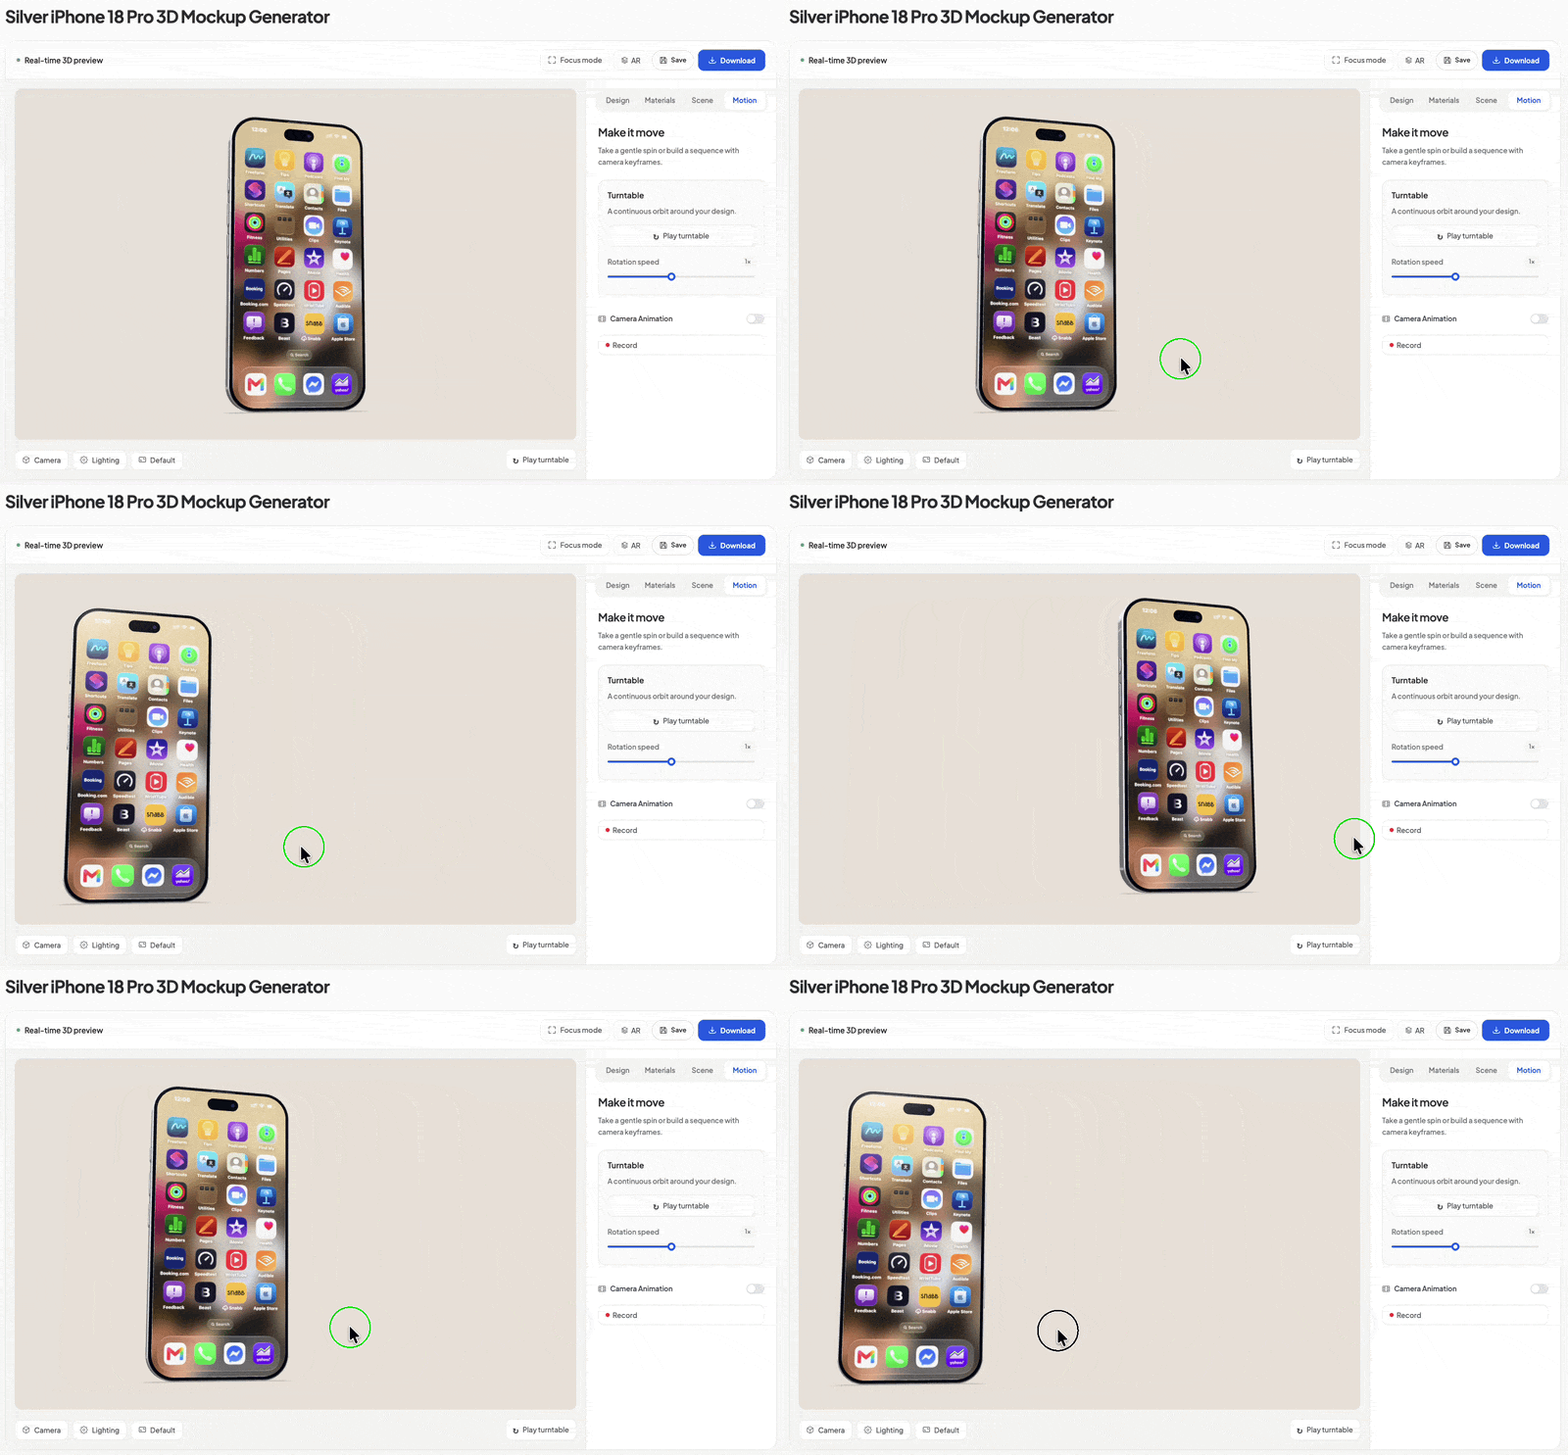
On a touchscreen, place two fingers inside the preview and move them together, keeping the distance between them roughly the same.
Use small movements until the product sits where you want it.
For example, move it slightly to one side if you plan to add a heading beside the exported mockup.
Panning changes the framing; it does not move your logo across the product’s surface.
To reposition artwork on the product, return to Design → Add artwork.
3. Zoom in to inspect details
Now, keep your pointer over the preview and scroll gently.
The product becomes larger or smaller in the frame as the camera moves closer or farther away.
With a trackpad, use a two-finger scroll gesture.
On a touchscreen, spread two fingers to move closer, or pinch them together to move farther away.
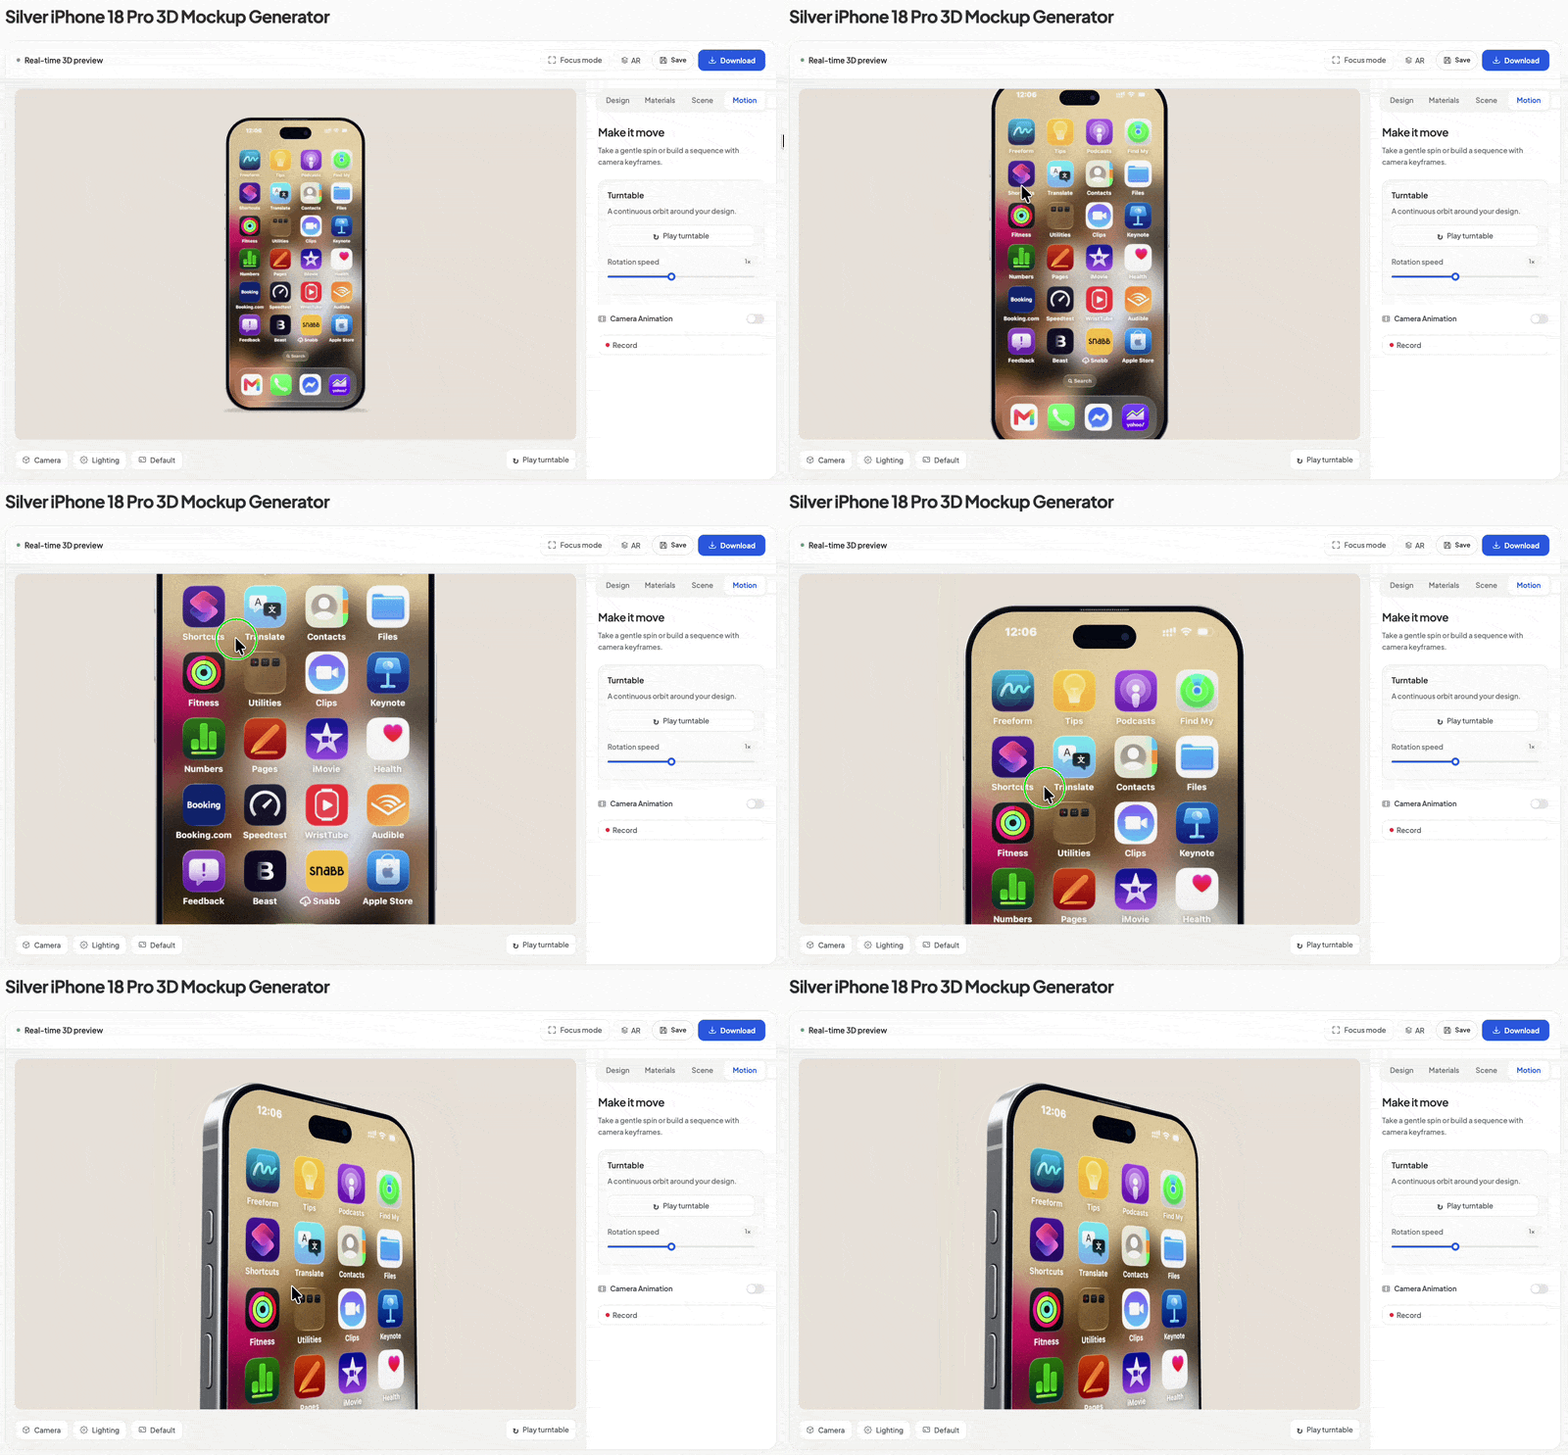
Zoom in to check small text, edges, and how artwork wraps around a curve.
Then zoom out again to judge the whole composition.
Zooming changes your view, not the actual dimensions of the product.
Before exporting, leave a little space around its outer edges so the top, base, and corners remain visible.
Use Camera presets to find a useful angle
If dragging feels awkward, open the Camera menu near the preview.
It offers five starting views:
- Front for a straight-on starting point.
- Side for a side view.
- Top for a view from above.
- Back for the opposite side.
- Perspective for an angled overview.
Choose a preset, let the view settle, and then make smaller adjustments yourself.
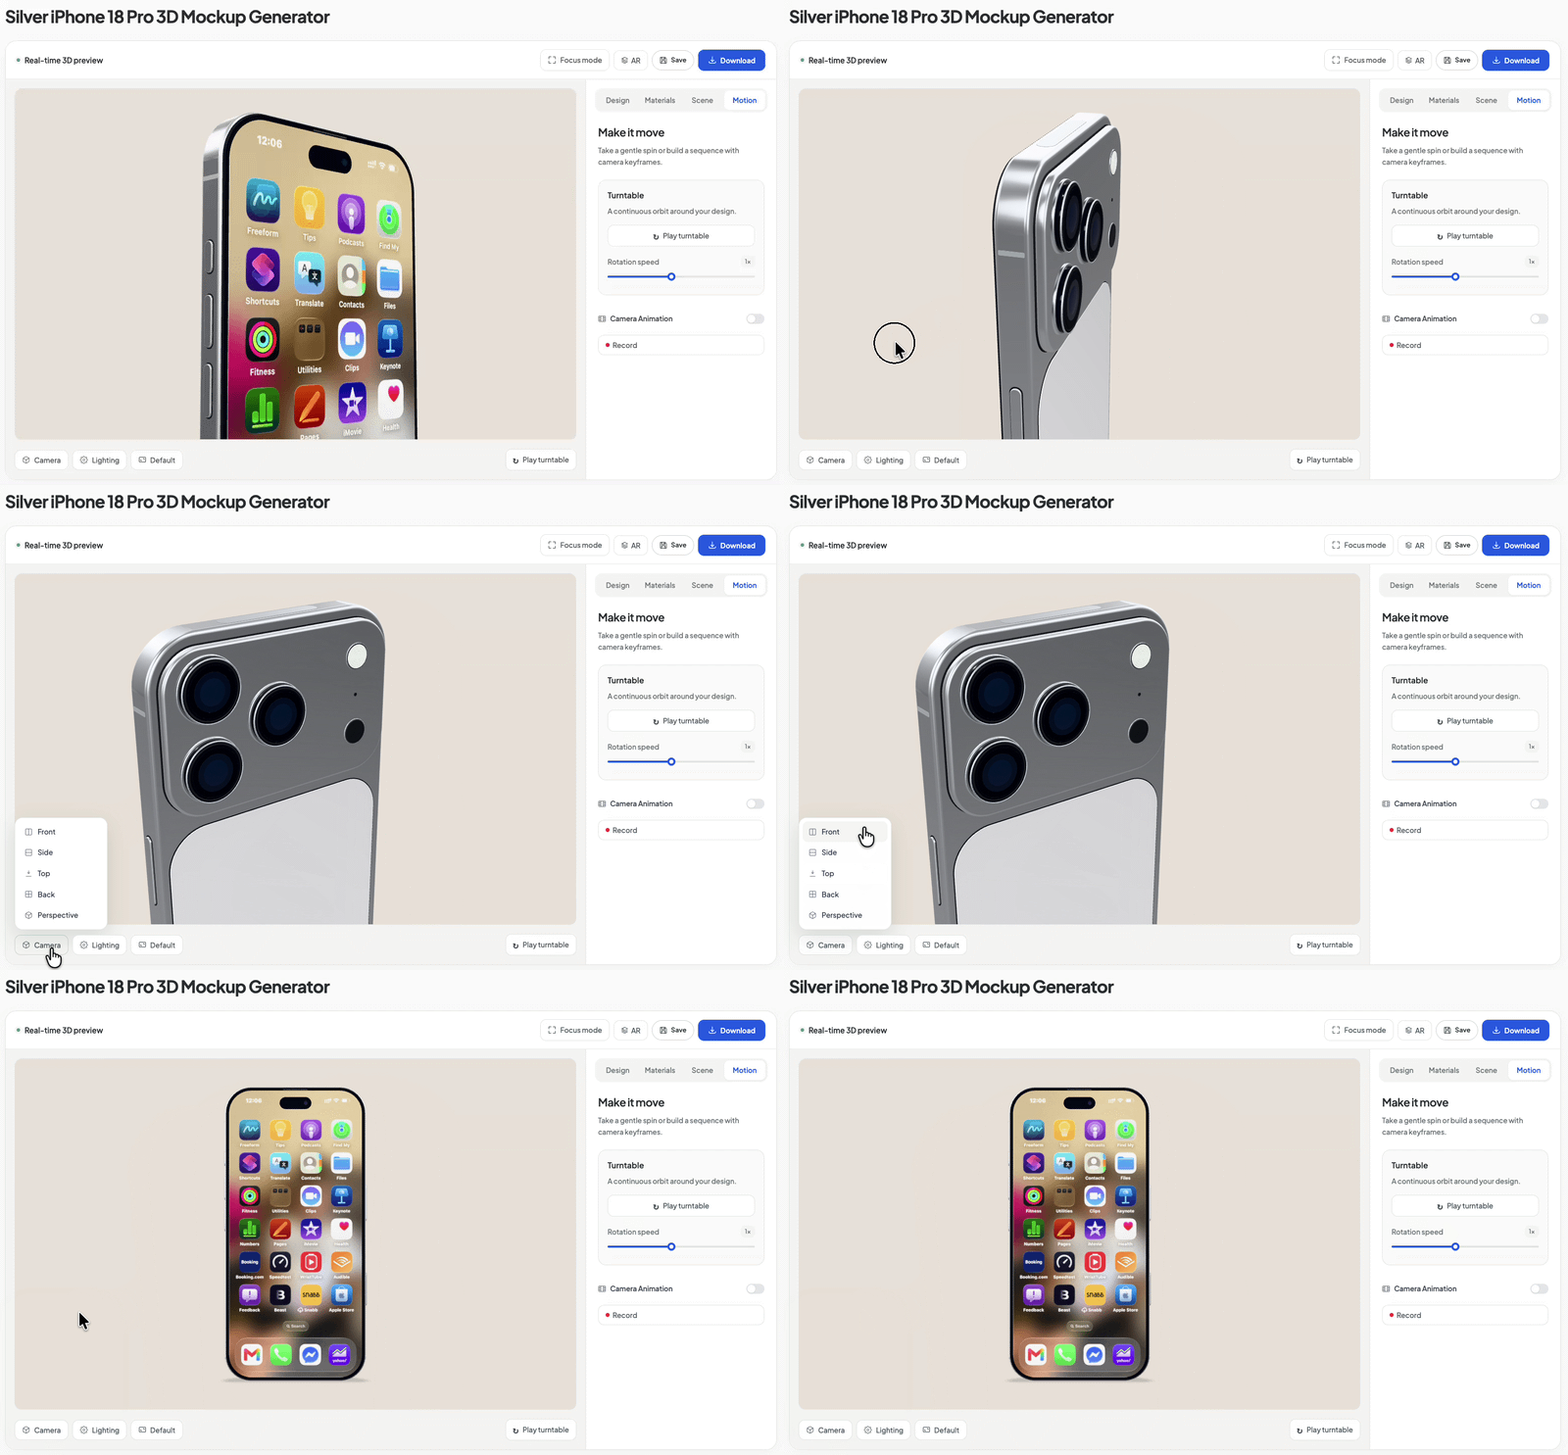
The preset names follow the model’s orientation, so “Front” may not always be the face you want to feature.
Use the preview to decide which angle shows your artwork best.
What if I lose sight of the product?
First, stop the turntable or any camera-animation playback.
Then open Camera and choose Perspective.
This points the camera back toward the model and restores a preset viewing distance.
If the framing still feels too tight, zoom out a little.
You can recover the view this way without reloading the page or clearing your artwork.
Moving the camera or rotating the model?
Dragging in the preview changes where you look from.
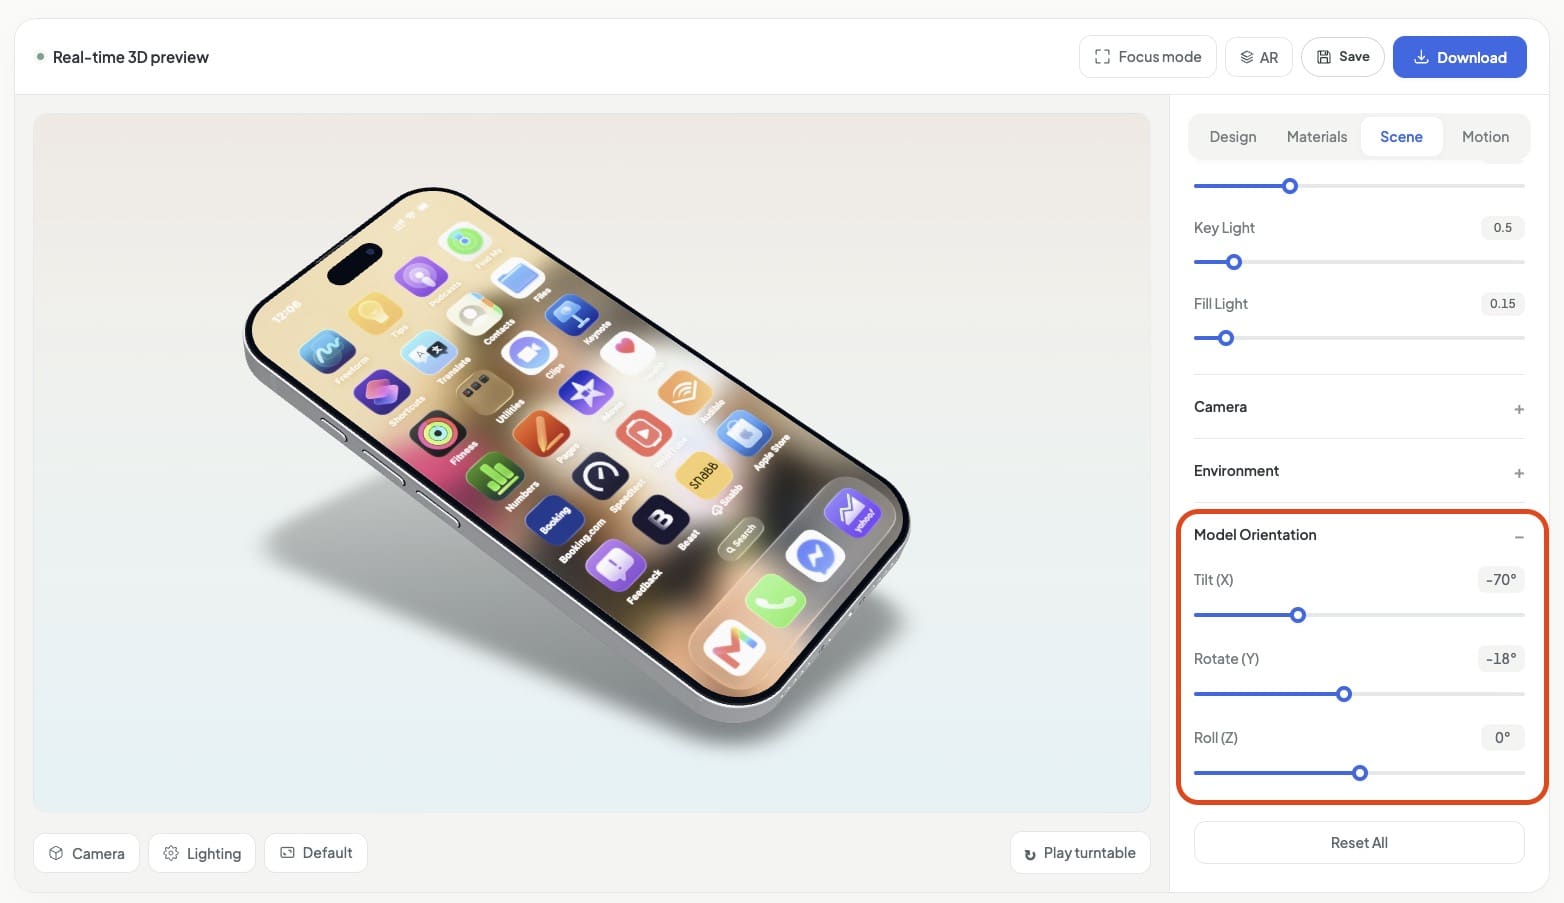
By contrast, Scene → Model Orientation changes the product’s own tilt and rotation.
For example, orbiting lets you look down into an upright cup.
Changing the cup’s orientation can tilt the cup itself within the scene.
For a first composition, use the preview controls to find your angle.
Then explore Model Orientation if you want the product to sit differently.
The separate Scene → Camera → Field of View setting changes the camera’s angle of view.
Leave it at its starting value while learning the basic movements; the scroll control is enough for moving closer or farther away.
Common questions
Why does the page scroll instead of the model zooming?
Check where your pointer is before scrolling.
It needs to be over the 3D preview, rather than the settings panel or the page around it.
On a phone, swipe outside the preview when you want to scroll the page itself.
Why does dragging move my artwork?
You are probably working inside the Design Editor.
Choose Done editing, then try dragging in the main product preview.
If you use Split View, make sure you are interacting with the 3D side.
Why does the view keep moving?
Check whether Play turntable or camera-animation playback is running.
Stop the movement before composing a still view.
A brief settling motion after a drag is normal.
Will changing the view affect my animation?
If Camera Animation is enabled and a keyframe is selected, changing the view can update that keyframe.
For simple navigation practice, turn Camera Animation off first.
When you are ready to build a sequence, follow the animation guide for the keyframe workflow.
Try a simple framing exercise
Finally, put the three movements together:
- Choose Camera → Perspective for a clear starting view.
- Rotate slightly until you can see the front and one side of the product.
- Zoom in until the product fills a comfortable part of the frame.
- Pan a little to adjust its position.
- Check the edges and leave room around the product before downloading.
Start with small adjustments and watch what each one changes.
Soon, finding an angle will feel much more natural.
Open the paper cup mockup and practice, or choose another product from the library.
KEEP EXPLORING
Need a hand with this guide? Ask a question ↗