
On this page
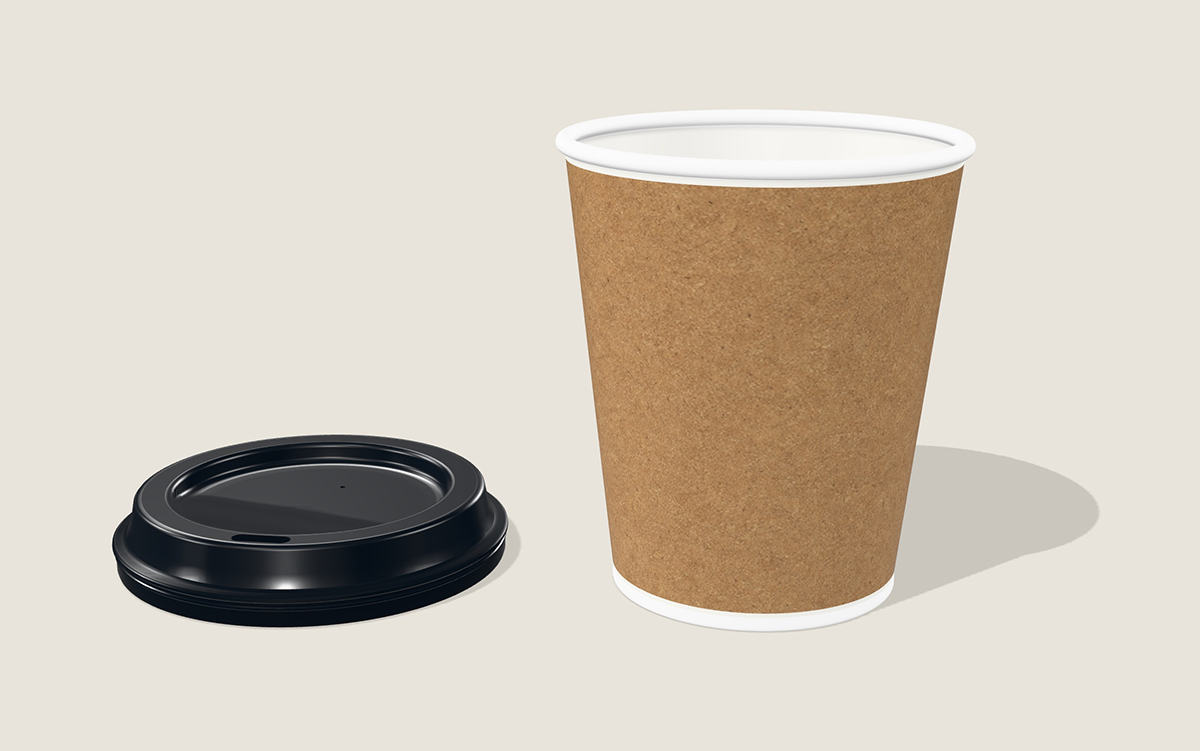
A still mockup shows a design from one angle. A 3D animated mockup lets you reveal the packaging, bring a label into focus or show how a product opens. In Mockaps, you can build that presentation in your browser, preview the movement and record the result as a video.
This guide walks through a simple product reveal using your artwork, camera keyframes and the Motion controls. You can use the same approach for packaging presentations, portfolio case studies, product launches and social posts.
The short version: choose a mockup, add your design, frame the scene, create at least two keyframes, preview the movement, then record it. An active Pro plan is required for video recording.
Before you start
- A mockup from the Mockaps library. A cup or another simple product is a good first project.
- Your artwork, such as a logo, label or packaging design. You can also add text in the design editor.
- An active Mockaps Pro plan when you are ready to record a video.
- A browser and device that can run the live 3D preview smoothly. A desktop gives you more room to compose and control the shot.
You do not need to build a 3D model or set up a separate rendering application. The template provides the model; you control its design and presentation.
1. Choose a mockup that suits the movement
Open a template that fits your product. For a first exercise, try the kraft paper coffee cup. You can move the camera around any model.
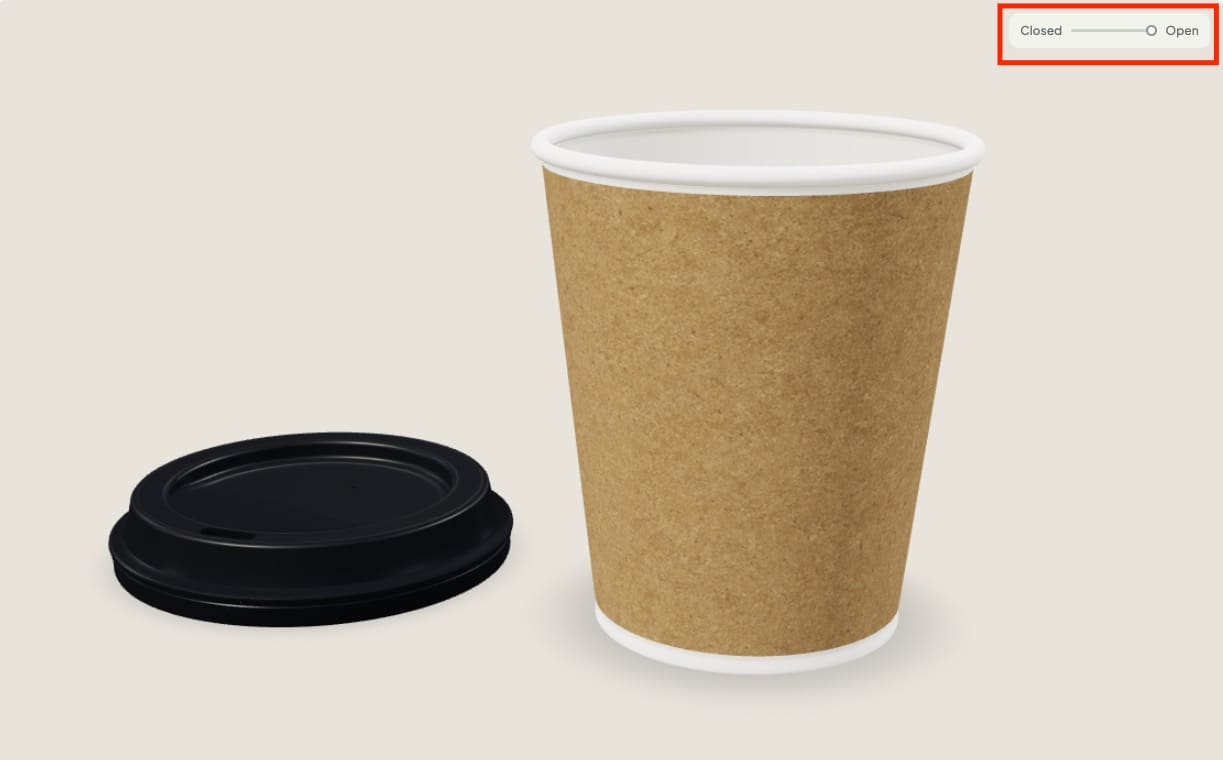
NB: Some templates also contain their own animation, such as a box opening, controlled by a small slider on the preview.
Decide what the viewer should notice. A rotation can reveal the design around a cup. A close-up can highlight a logo. An opening animation can explain a packaging concept. One clear action usually makes a stronger short clip than several competing movements.
Many ways to create movement
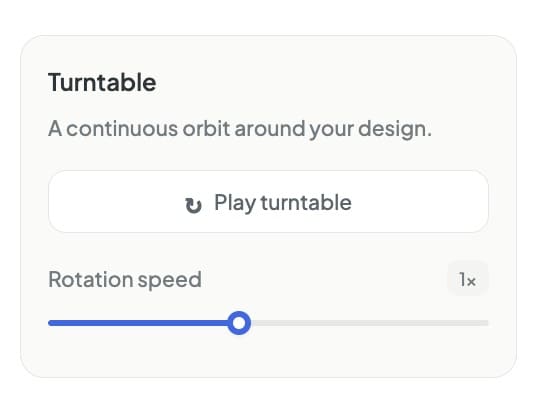
- Turntable: use the rotation control for a continuous orbit around the product. This is a quick way to show several sides.
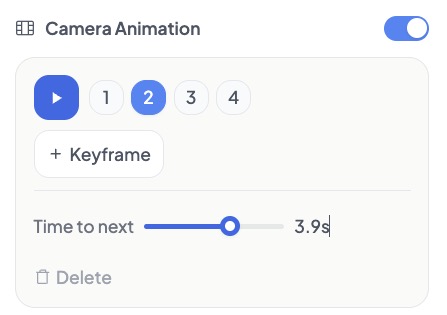
- Camera Animation: use keyframes in Motion to create a sequence of planned views, with a duration for each transition or simple move and rotate inside the editor manually with your mouse.
- Template animation: if the model includes an animation slider, use it to change the model’s state. That position can be captured in your keyframes alongside the camera view.
A template without an opening or unfolding animation can still make an animated video through camera movement or the turntable.
2. Put your design on the model
Open Design and choose the editable area you want to work on. Add your artwork in the design editor, then position and scale it on the canvas. Use the live 3D preview to check the result, especially around curved surfaces, seams and edges.
Add text if needed, and use the layer controls to arrange overlapping elements. Split View gives you more room to design beside the 3D preview when you need to keep checking placement.
Before moving on, check the artwork from more than one angle. A logo that looks centered in the design canvas may sit differently on a tapered cup or a folded surface. Leave some breathing room around important text.
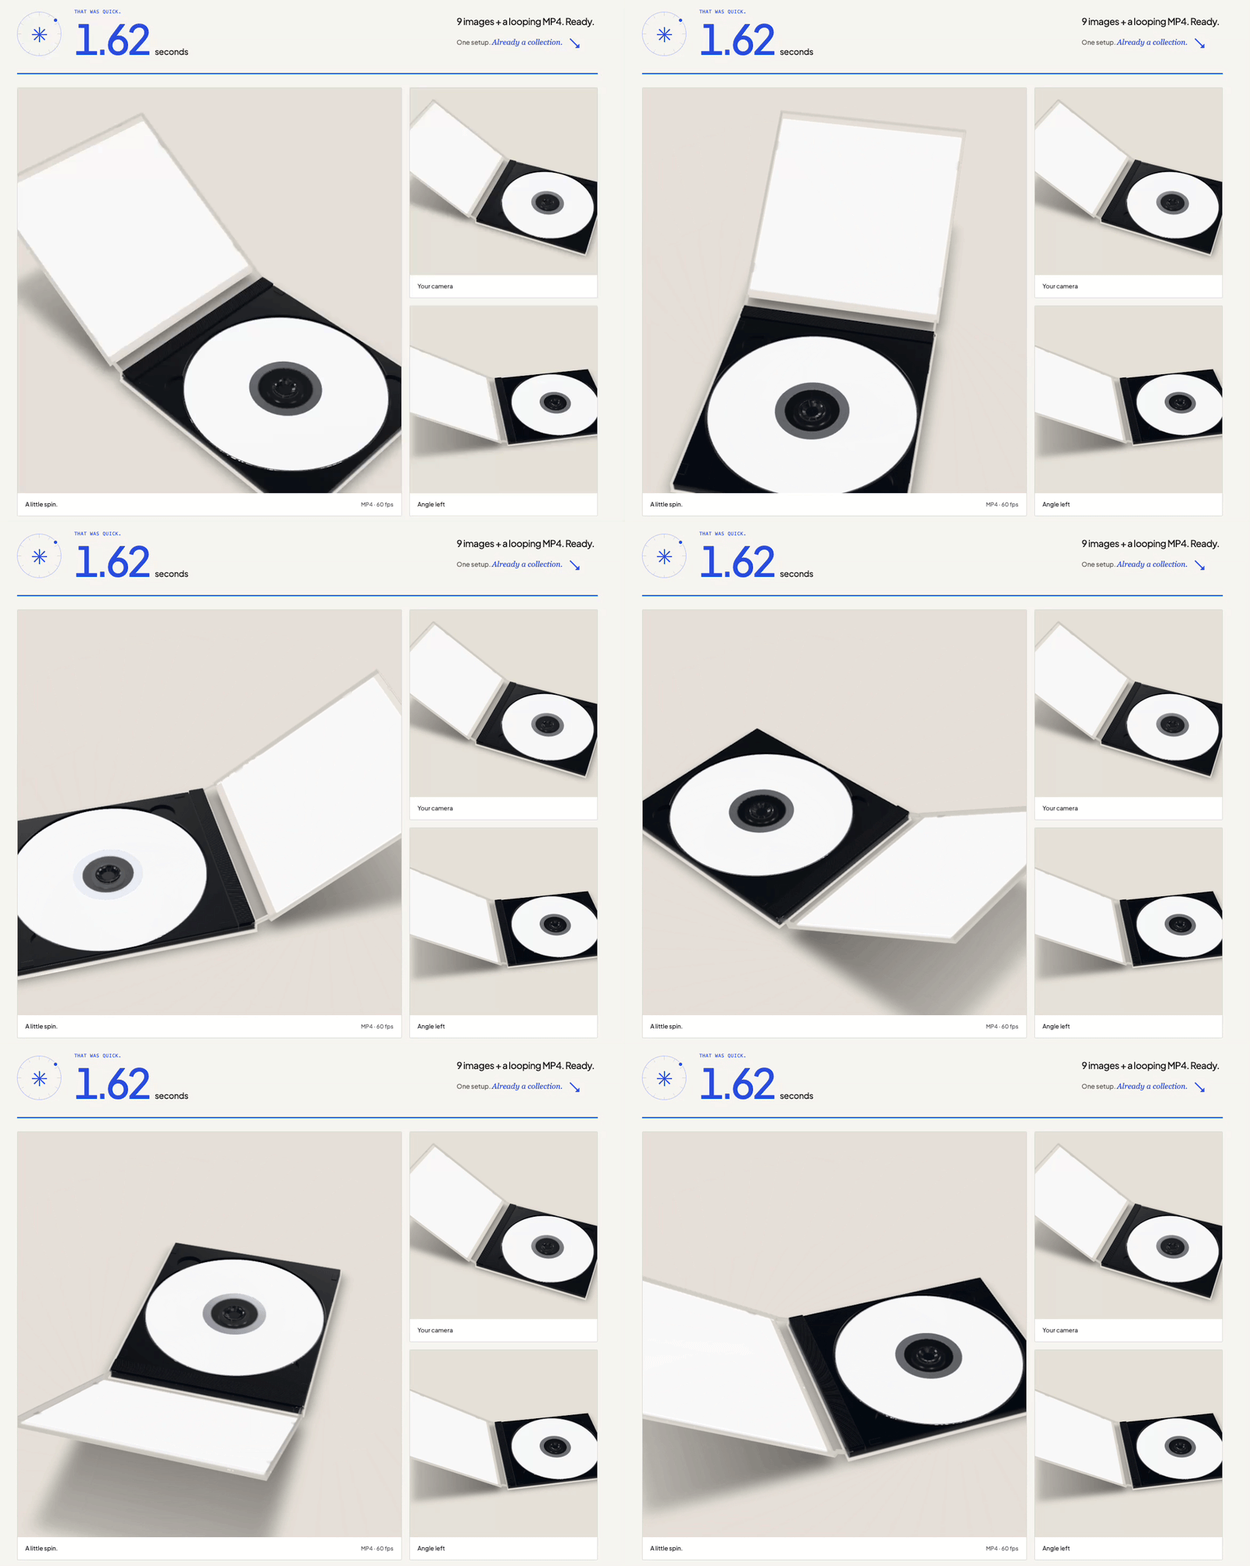
The Bulk Mockup Generator also includes a 360 turntable video.
3. Set the frame, materials and lighting
Choose the preview’s aspect ratio for the place you intend to use the video. A square frame works well for a compact portfolio tile; a portrait frame gives you more vertical room; a landscape frame suits a presentation slide. These are composition choices, so check your destination’s requirements before exporting.
Use Materials to adjust the available surfaces and colors. Choose a lighting preset from Lighting: Basic or Warm studio. Templates may load their own saved scene settings, so your starting appearance can differ from another template.
Open Scene to refine the background and scene lights. If you want a longer directional ground shadow, enable the projected shadow option. It replaces the soft contact shadow while enabled. Keep an eye on the label contrast as you move around the product.
A useful starting point: try a soft neutral background, a clear three-quarter view and one deliberate camera move. Get that shot working before adding more visual detail.
4. Build your first two keyframes
A keyframe is a saved moment in the sequence. Mockaps captures the camera position, framing and field of view, along with model orientation and the template animation slider where available.
- Turn off the turntable while you build a controlled camera sequence.
- Open Motion and enable Camera Animation.
- Position the product for your opening shot, then press + Keyframe. This becomes keyframe 1.
- Press + Keyframe again before changing the camera. Keyframe 2 is now selected.
- Move or zoom the camera to compose your second shot. The selected keyframe updates as you finish the movement.
- Select keyframe 1 and adjust its duration. That value controls the time taken to reach keyframe 2.
- Press Play to preview the sequence.
You need at least two keyframes for playback. The duration on the final keyframe is disabled because there is no following transition. The current duration control runs from 0.3 to 6 seconds per transition.
To extend the sequence, select the last keyframe, add another, and then compose the next view. New keyframes are inserted after the selected keyframe. Select any existing keyframe to revisit and refine it; use its delete control to remove an unwanted step.
A simple three-shot product reveal
| Keyframe | Composition | Transition to the next shot |
|---|---|---|
| 1 · Establish | A three-quarter view with the whole product visible. | About 2 seconds. |
| 2 · Detail | A closer view of the logo or packaging feature. | About 2 seconds. |
| 3 · Finish | A wider view with room around the product. | No outgoing transition. |
These timings are suggestions, not a preset you need to find. Adjust them until the movement feels comfortable and the artwork stays readable.
5. Animate opening, unfolding or rotation
If your template has an animation slider on the preview, you can include it in the same sequence. For example, set a box to closed for keyframe 1. Add keyframe 2, then move the slider to the open state. During playback, Mockaps interpolates between the saved positions while moving the camera.
Model rotation can also be captured in keyframes. Small changes in tilt or rotation can reveal a surface without a large camera move. Preview the complete transition to check that nothing important moves out of frame.
For a straightforward rotating showcase, you can use the turntable instead of a keyframe sequence. Set your framing first, switch on the turntable and watch a full rotation. Keep enough space around the widest part of the model.
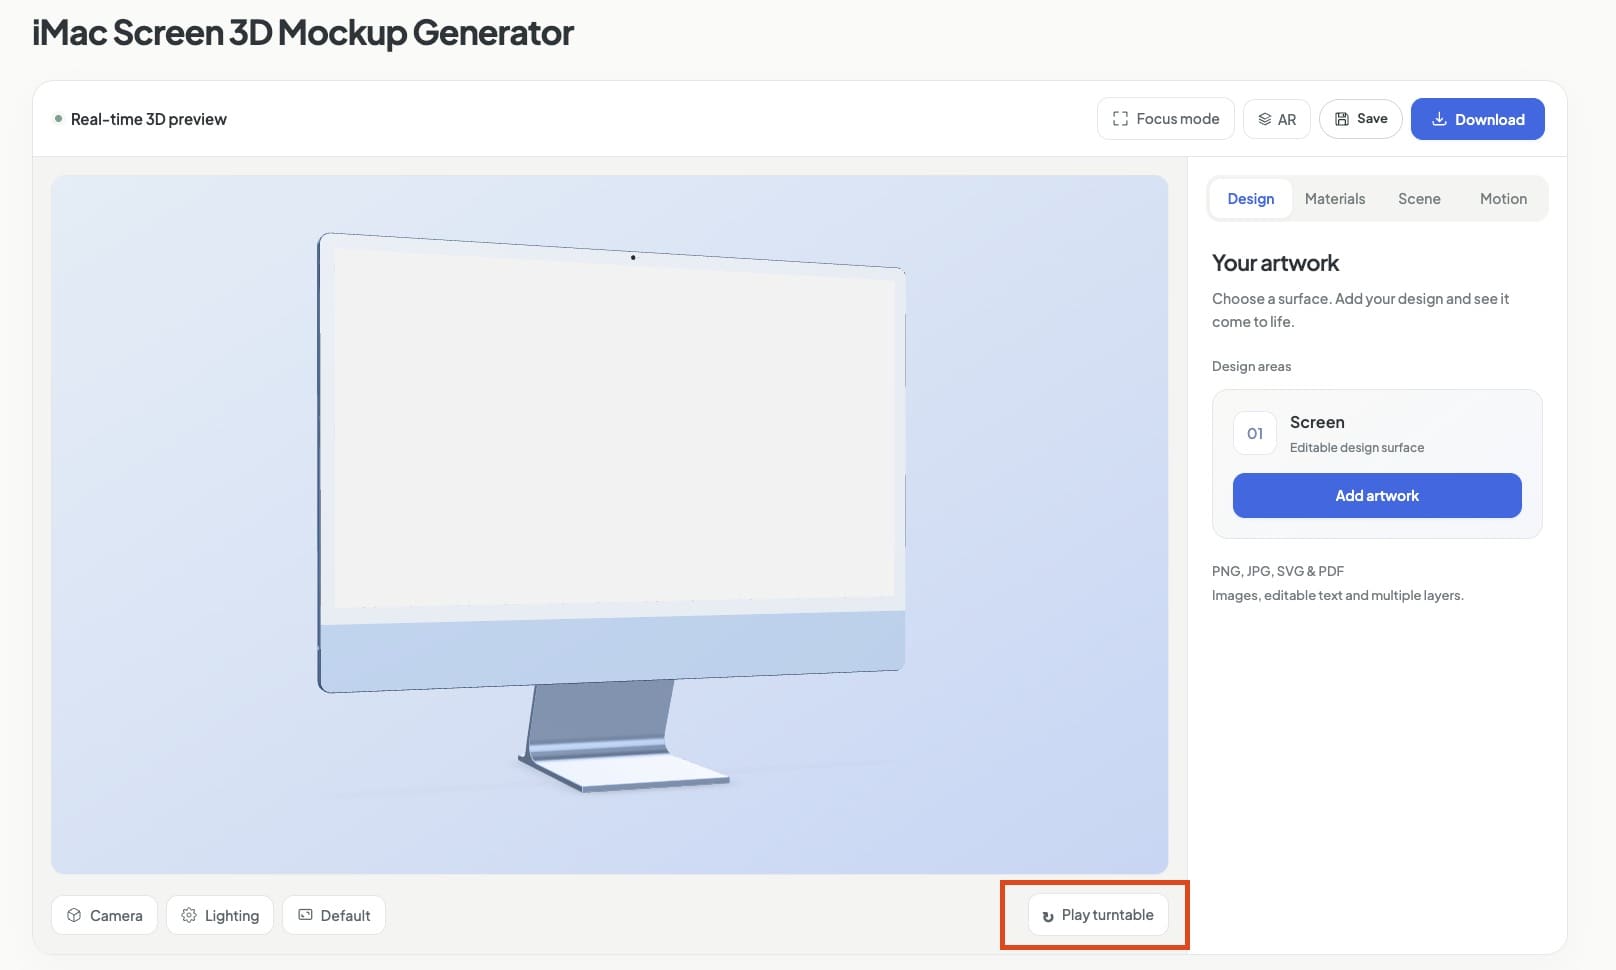
6. Preview and refine the motion
Watch the sequence from the beginning. Pay attention to what happens between the keyframes, not just at each saved view. A close-up that is attractive on its own can still create an awkward transition from the previous shot.
- Framing: keep the product inside the canvas throughout the move.
- Pace: give the viewer time to read a logo or understand a feature.
- Lighting: check that reflections or shadows do not hide the design at another angle.
- Focus: let one movement carry the story. Avoid combining the turntable and a planned camera move unless you have checked the result.
The keyframe sequence plays through once. If you want a clip that can repeat more smoothly, add an ending view that matches the opening view. Matching the endpoints helps, but inspect the join in your final video editor or publishing tool.
7. Record and download your animated mockup
- Sign in with an active Pro plan and open Record in Motion.
- Read the recording panel, then choose Start recording.
- Trigger your keyframe animation, switch on the turntable or move the 3D view manually. Recording captures what happens on the 3D canvas.
- Stop when the shot is complete. Recording also stops automatically at 60 seconds.
- Wait for the video to finish processing and download, then play the saved file to check it.
Mockaps aims to record MP4 using H.264 at 60 frames per second. When the browser cannot use that encoding path, it falls back to the browser’s recorder, which may produce MP4 or WebM. The file extension tells you which format you received. Smoothness still depends on your device and browser performance.
You may capture a short pause before or after the movement while using the controls. Trim those moments in a video editor if needed. Add music, subtitles or a final brand message there too; this workflow records the mockup canvas rather than assembling a finished marketing video.
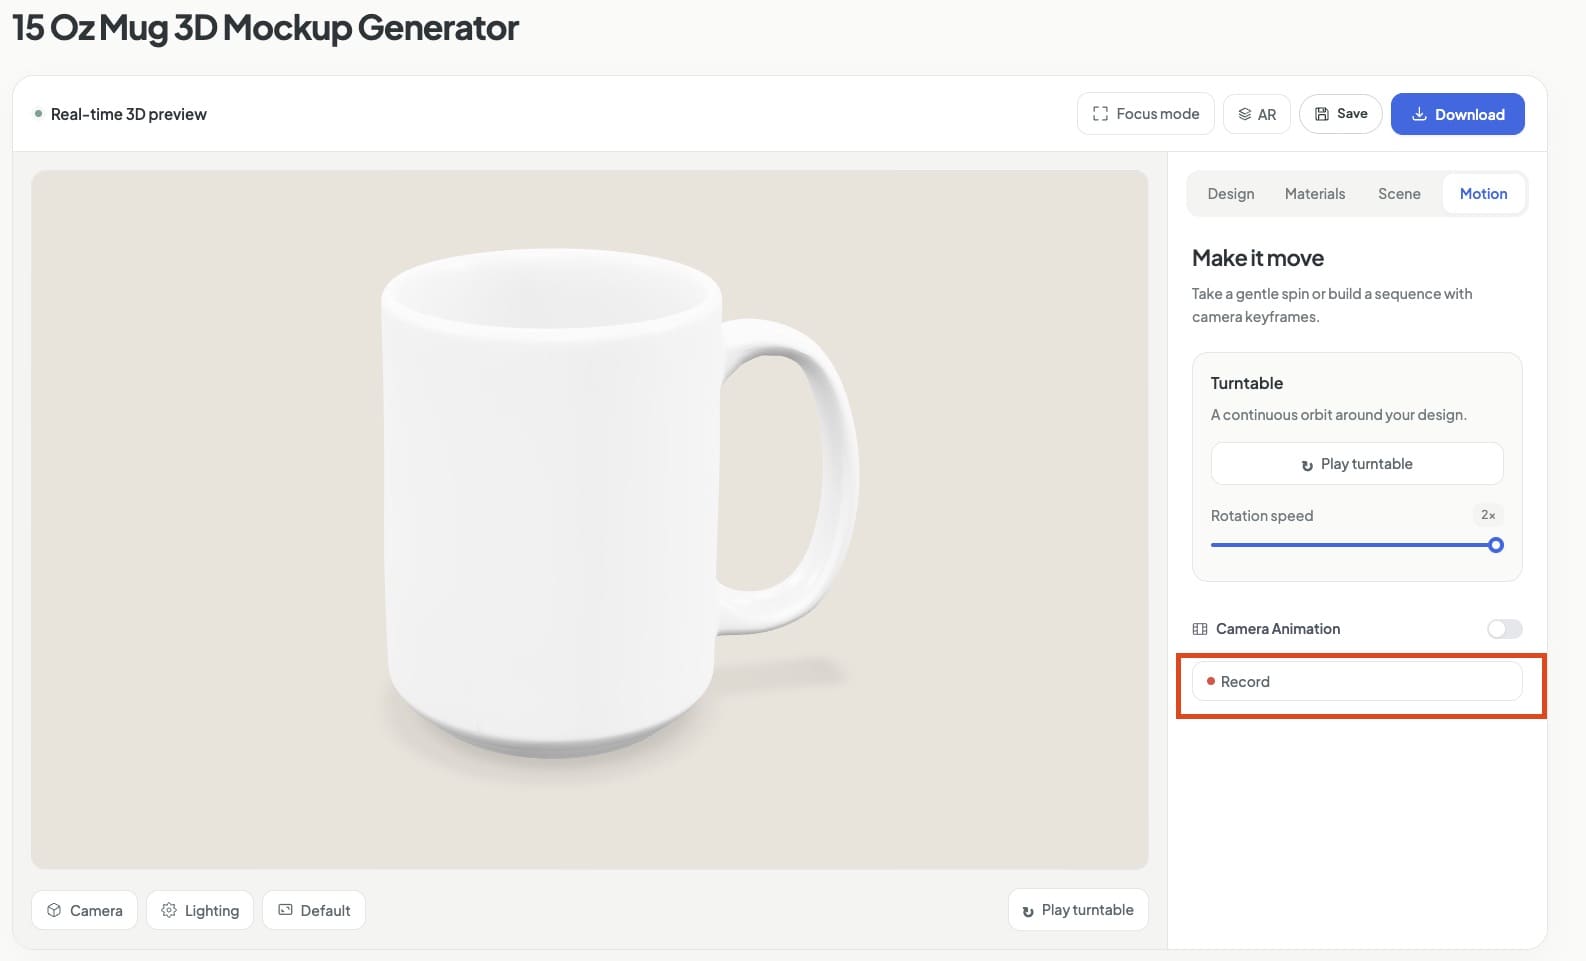
By recording the entire canvas you can also create a freeform video, which records every motion you do - easily zoom, rotate, dolly, move or change colors and materials, everything is recorded in the video.
Ideas for using your animated mockup
- Brand presentations: show how a visual identity wraps around packaging rather than presenting only a flat artwork file.
- Portfolio case studies: combine one establishing shot and one detail shot to explain the design decisions.
- Product launch posts: reveal the product shape first, then bring the branding into view.
- Client reviews: show a packaging opening or a different side of the design to answer a specific question.
Start with the destination and the message. A five-second product reveal and a longer walkthrough serve different purposes, even when they use the same mockup.
Troubleshooting
Play is disabled
Enable Camera Animation and add at least two keyframes. One keyframe defines a view, but it does not define a transition.
Changing the camera overwrote my first shot
The selected keyframe updates when you change the view. Return to the opening composition, then add the next keyframe before moving to the next shot.
I cannot find the opening animation slider
That control appears only on templates with an embedded model animation. Use camera keyframes or the turntable for templates without it.
The downloaded video is WebM rather than MP4
Your browser used the recording fallback. Try a browser that supports the MP4 recording path, or convert the downloaded file in a video tool. Renaming the extension does not convert the video.
The motion looks choppy
Close other demanding tabs or apps, let textures finish loading and try a simpler shot. Review the downloaded file as well as the live preview. Real-time recording depends on available graphics and processing resources.
Will my animation be there after I reload?
With an active Pro plan, use Save in the studio to keep your artwork, scene and camera keyframes. Reopen the project from Saved mockups in your account to continue editing or record another video.
Save changes before leaving: saving is manual. You can keep up to 50 mockups, with 25 MB for each. If Pro expires, previews remain available for 30 days, but editing, saving and downloading require renewal. After 30 days, the saved projects are permanently deleted.
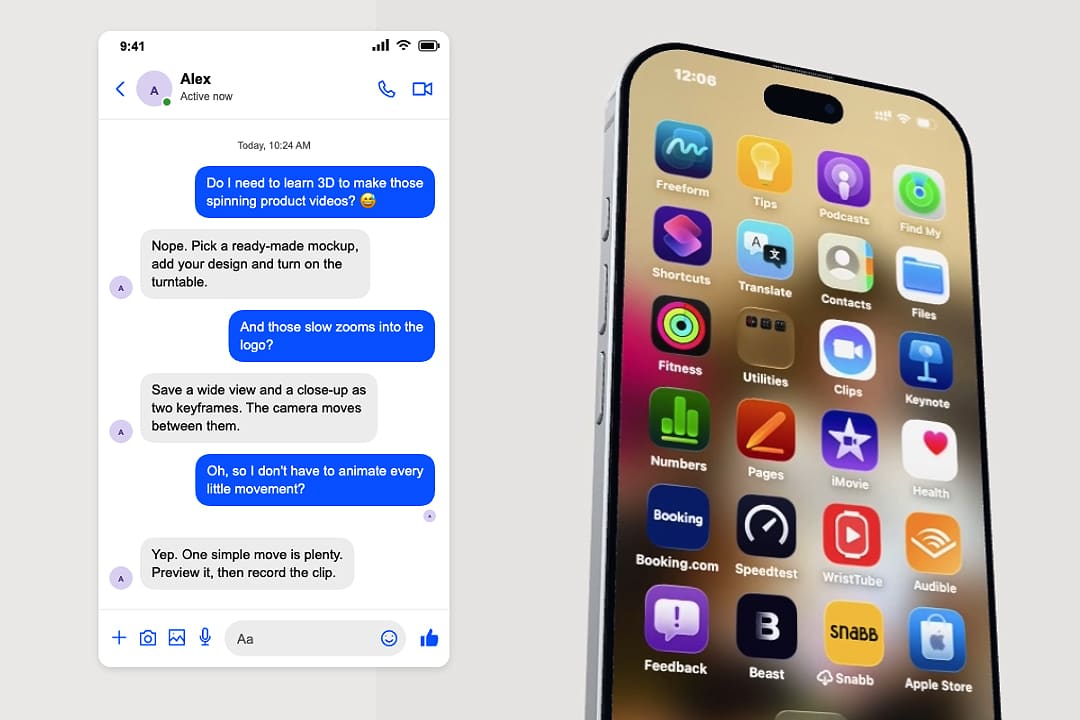
Your first animated mockup, ready to make
Choose one product, one piece of artwork and one clear movement. Build two keyframes, watch the transition and refine it. Once the shot works, record a short clip and review the download.
Find a mockup to start with, or get in touch if you need help with a particular template.
KEEP EXPLORING
Need a hand with this guide? Ask a question ↗