
On this page
A 3D mockup can become the main subject of a product animation in After Effects.
For example, you could reveal a new sachet design beside an animated headline, or turn a branded hockey puck for a team merchandise launch.
First, prepare the product and artwork in Mockaps.
Then, export the model as a GLB and bring it into After Effects to build the animation around it.
Choose a 3D model, image, or video
Use a GLB model when you want to change the product's angle, lighting, or movement inside After Effects.
Use a transparent PNG when one fixed view is enough for your composition.
Alternatively, use a video exported from Mockaps when you want to keep a camera move or turntable sequence you have already created.
This guide focuses on the GLB workflow, which gives you the actual 3D model to work with.
A PNG or rendered video does not become a complete 3D object simply because you enable its 3D layer switch.
Before you start
You will need After Effects with native 3D model import.
Adobe documents this workflow for After Effects 24.1 and later, and recommends GLB because it packages the model and its dependent resources together.
See Adobe's 3D model import guide.
You will also need a computer that meets the requirements for the Advanced 3D renderer.
For the Mockaps download, GLB export requires Pro access.
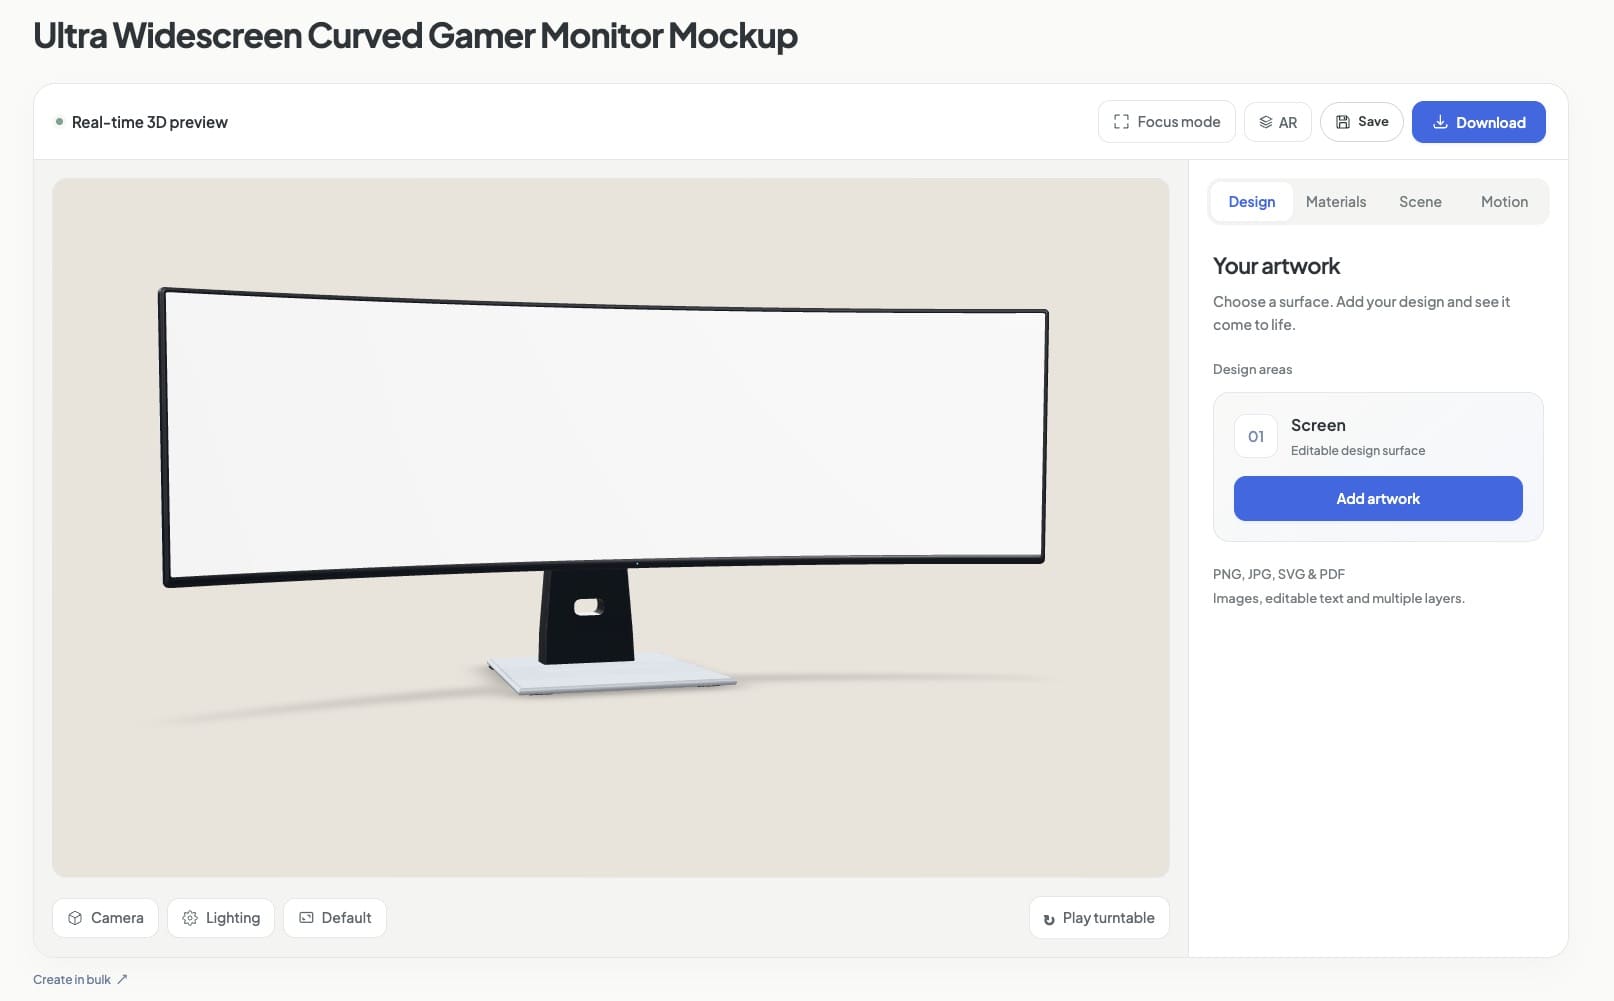
The first download of a new model uses a model unlock, while downloading that same unlocked model again with updated artwork does not use another unlock.
1. Prepare your design in Mockaps
First, open a mockup that suits your animation.
For these examples, try the Small Sachet Pouch mockup or the Hockey Puck mockup.
Add your artwork to the available design areas.
For the sachet, you might use a skincare sample design with a large product name.
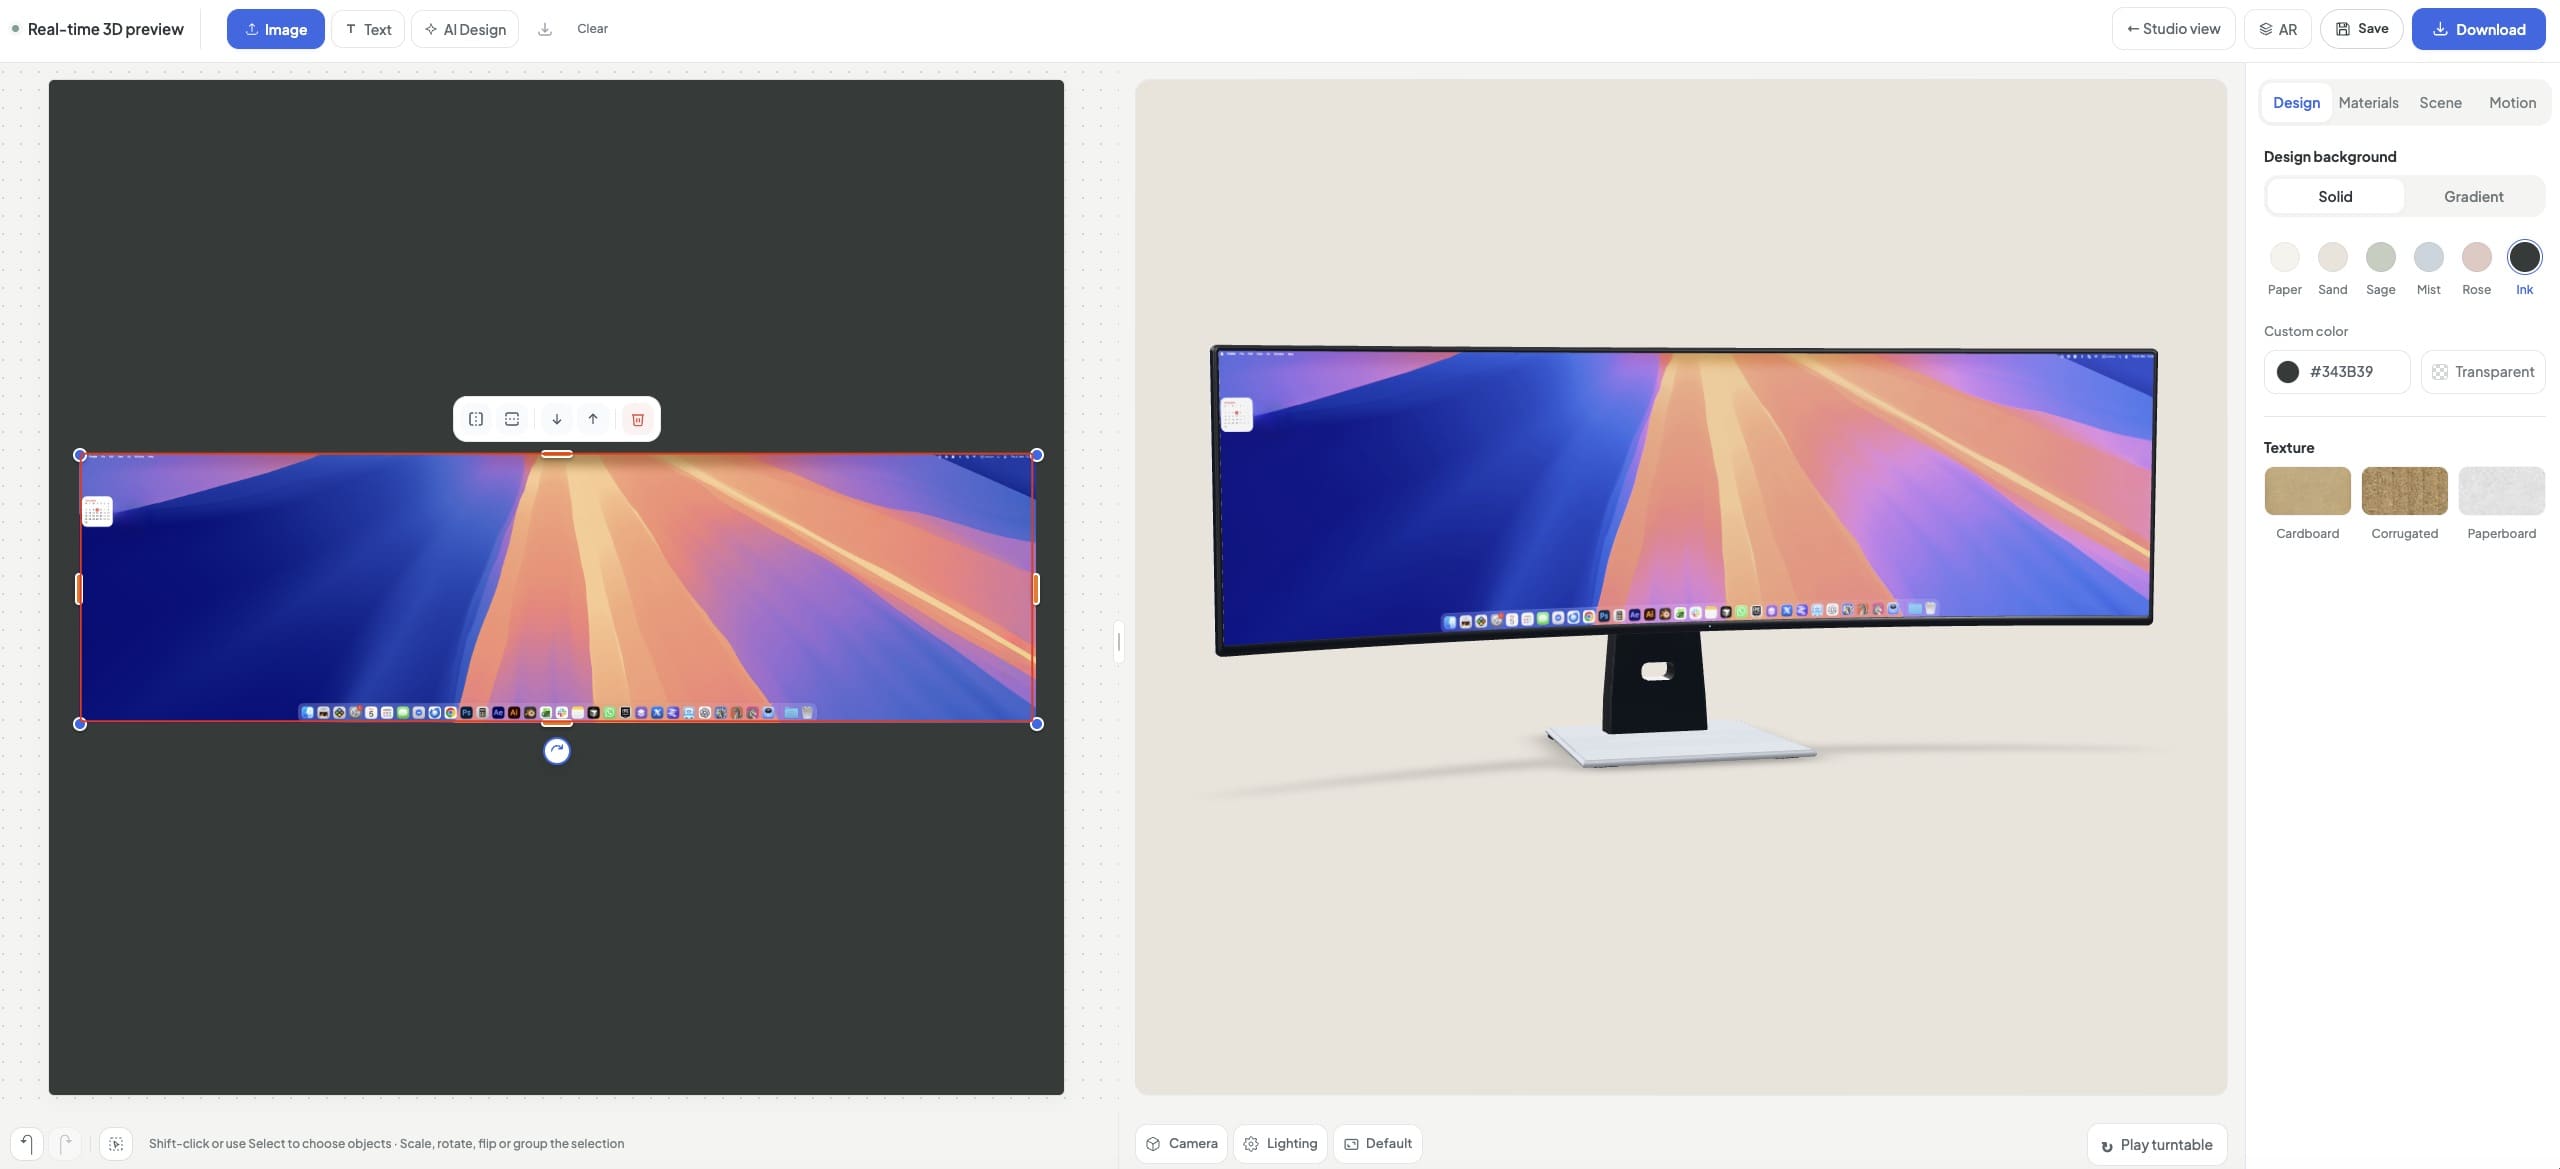
For the puck, try a team emblem that remains clear as the product turns.
Next, rotate the preview and inspect the parts that will appear in your animation.
Check the artwork placement and product materials before exporting.
Then, save your Mockaps project so you can return to the editable design later.
2. Download the GLB
Open Download and choose GLB 3D model.
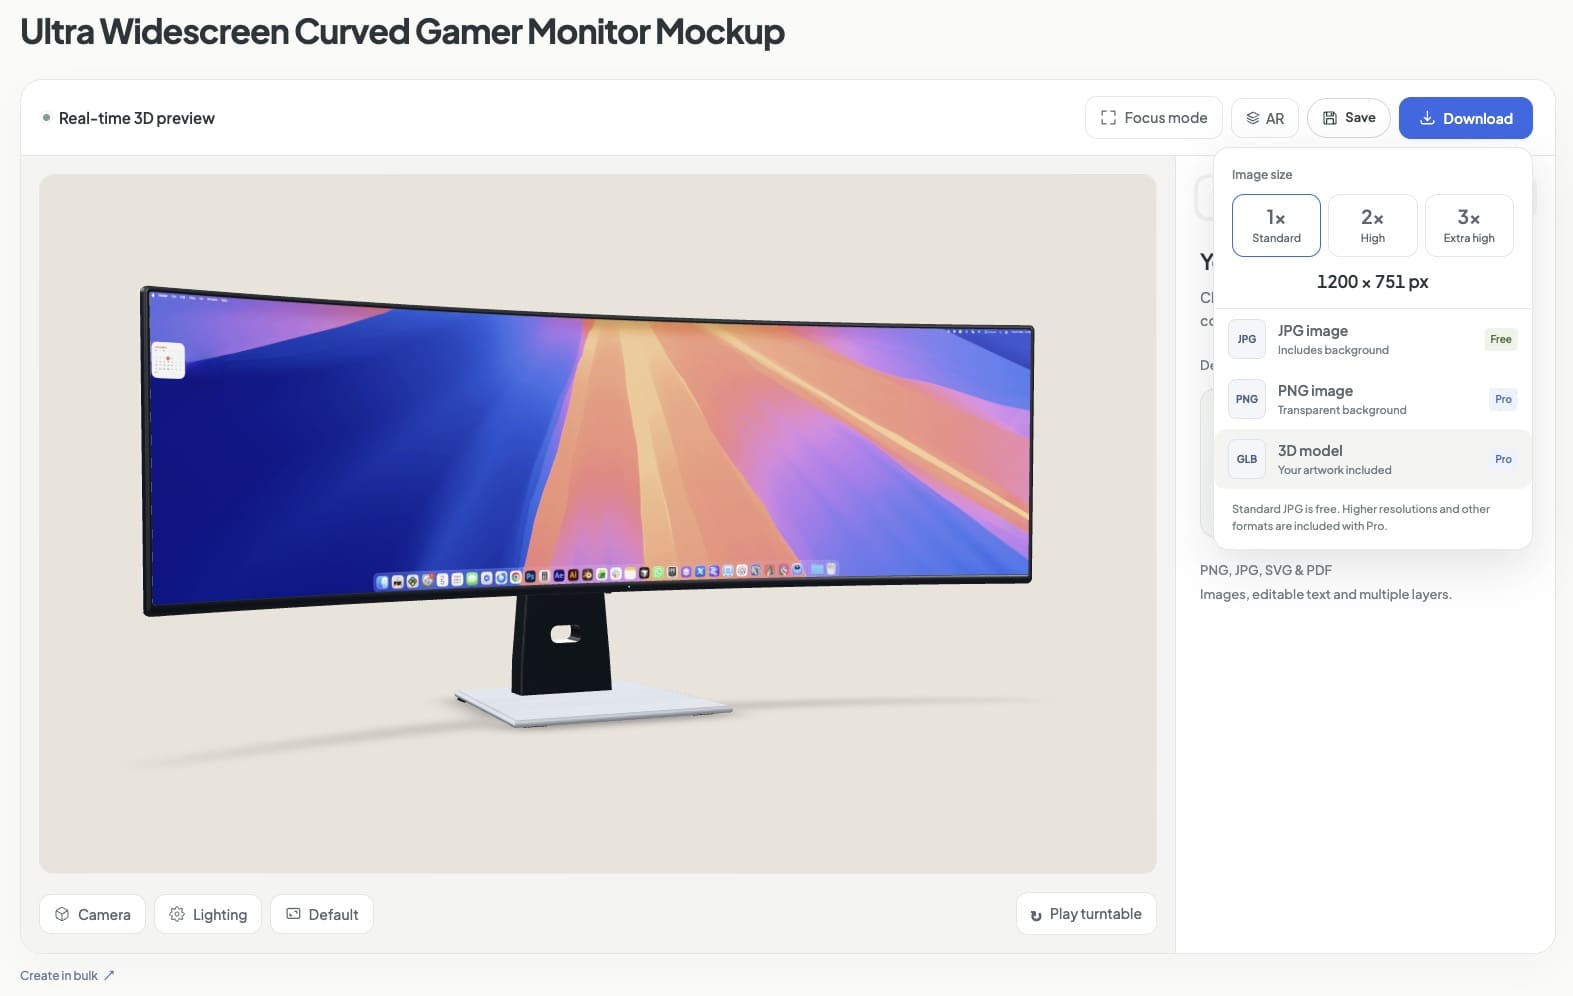
Wait for the file to finish preparing, then save it with your project assets.
The GLB includes the product geometry, materials, and current artwork textures.
However, your Mockaps artwork layers and text are not converted into separate After Effects layers.
Also, the Mockaps camera, lighting, environment, and background are not transferred as a complete After Effects scene.
You will set up the composition around the model yourself.
3. Import the model into After Effects
Now, open After Effects and create a composition for your final format.
For a first test, a short composition gives you room to experiment without building a whole campaign at once.
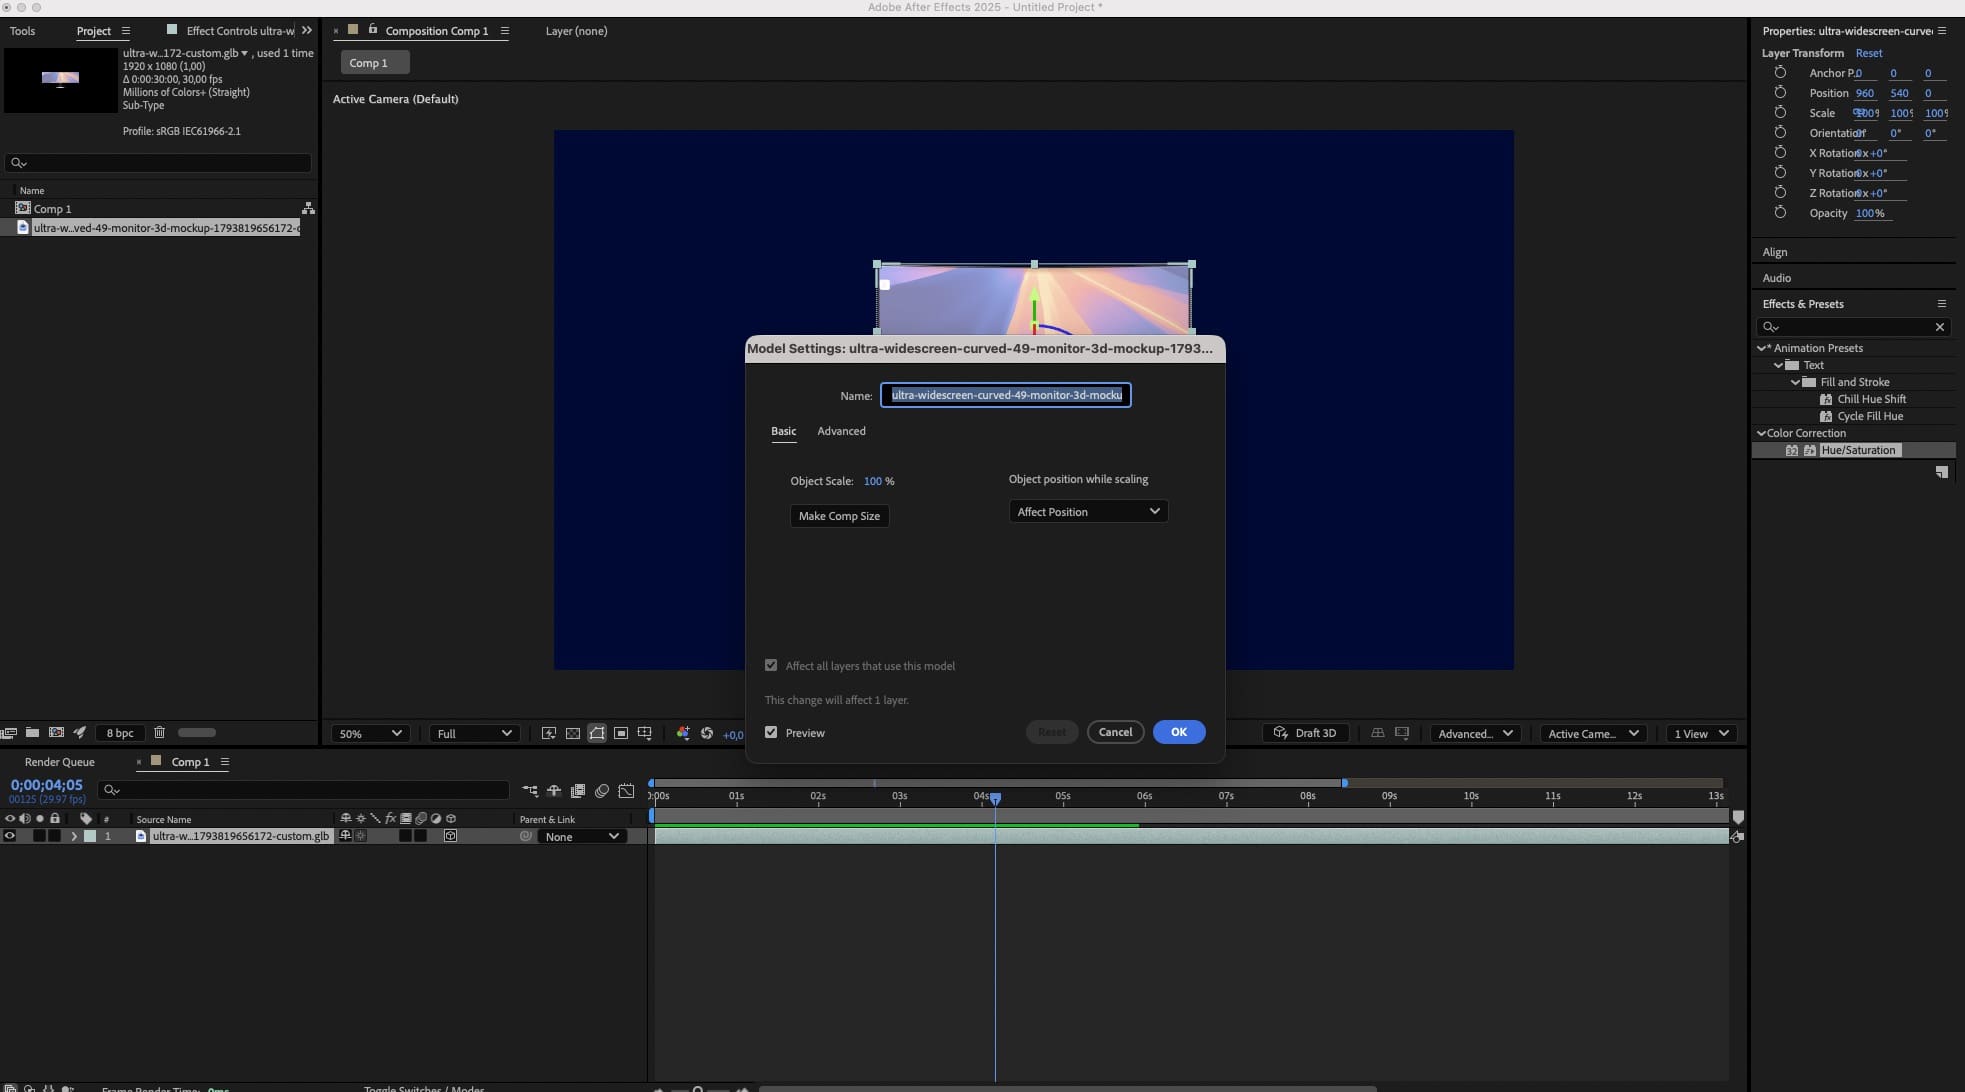
Choose File → Import → File and select your GLB.
Then, drag the imported model from the Project panel into the composition's Timeline panel.
In Model Settings, check the preview and adjust the initial size or up axis if needed.
Make Comp Size can help bring a model into view when its imported size is unsuitable.
Confirm the settings with OK.
You can reopen the dialog through Layer → Model Settings.
These controls are described in Adobe's import instructions.
4. Check the renderer and product framing
Adding a native 3D model automatically switches the composition to Advanced 3D.
This is the native renderer used for imported 3D models.
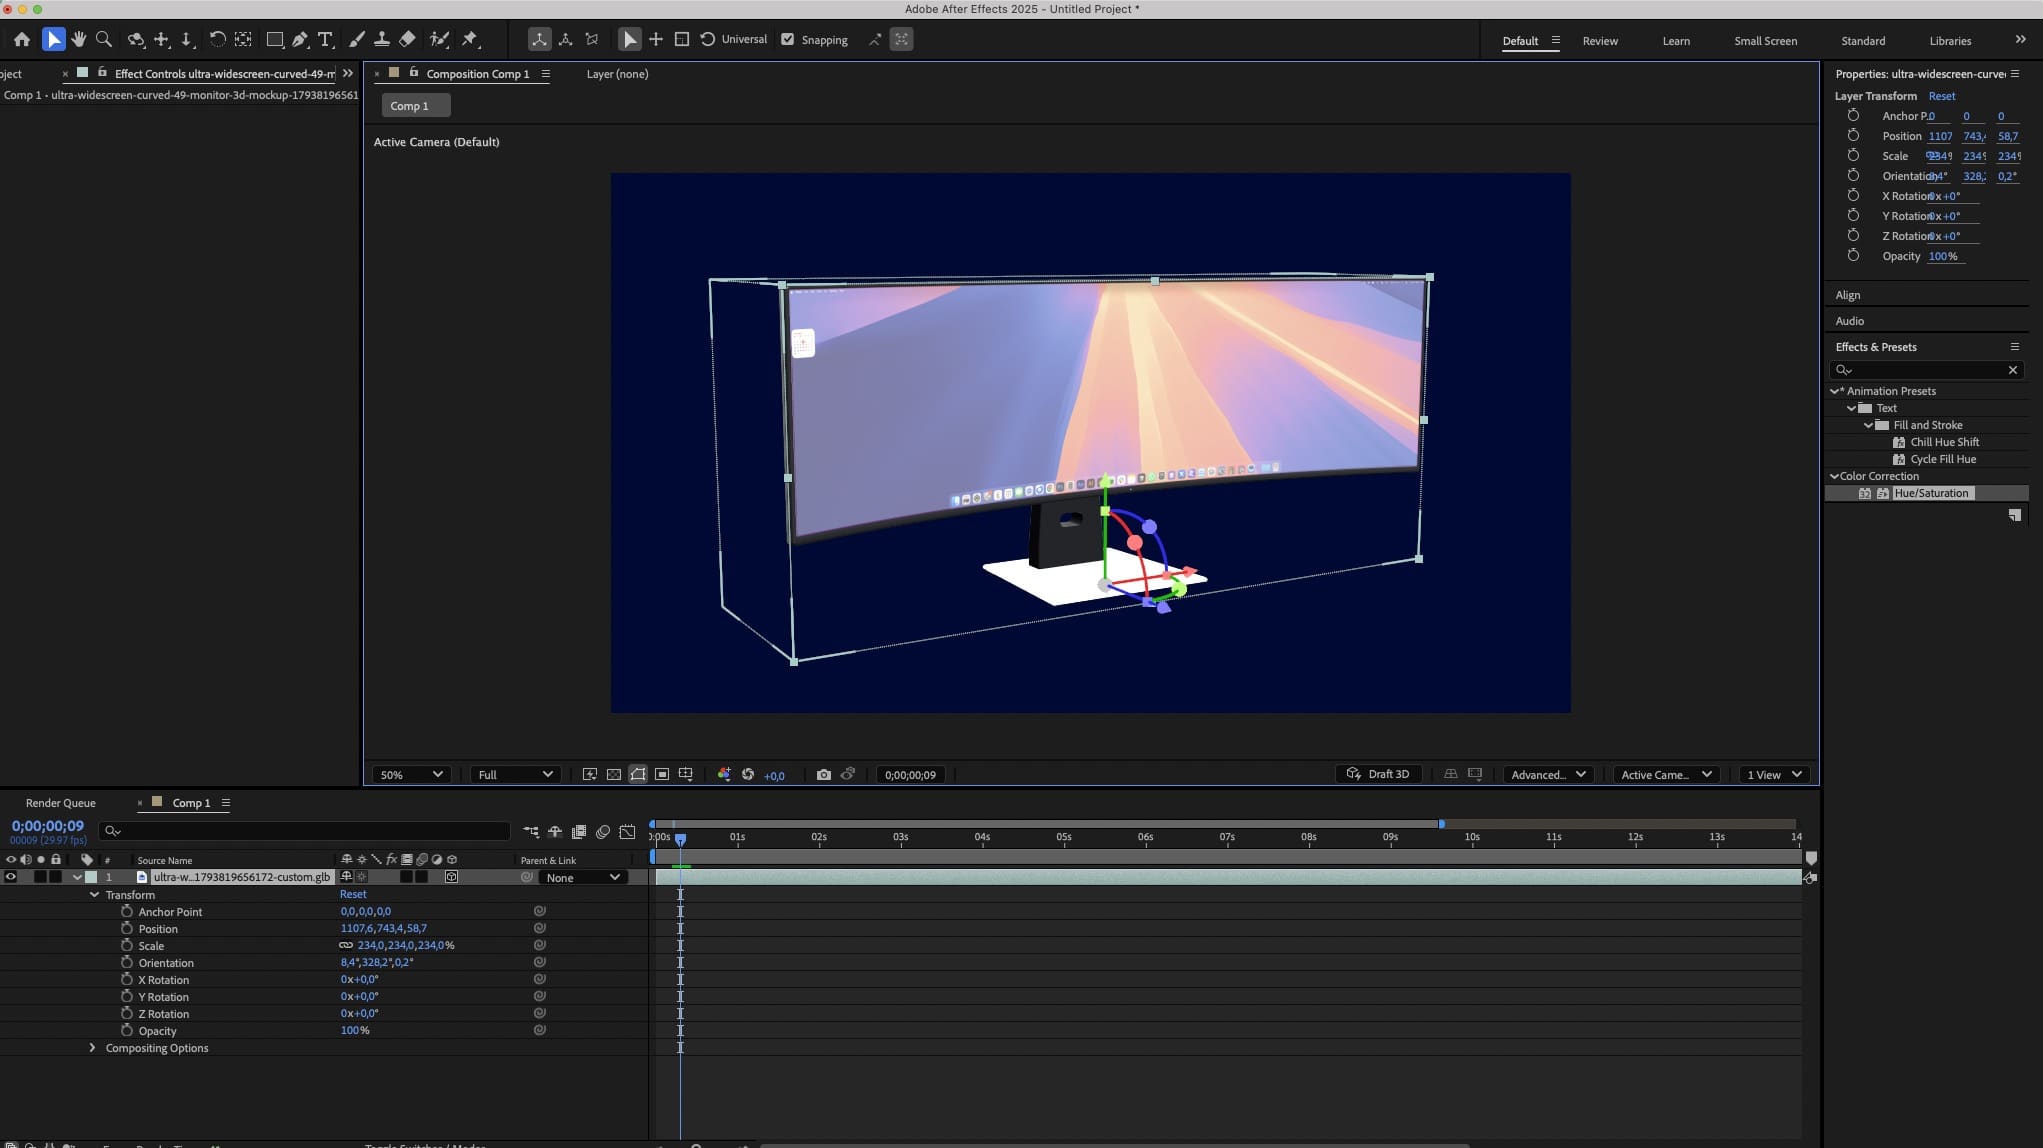
If the model does not display correctly, check the composition's 3D Renderer setting before continuing.
Adobe explains the renderer and its GPU requirements in the Advanced 3D guide.
Next, use the model layer's Transform properties to adjust its position, scale, and rotation.
For the sachet, start with a slight turn that shows its thickness while keeping the front artwork readable.
For the puck, tilt the top surface toward the viewer so the emblem remains visible.
Leave space for the headline or other graphics you plan to add.
5. Set up lighting and the background
After Effects provides a default hidden environment light when you add the first model.
Once you add a light layer, that default lighting is replaced by your scene's lighting setup.
Therefore, if the appearance changes suddenly after adding a light, check the lighting before changing the model.
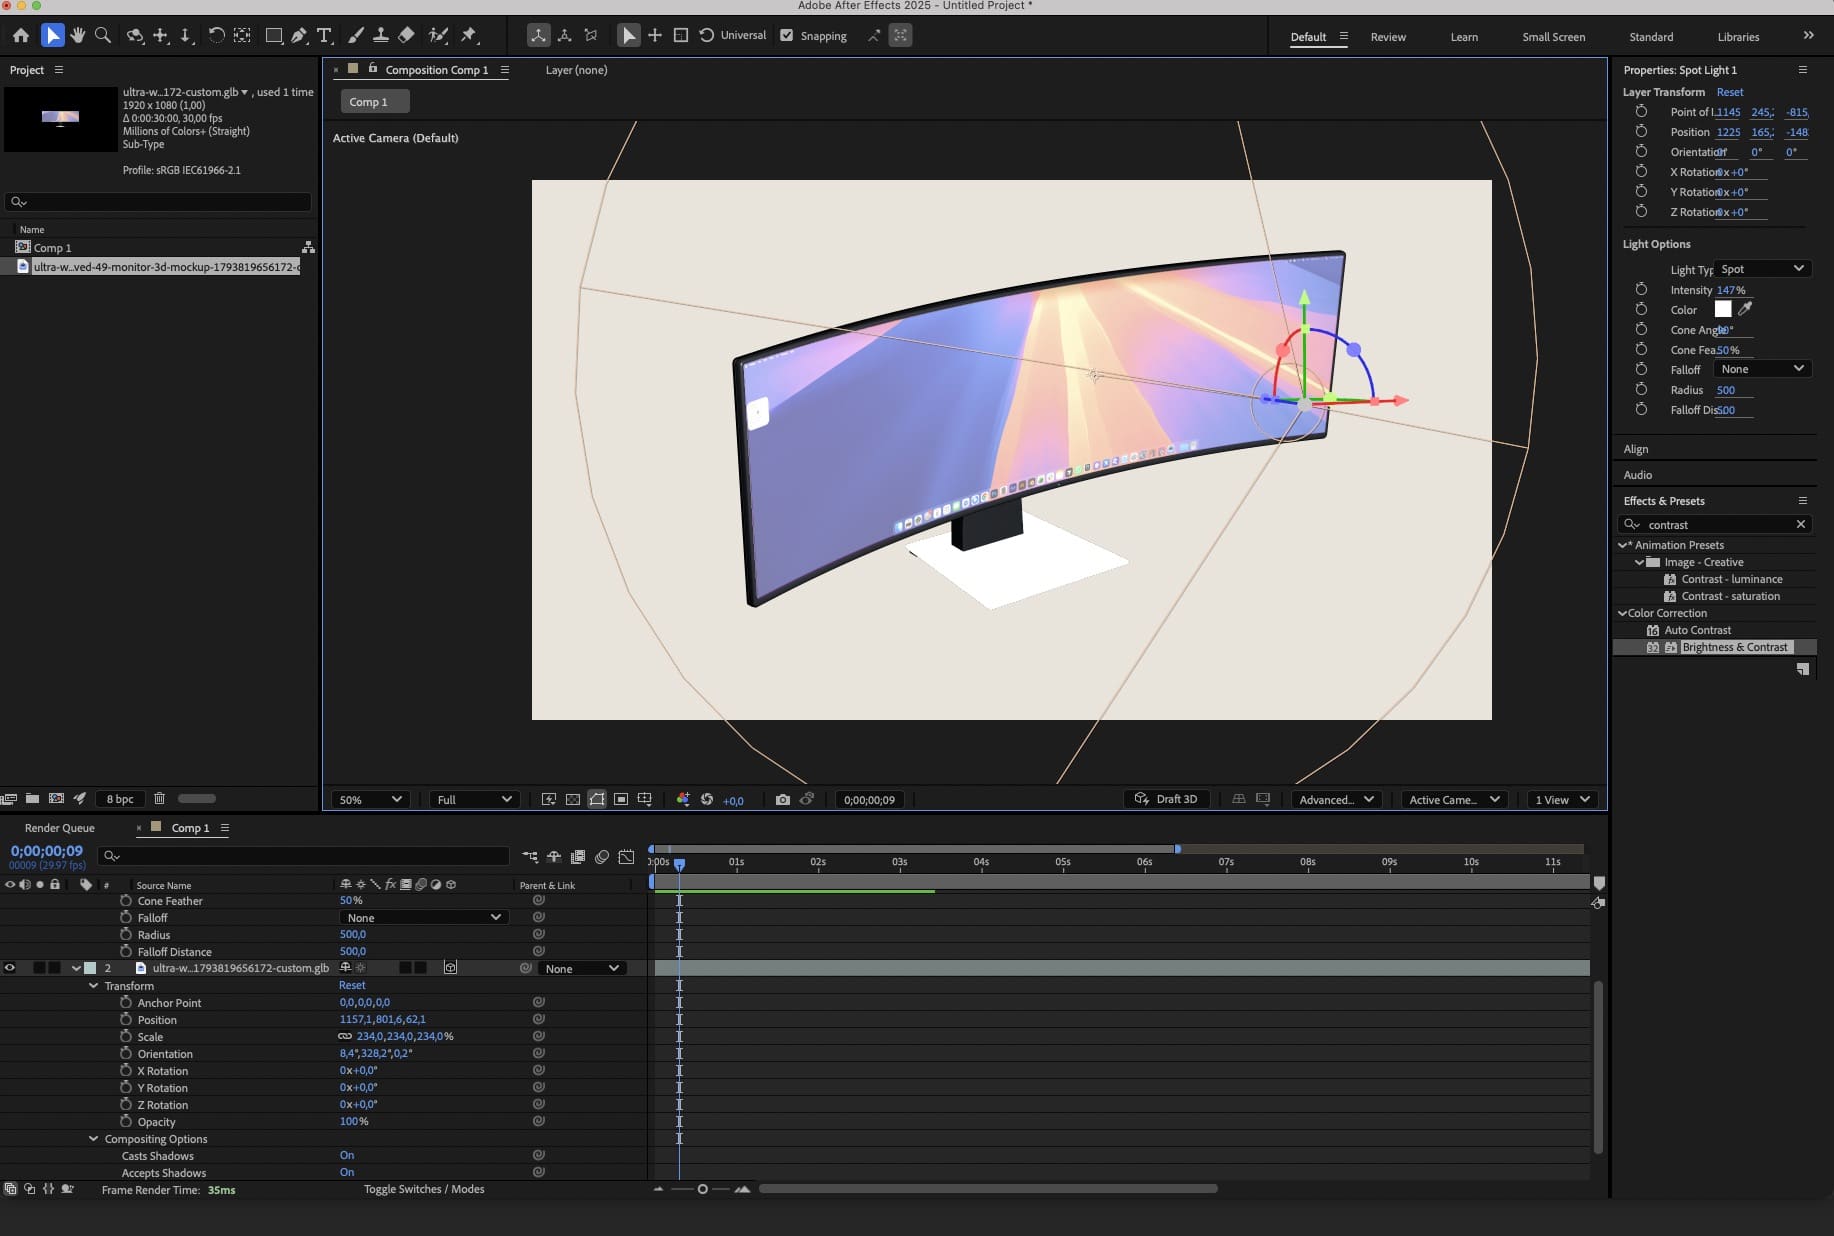
Adobe describes this default behavior in its 3D lights and cameras guide.
For a simple starting point, choose Layer → New → Light and set the light type to Environment.
An environment light uses an image-based environment to create lighting and reflections around the model.
See Adobe's environment lighting guide for the setup.
Next, decide whether your animation needs a visible background.
For a finished product ad, you could add a colored solid below the model.
For a transparent product overlay, leave the area around the model empty.
Keep the background separate so you can change it without redoing the product animation.
6. Create a simple product turn
Start with one movement, such as a gentle rotation.
First, move the playhead to the start of your composition and expand the model layer's Transform properties.
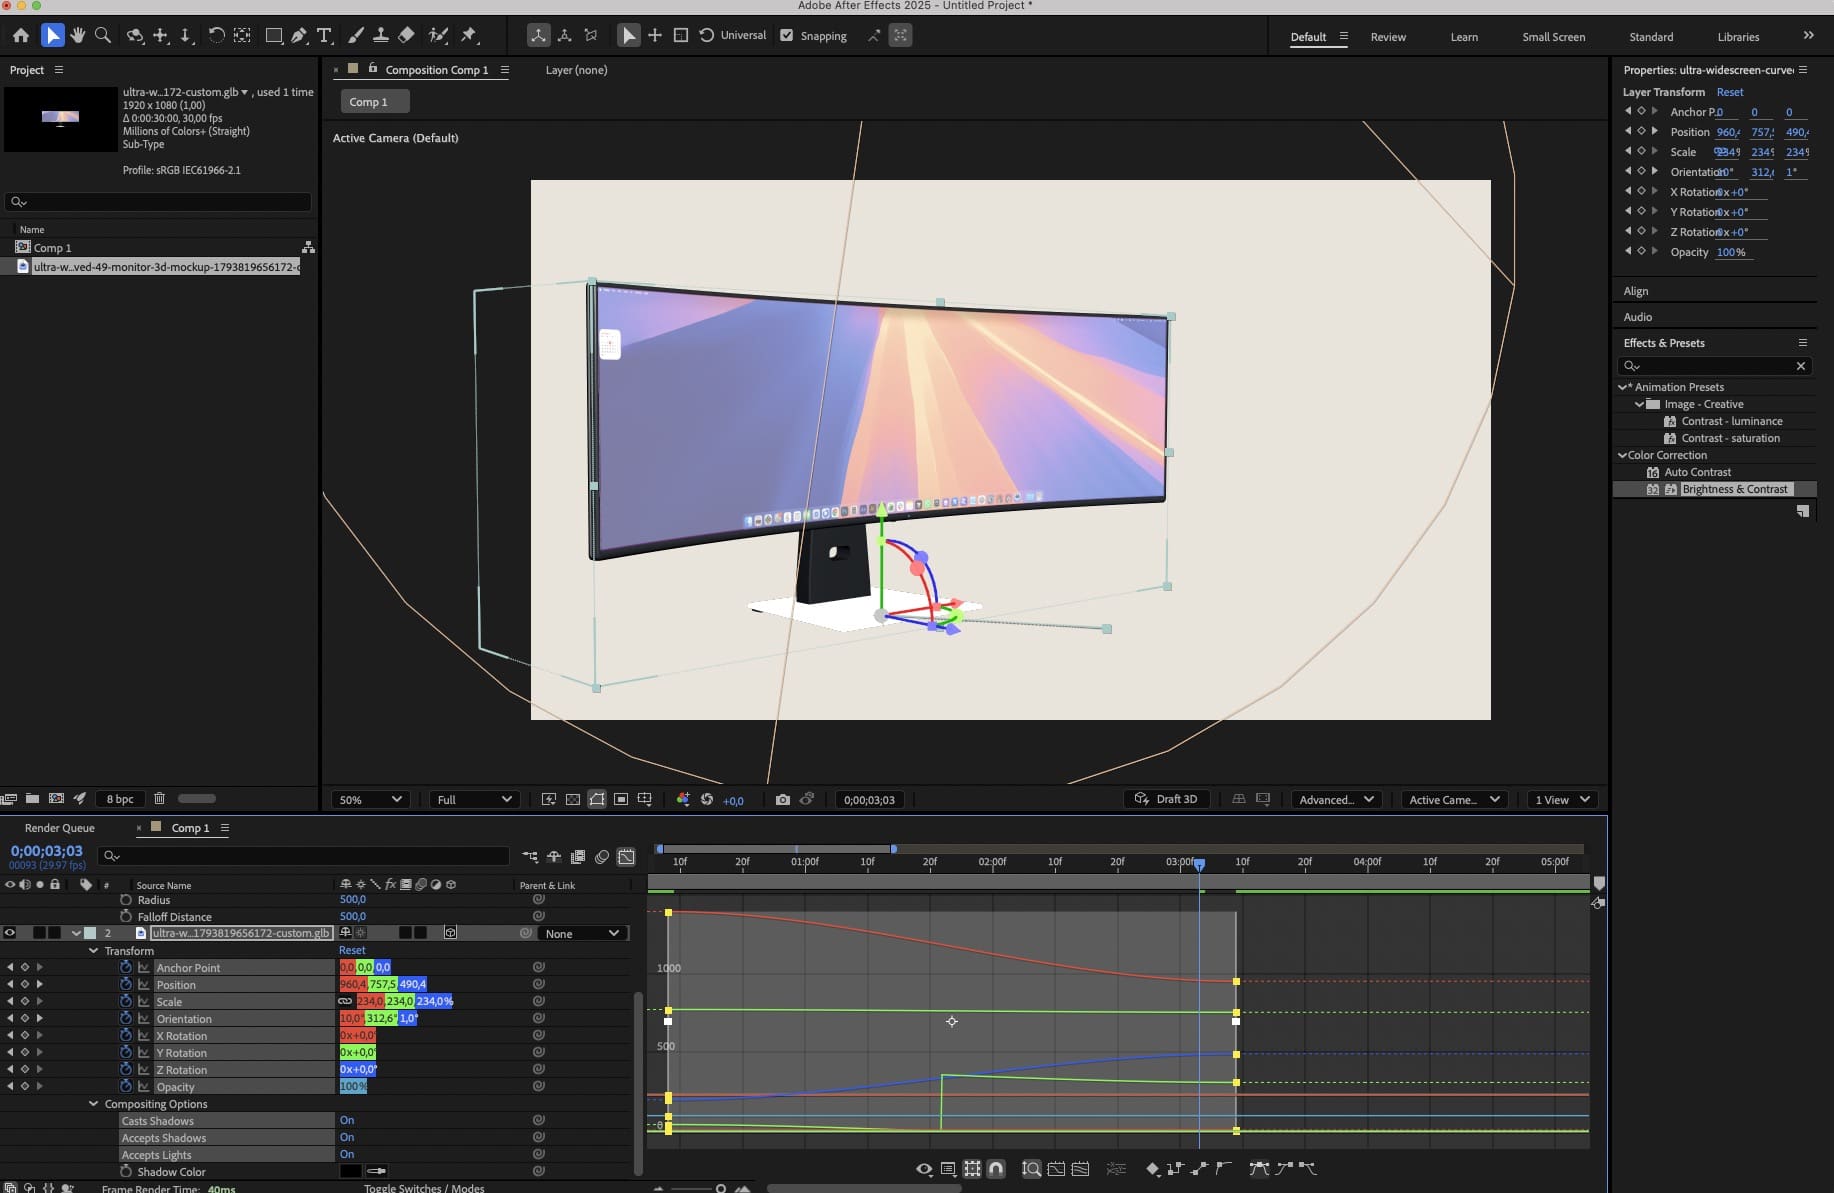
Choose the rotation axis that gives the movement you want.
For an upright sachet, try Y Rotation and check the direction in the preview.
Set a starting angle, such as -20°, then click the stopwatch beside that rotation property.
Next, move the playhead to two seconds and change the angle to 20°.
After Effects creates another keyframe when you change an animated property at a new time.
Then, select both keyframes and choose Animation → Keyframe Assistant → Easy Ease for a softer start and finish.
Preview the result and adjust the timing until the label stays readable.
For more detail, see Adobe's beginner keyframe tutorial.
If you want a continuous turn at constant speed, use linear keyframes instead of easing each full rotation.
For the hockey puck, a small tilt and turn may show the branding more clearly than a fast full spin.
7. Add text and supporting graphics
Next, build the message around your animated product.
For a sachet promotion, add a short headline and one benefit beside the packaging.
For a team merchandise video, pair the puck with the team name and launch date.
Keep promotional text in separate After Effects text layers when it needs to stay editable.
This is useful for changing dates, prices, or campaign messages without exporting a new product model.
Finally, preview the whole composition and check that the movement does not hide the main message.
8. Render the animation, with transparency if needed
First, save your After Effects project.
Then, choose Composition → Add to Render Queue.
Set the output location and open the Output Module settings to choose your delivery format.
For a transparent movie, choose QuickTime with an alpha-capable codec such as Apple ProRes 4444.
Set Channels to RGB + Alpha, and make sure no visible background layer fills the empty areas.
Adobe documents alpha output in its render and export guide, and recommends QuickTime with ProRes 4444 for transparent video in its transparent video guidance.
A .mov extension alone does not guarantee transparency.
The codec and alpha-channel settings must support it too.
After rendering, import the result into a test composition and place it above a colored solid or another video.
The layer underneath should remain visible around the product.
Remove or hide any temporary test background before rendering another transparent version.
Frequently asked questions
Do I need a separate 3D plugin?
This workflow uses native GLB import and the Advanced 3D renderer in a supported version of After Effects.
You do not need a separate 3D plugin for these steps.
Why does the product look different from Mockaps?
After Effects uses its own renderer, lighting, and color settings.
The exported materials and artwork are a starting point, but the complete Mockaps scene is not included.
First, check the environment lighting and composition setup.
If you want to keep the exact view and movement you prepared in Mockaps, use a rendered image or video instead.
Will the Mockaps animation transfer automatically?
A turntable or camera animation created in the Mockaps editor does not transfer as a ready-made After Effects composition.
Create that motion again with After Effects keyframes, or use a Mockaps video export.
If a template includes a built-in model animation and the exported GLB contains it, After Effects can expose supported clips under Animation Options.
See Adobe's embedded animation guide for selecting those clips.
Can I edit the printed text on the model?
Your Mockaps artwork arrives as textures, so its printed text does not become editable After Effects text.
For an easy revision, reopen your Mockaps project, change the design, and export an updated GLB.
Keep the old version until you have checked the new model's framing and animation.
Why does my transparent video show black?
A player may display transparent areas against black, so test the file above another layer in After Effects.
If black still covers that layer, check for an opaque background in the source composition and confirm that the export includes an alpha channel.
Renaming a file to MOV does not add transparency.
What if the model will not import or the preview is slow?
First, check that you downloaded a GLB and that your After Effects version supports native 3D model import.
Alternatively record a HD video directly from Mockaps and simply import a video file into After Effects.
Then, check Adobe's Advanced 3D system requirements.
For a heavy composition, try one model first and use Draft 3D while arranging the scene.
Check the final-quality result before exporting your finished animation.
KEEP EXPLORING
Need a hand with this guide? Ask a question ↗