
On this page
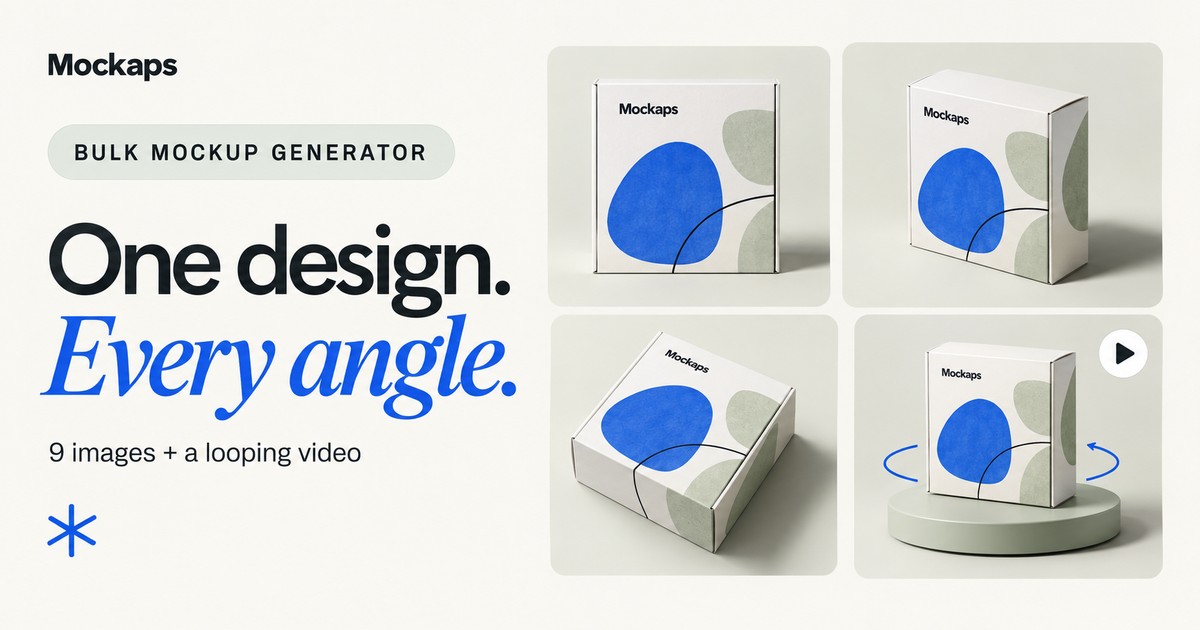
“Can I see the back too?”
Then the top, and a quick video...
If you’ve presented packaging to a client, you know how one mockup turns into a list of exports.
The Bulk Mockup Generator makes that set from one editable 3D setup.
Add your artwork once, choose your views, and generate the images together.
What you can make in one pack
A pack contains up to nine square images and an optional three-second MP4 turntable at 60 fps.
Each view uses the same artwork, materials and scene.
You can use the set for a product listing, a client presentation or a launch campaign.
This flow works with one product and artwork setup per pack.
To make a different product or design, set up another pack.
Before you start
Have your artwork ready. The design editor accepts PNG, JPG, SVG and PDF files, and you can also add text directly.
You can explore the tool without signing in and generate up to five free preview packs in a rolling 24 hours, at 800 × 800 pixels.
Downloading the ZIP requires an active Mockaps Pro plan.
Pro also unlocks 1200 × 1200 and 1600 × 1600 images and continued pack generation beyond the free allowance.
1. Pick a mockup
Open the Bulk Mockup Generator and choose a product.
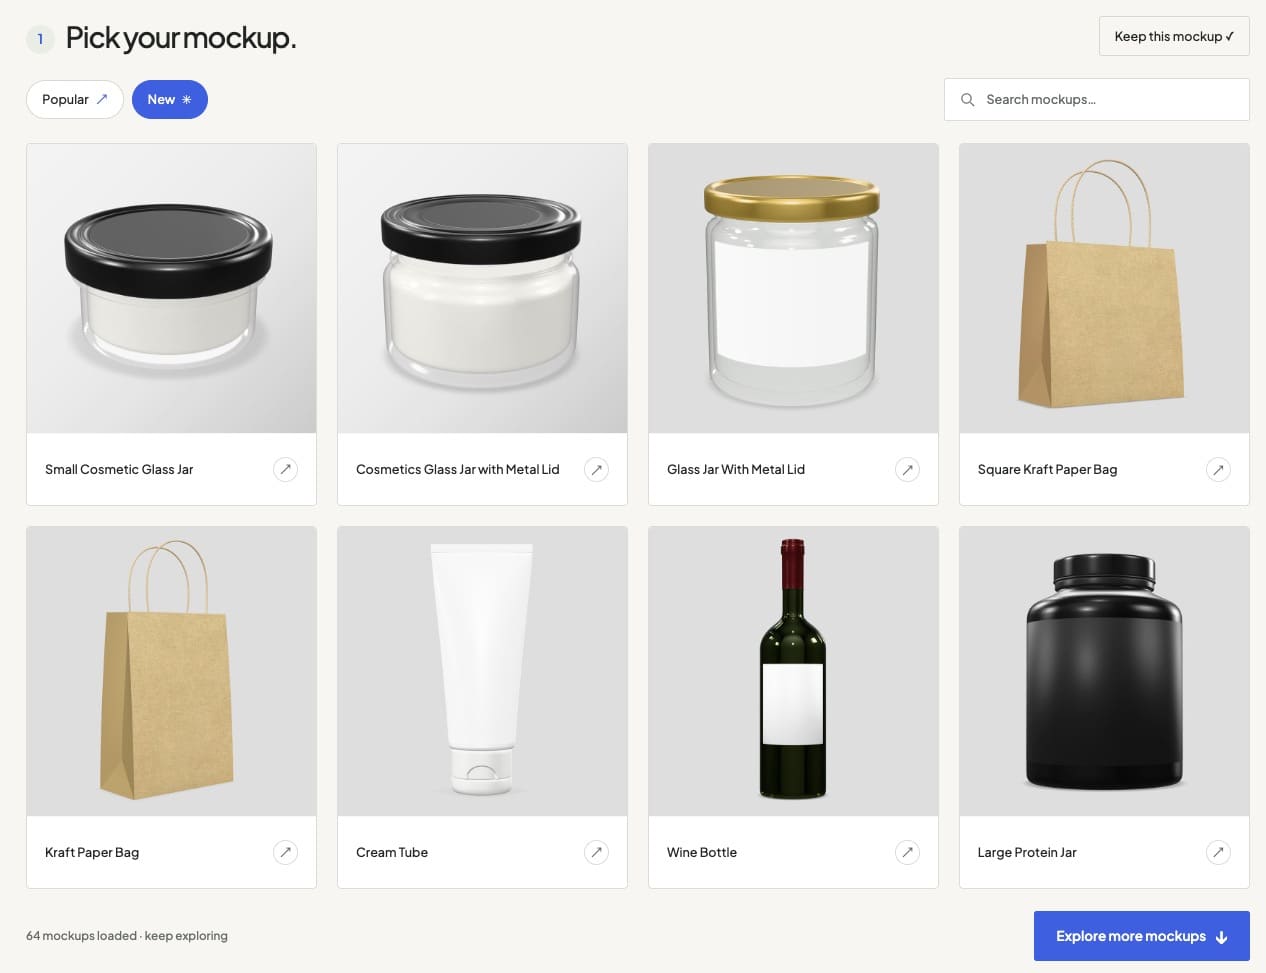
Use Popular, New or the search field to find a suitable template.
Explore more mockups reveals more of the catalog.
For a first pack, try a box with a front, back and top worth showing. A nearly flat object may give you fewer useful views.
2. Add your design and set the scene
In Artwork, press Add artwork for the surface you want to edit.
The larger design editor opens with the available surfaces.
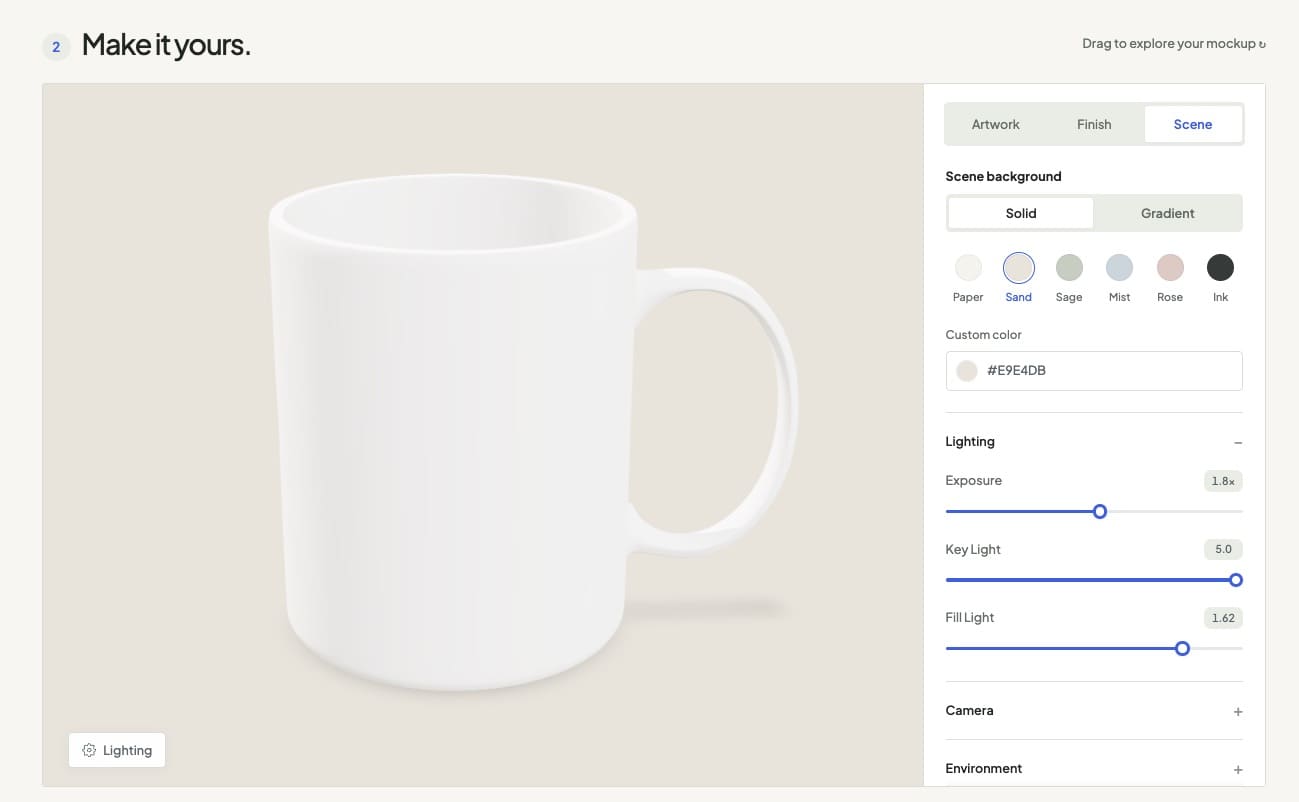
Upload your design, adjust its position and scale, and check the live 3D preview.
If the mockup has separate areas, such as an outside and inside, check each one.
Then press Done editing to return to the inline studio.
- Finish: adjust the available materials and colors.
- Scene: choose a background and refine the scene settings.
- Lighting: compare the lighting presets below the preview.
Next, drag the 3D view into a composition you like. That framing becomes the Your camera image in the pack.
Some models also have a Closed/Open slider.
Choose the pose before generating.
That pose stays fixed in the stills and during the turntable video.
Try this: frame a box at a three-quarter angle so you can read the front and see one side. Leave room around its corners for the other views.
3. Choose your pack options
Open Pack options below the editor.
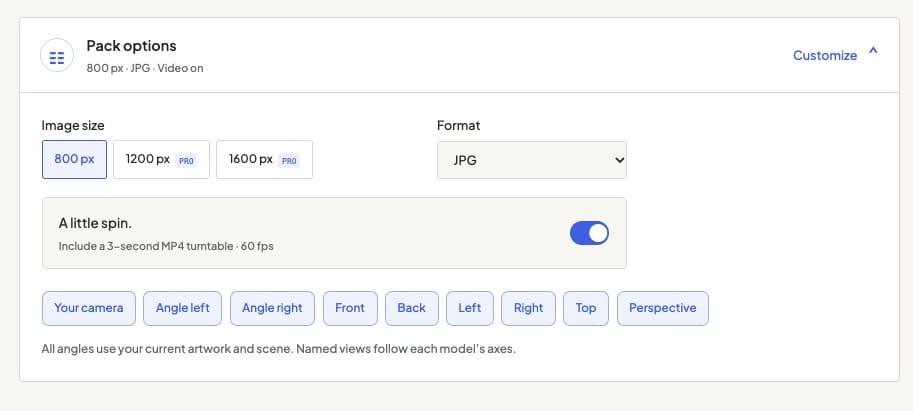
The starting setup is 800 px, JPG, all nine views selected, and video on.
You can change those choices before generating.
| Option | What to choose |
|---|---|
| Image size | 800 × 800 for the free preview. Pro also offers 1200 × 1200 and 1600 × 1600. |
| JPG | Keeps your scene background in the still images. |
| PNG (transparent) | Removes the scene background from the still images, ready to place in another layout. |
| Video | Keep the three-second MP4 turntable, or switch it off for an image-only pack. The video keeps your scene background even when the stills use PNG. |
You can also untick views you do not need: Your camera, Angle left, Angle right, Front, Back, Left, Right, Top and Perspective.
The front, back and other named views follow the model’s axes. Check their previews rather than assuming every view will suit every product.
4. Generate, then check the whole set
Press Generate my pack and let the tool finish.
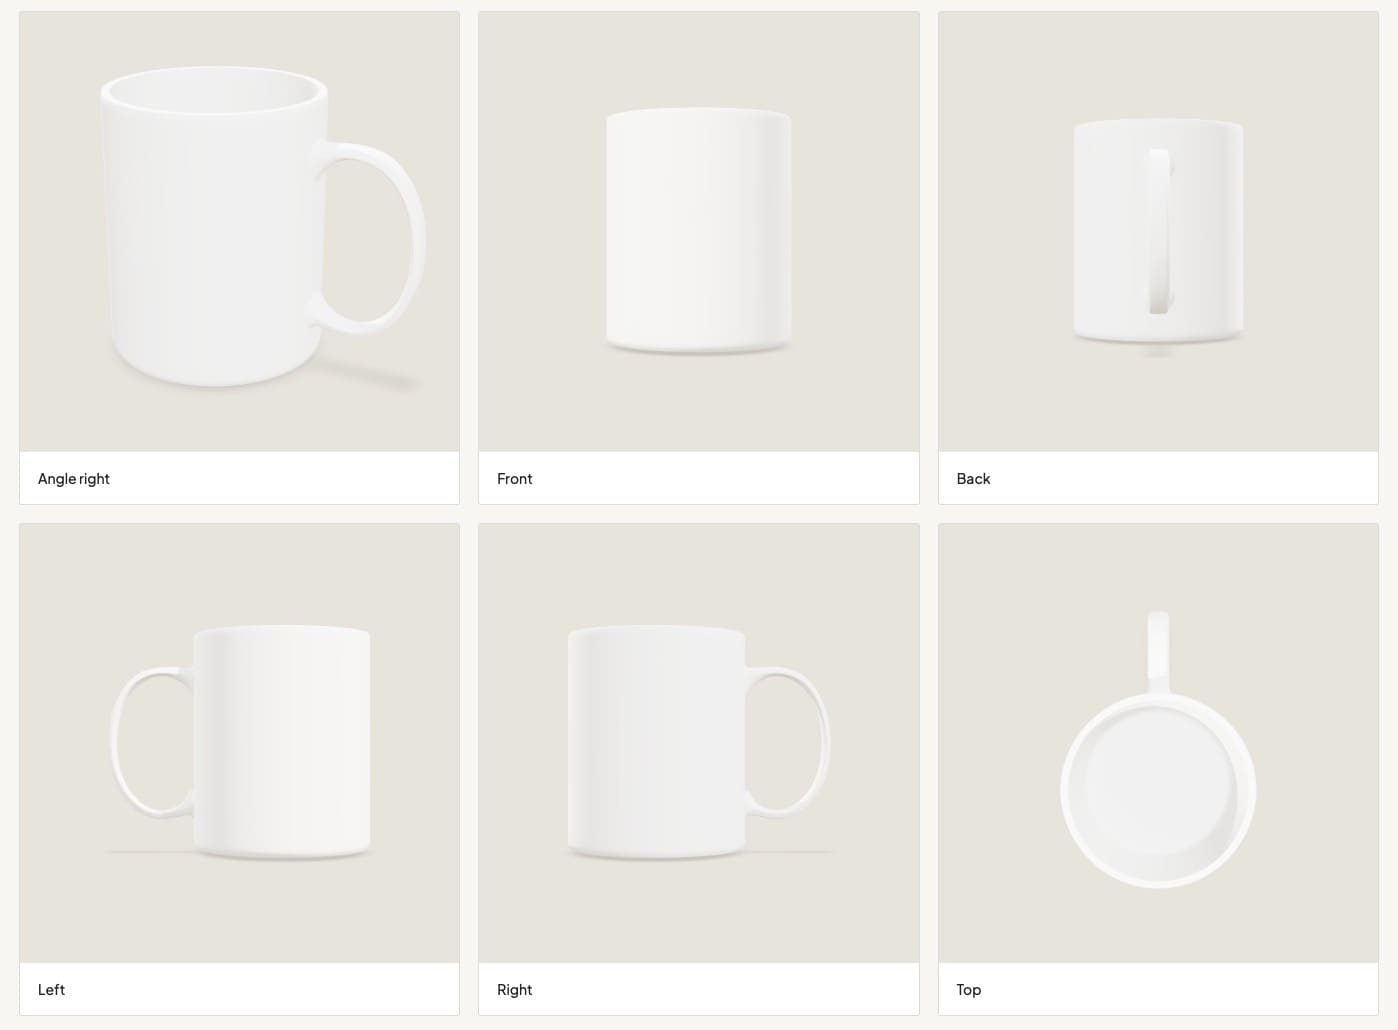
Then review the results. Look for clipped corners, artwork wrapping around edges, and reflections that make small text hard to read.
For example, a side view of a thin card may show little more than its edge. You can leave that view out of the next pack.
If something needs work, adjust the design, scene or camera and generate again.
Generation happens in your browser, so the time depends on your device, the model, image size and video support. Larger packs and complex materials can take longer.
5. Download your mockup pack
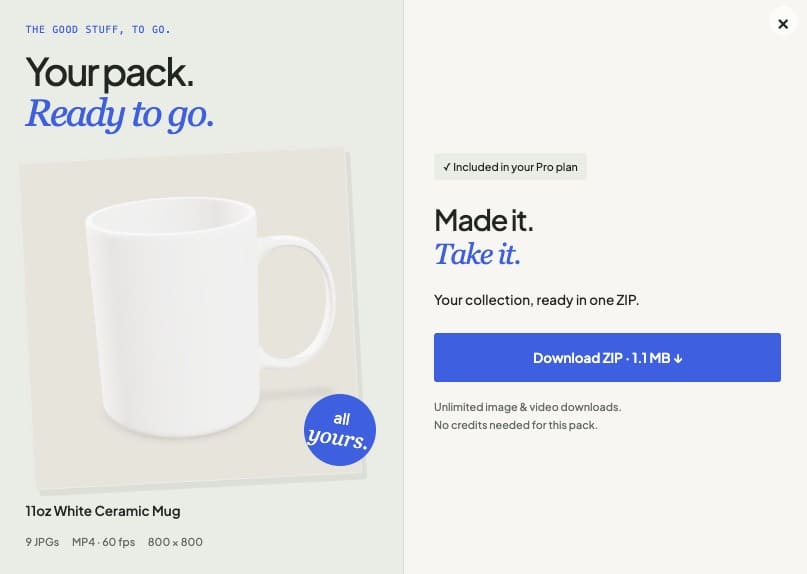
Press Download my pack. With active Pro access, choose Download ZIP.
The ZIP contains your selected still images, the MP4 if included, and JSON files describing the scene and generation details.
Unzip it and check the files before adding them to your store or presentation.
Download before you leave. The current setup and generated pack stay in this browser session. Reloading or closing the tab loses unsaved work.
Already designed a mockup in the regular editor?
Look for Create in bulk just below the single-mockup editor.
On an ordinary template page, that link opens the same product with its starting settings. It does not carry across unsaved artwork from that tab.
If you want to reuse your edited setup, save it first and open Create in bulk from your saved mockup. This requires Pro access and restores the stored version of your artwork, materials and scene.
Opening the bulk tool does not start generation. You can review the setup before making a pack.
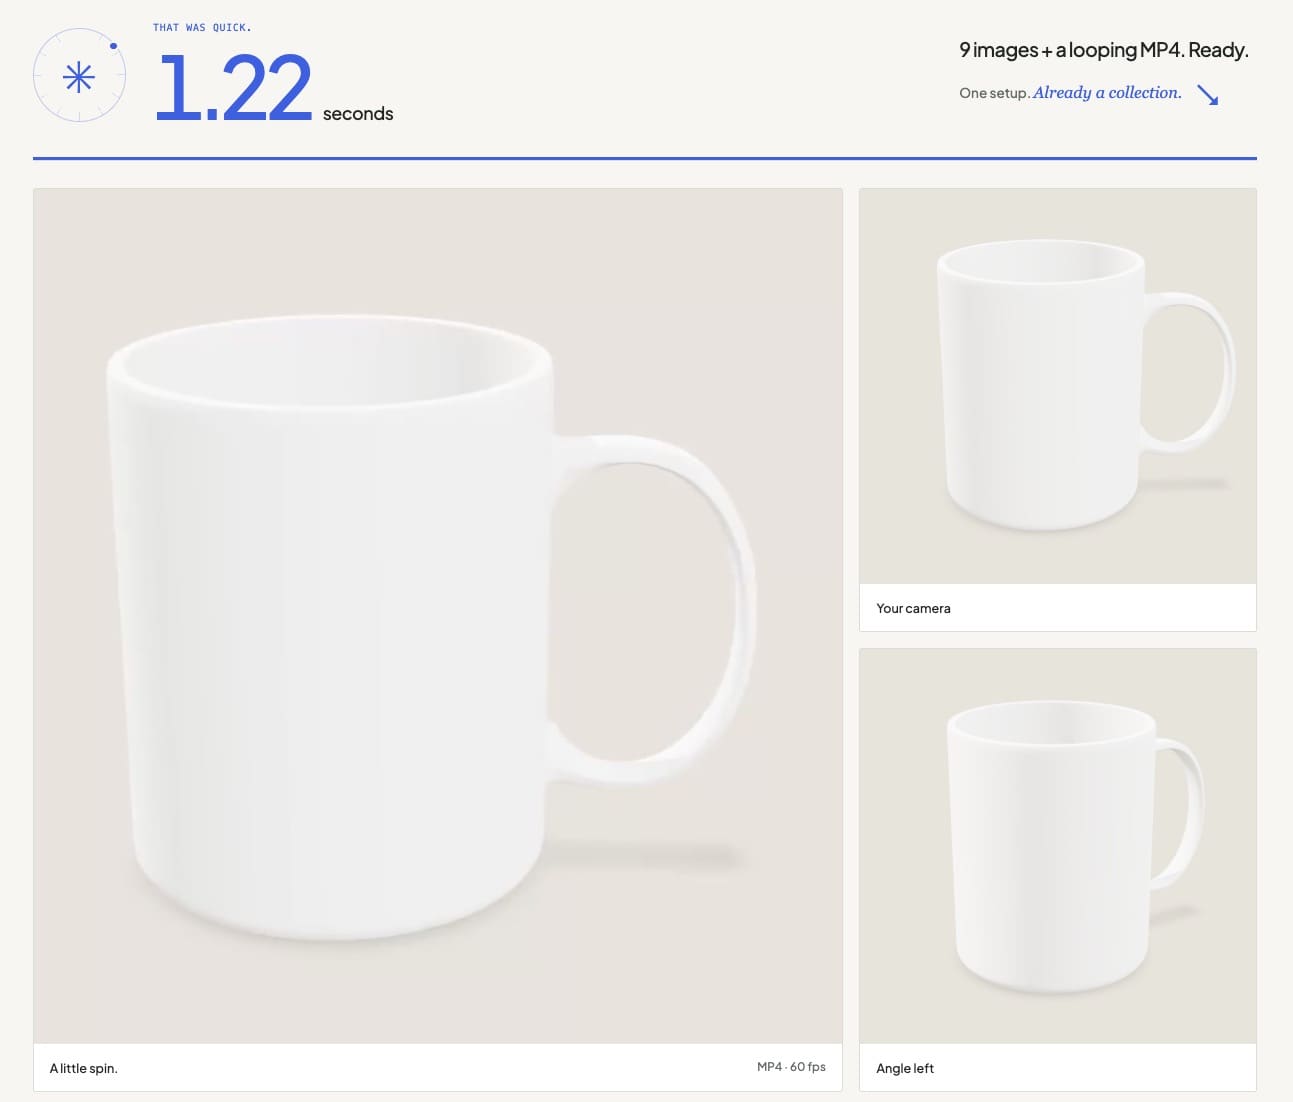
If the video takes too long
Choose Skip video, keep my images while the video is pending. You can still use the completed images.
You can also switch video off in Pack options before generating. If the browser cannot finish the MP4, the tool keeps the images and shows a warning.
Want an opening animation or a planned camera move instead of a turntable? Use the regular editor and follow the guide to creating 3D animated mockups.
For now, start with one product and one design. Make your first pack, then choose the views that tell its story best.
KEEP EXPLORING
Need a hand with this guide? Ask a question ↗