
On this page
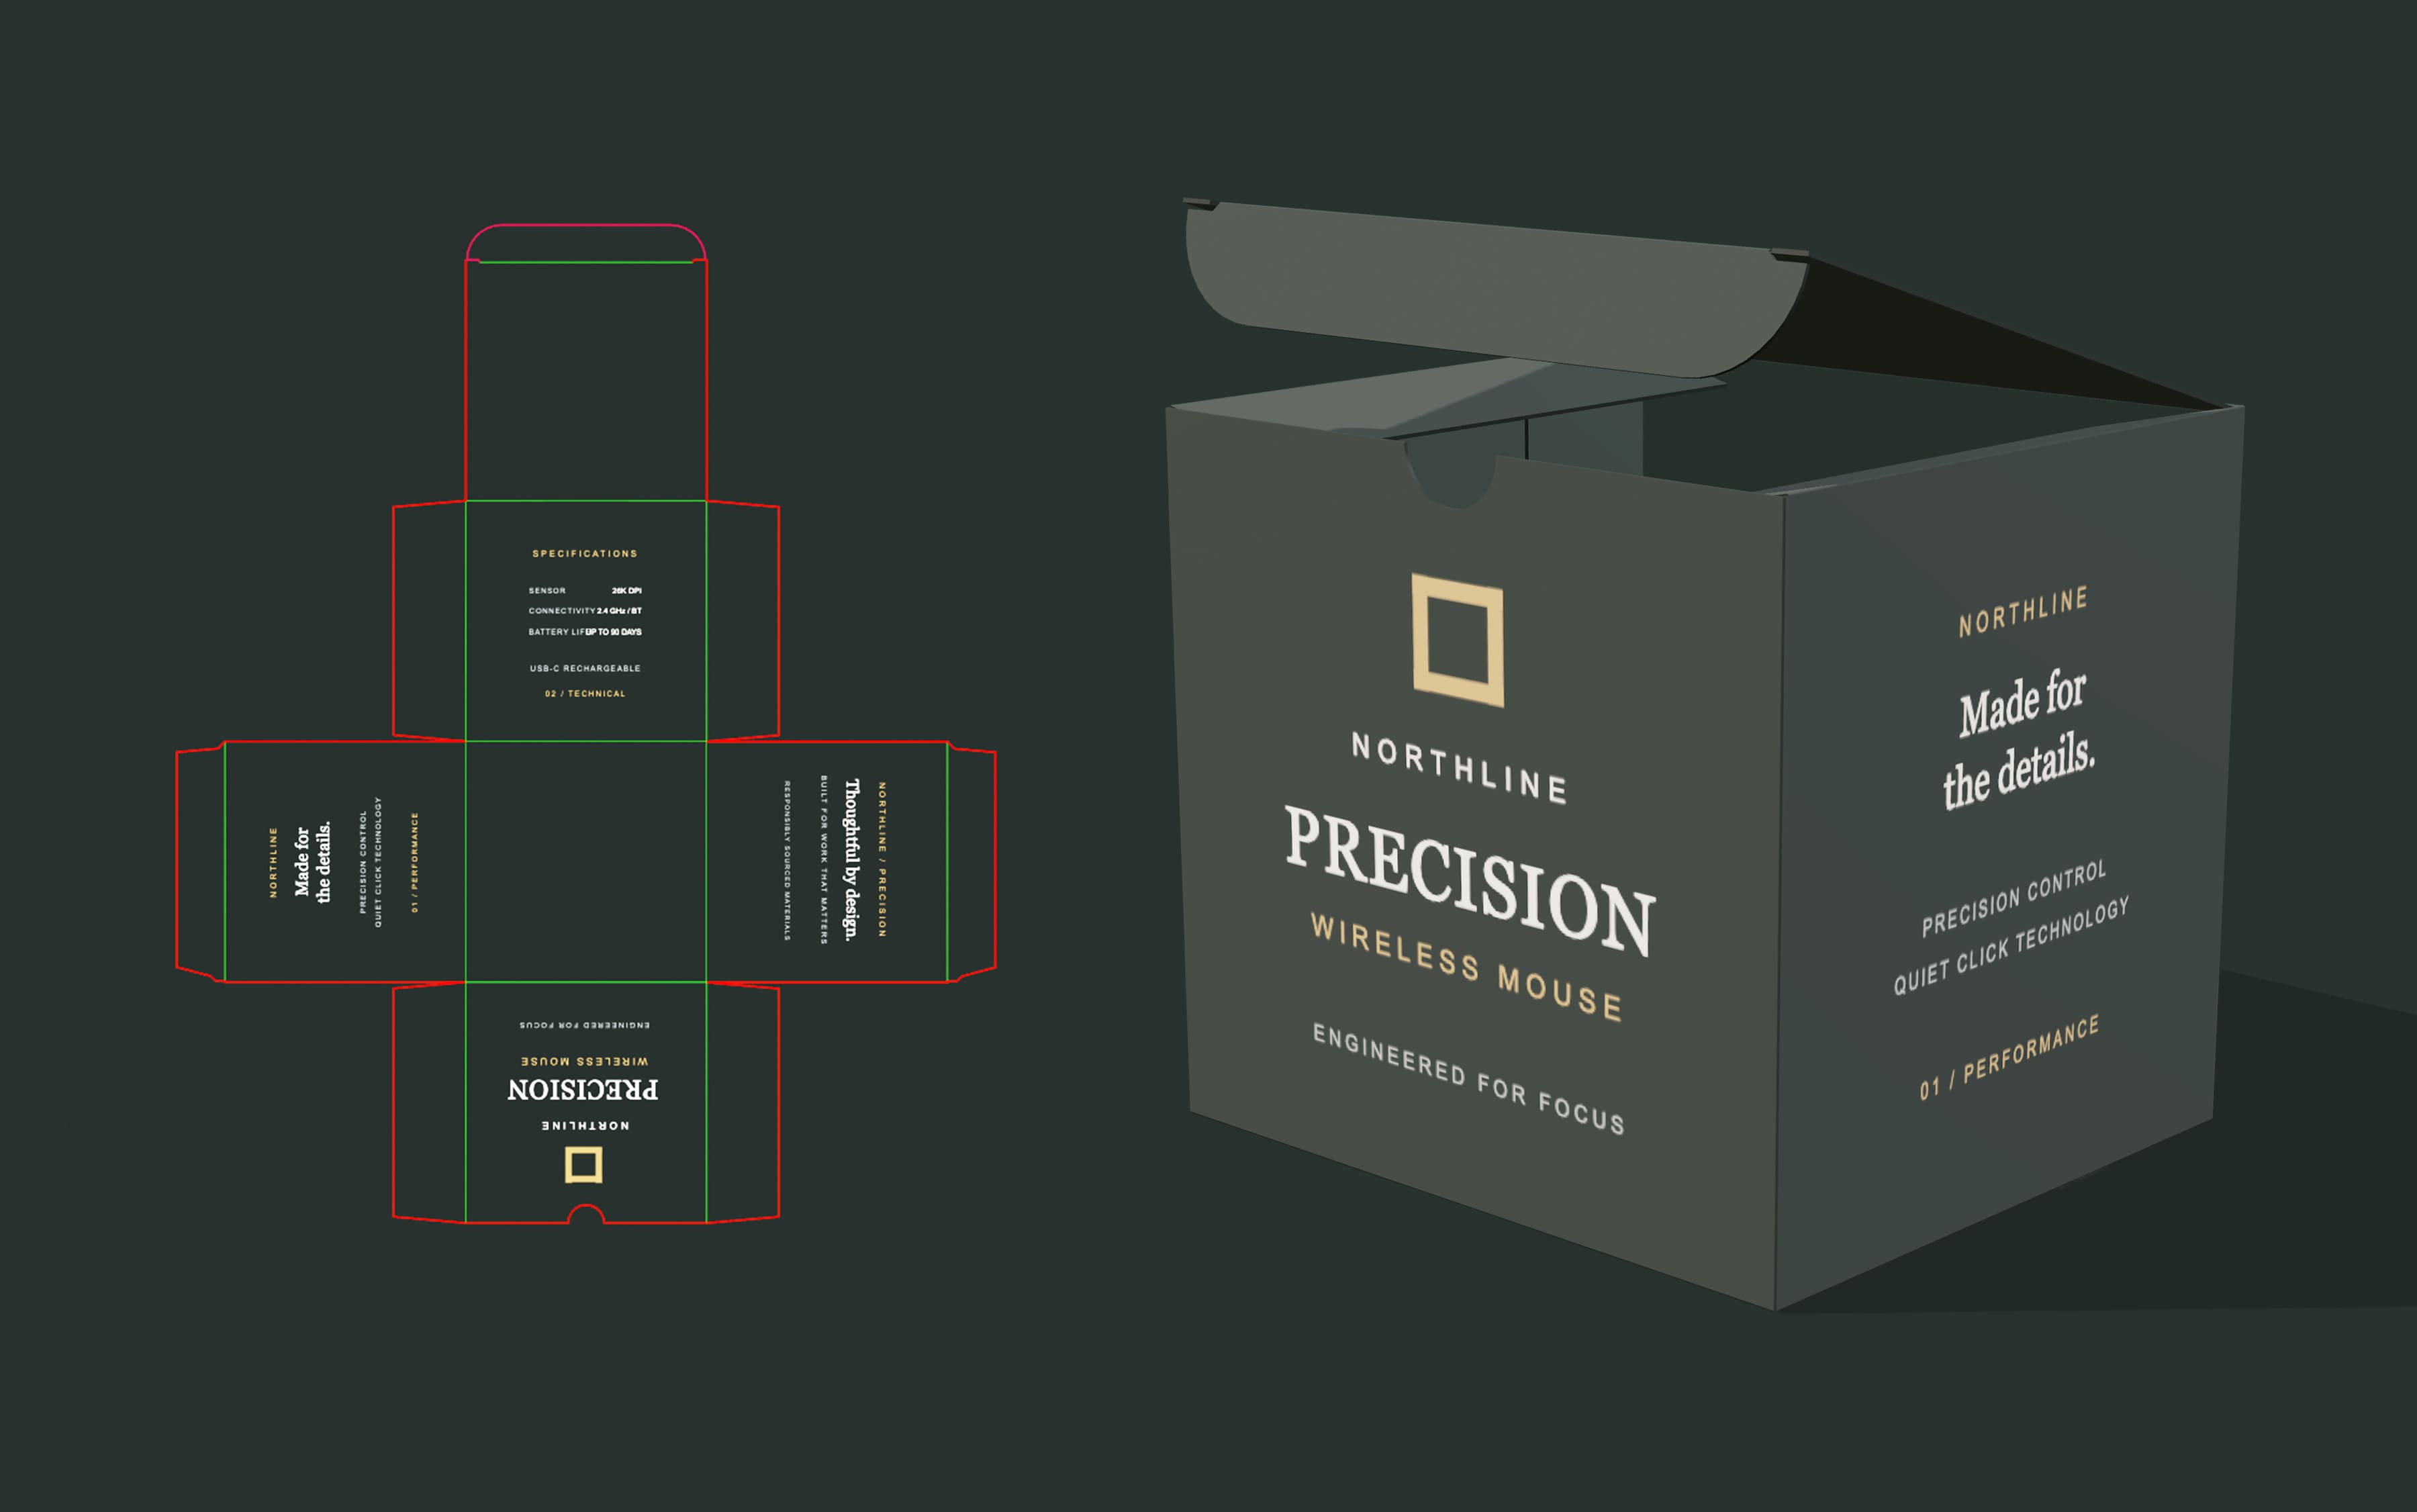
A bus shelter can show two different posters, while each poster may contain a photo, a logo, and a headline.
In Mockaps, those two kinds of editing have different names: design areas and artwork layers.
Once you understand the difference, it becomes much easier to build a complete design without putting artwork on the wrong surface.
Let’s create a simple campaign layout and work through it one step at a time.
What is the difference between a design area and a layer?
A design area is a surface, or set of surfaces, on the 3D model that accepts artwork.
In regular Photoshop mockup terms, this would be Smart Object - place anything you want inside it, and it all will appear on the 3D mockup.
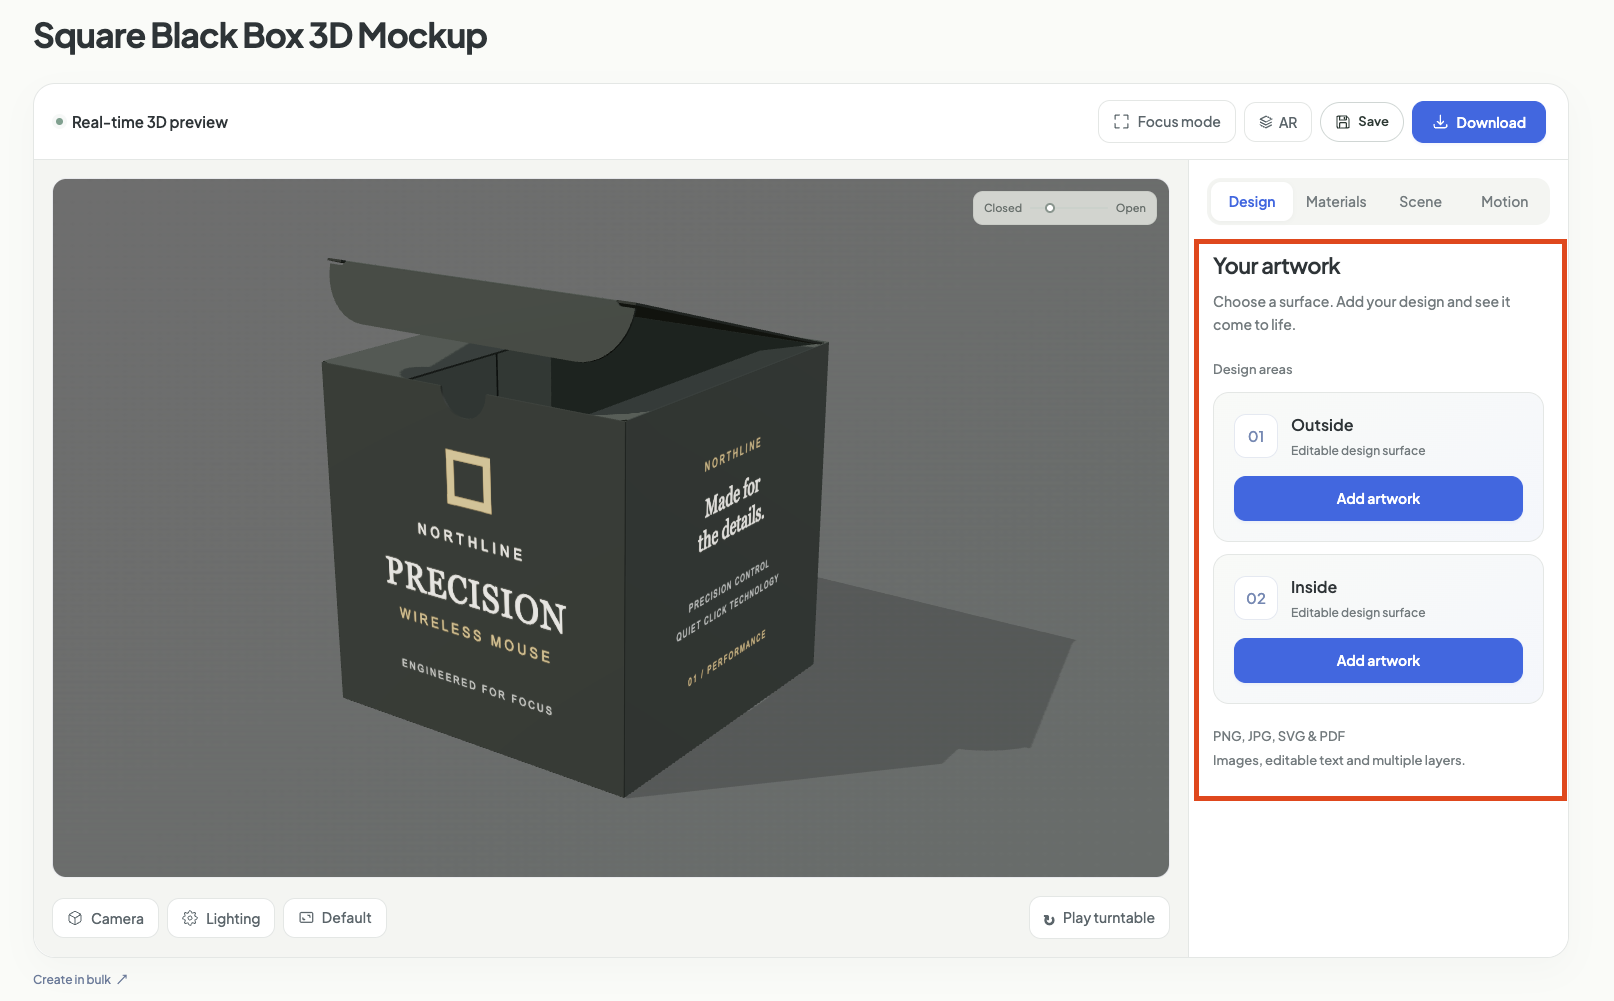
The available areas are defined by the mockup template.
For example, the Double Billboard Bus Shelter 3D Mockup has areas called Front and Interior.
An artwork layer is an individual image or text object placed inside one of those areas.
You could put a background photo, a logo, and a headline in the Front area, then create a different poster in Interior.
Each area keeps its own artwork, so switching areas lets you work on another part of the same mockup.
1. Choose the area you want to edit
First, open a template from the mockup library and wait for it to load.
In the Design tab, look for the list of Design areas.
Then, click Add artwork beside the area you want to use.
The Design Editor opens with that area selected.
For our bus shelter example, start with Front.
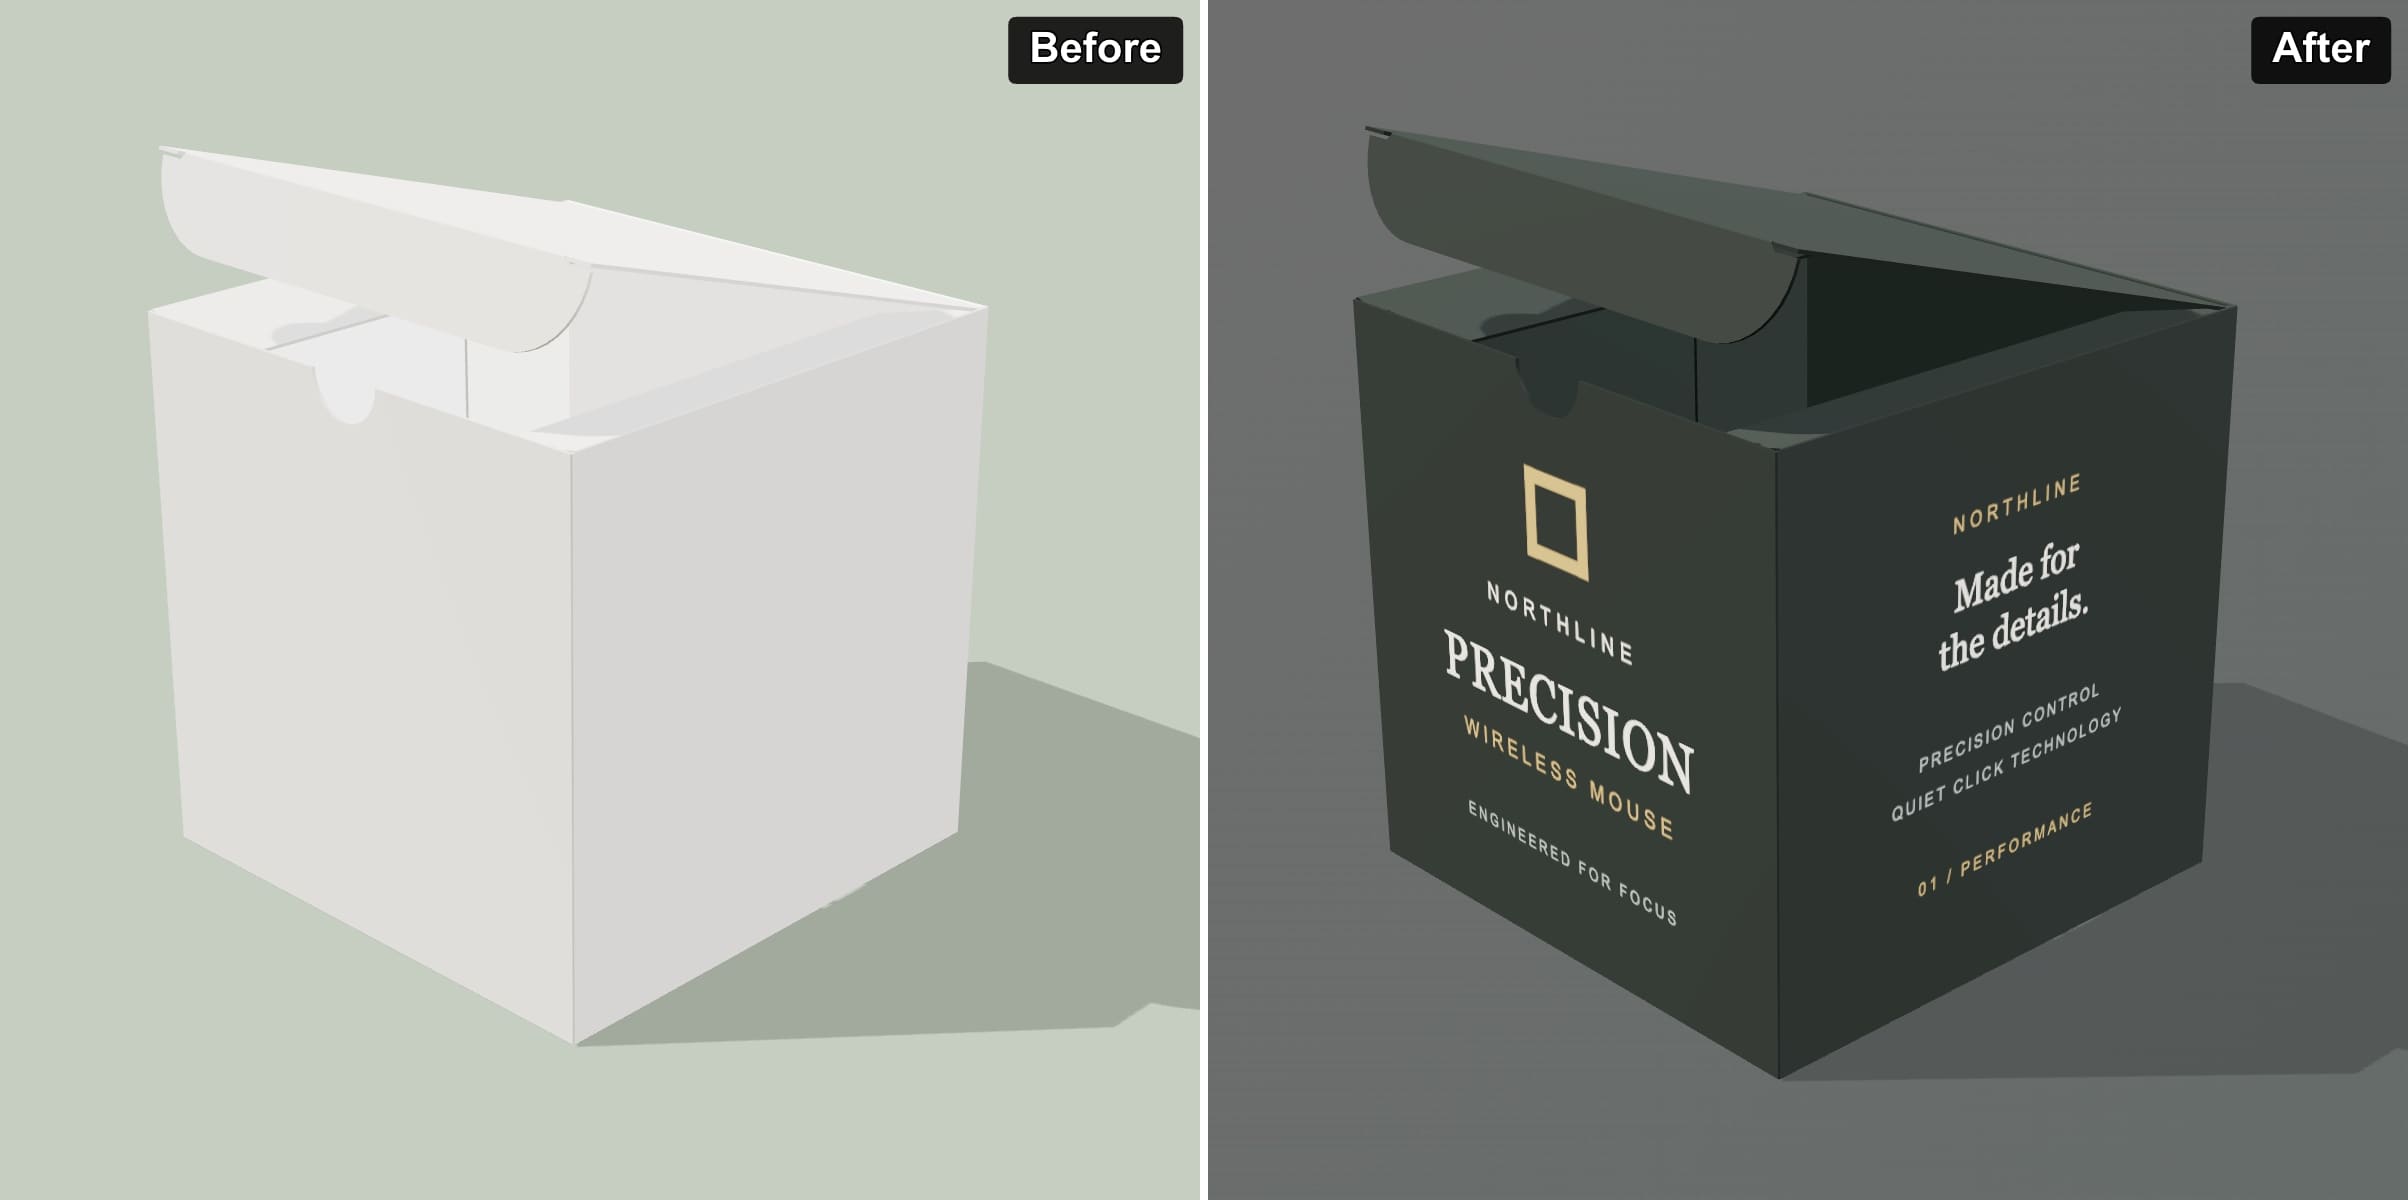
If the template has several areas, their names appear as tabs at the top of the editor.
Check the selected tab before adding anything, especially when the areas have similar shapes.
The number and names of the areas vary between templates.
2. Add your first image
Next, click Add image and choose your artwork.
You can also drop an image into the design editor.
Mockaps accepts PNG, JPG, SVG, and PDF files.
For the poster example, begin with a background photograph.
Click the image to select it, then drag it into position.
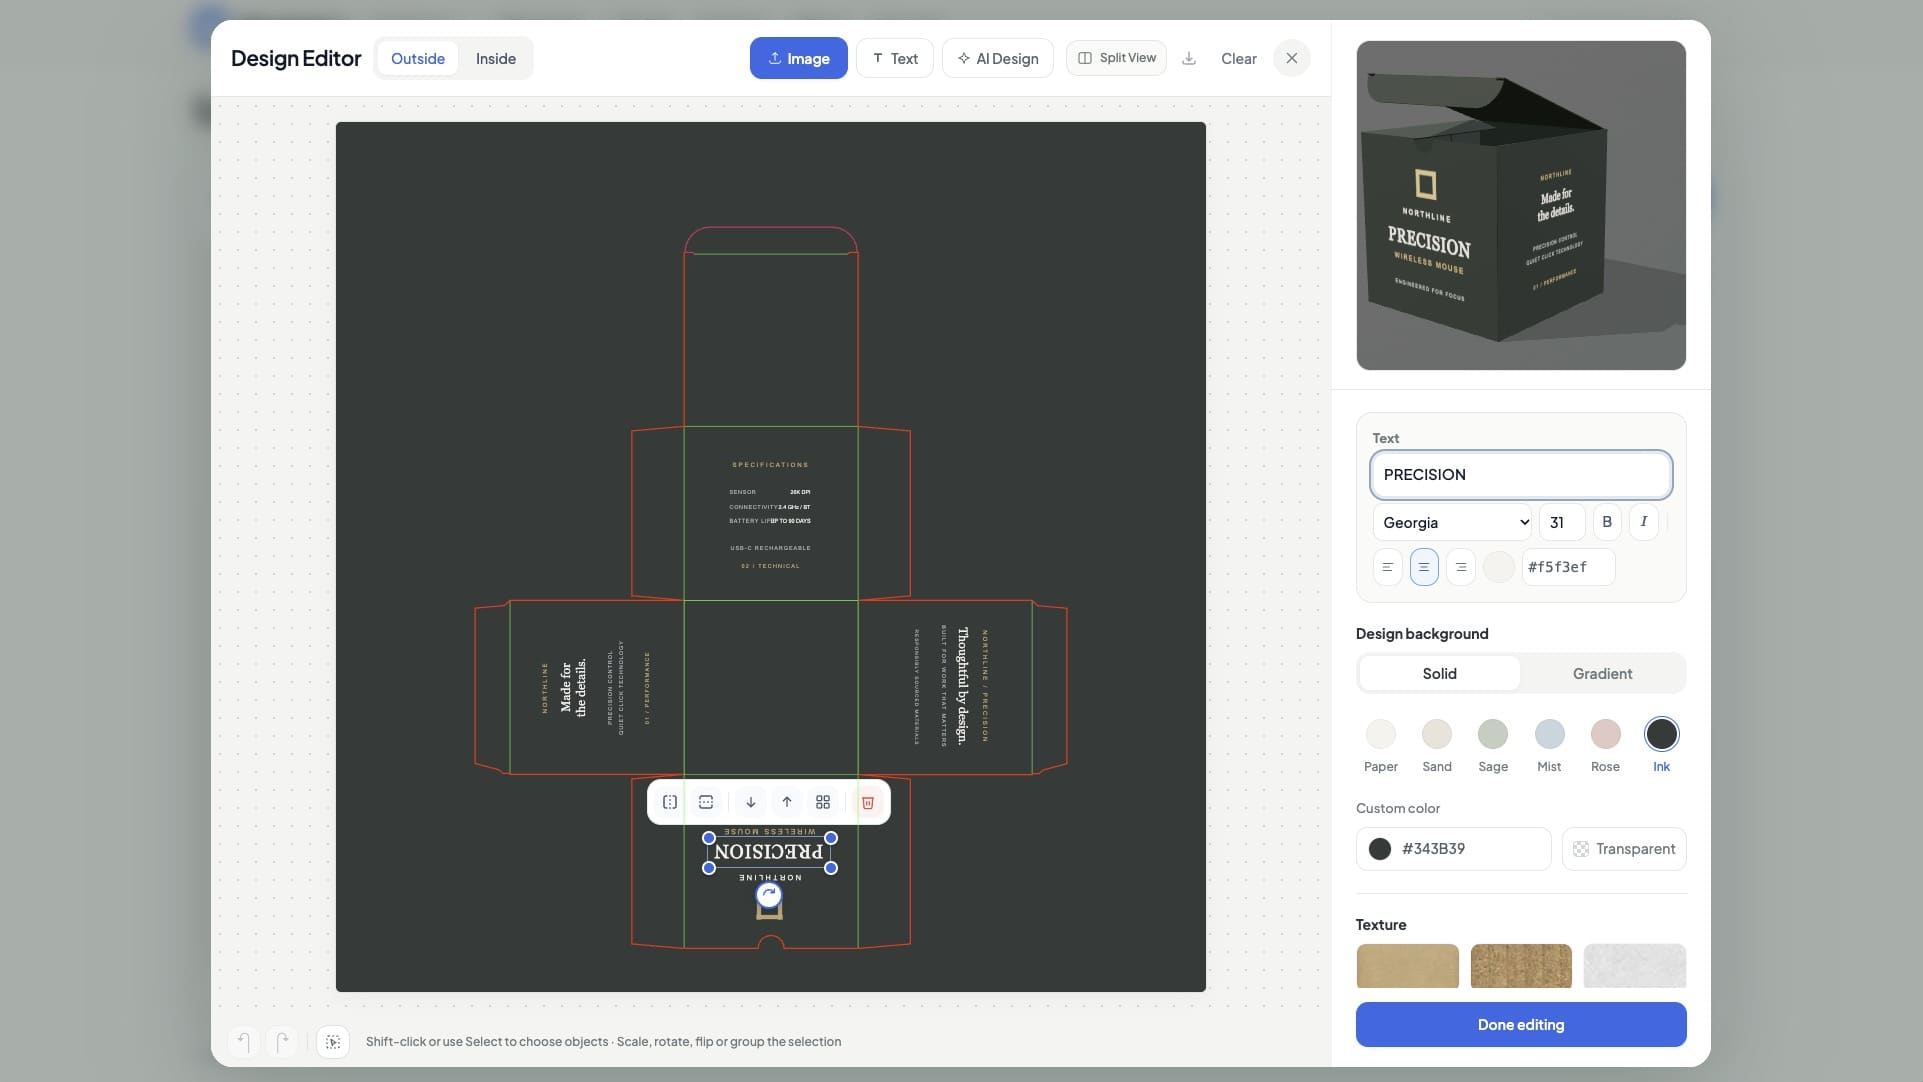
Use the corner handles to change its size and the rotation handle to adjust its angle.
Follow the template guide and check how the image sits on the actual 3D surface.
The flat editing area and the visible part of the model are not always the same shape.
Keep important details within the part of the layout that maps onto the surface.
3. Build the design with more layers
Now, click Add image again to add a logo.
This creates another object in the same design area, so you can move and resize it independently of the photograph.
A logo with a transparent background is useful when you want the photograph to remain visible around it.
Next, click Add text to add a headline.
Replace the sample text, then adjust its font, size, and color.
For example, a summer exhibition poster could use a large photograph, a small gallery logo, and the headline “See things differently.”
Add another text object for the exhibition dates if you want to position them separately.
This gives you several editable pieces instead of one finished image.
Alternatively, if you already have a complete poster, you can upload it as a single image.
Choose the approach that suits how much editing you want to do inside Mockaps.
4. Change which layer appears on top
When artwork overlaps, its layer order decides what you can see.
If a photograph covers your headline, changing the camera angle will not fix it.
Instead, select the object in the Design Editor and use its layer controls.
- Bring Forward moves the selected object one step above another layer.
- Send Backward moves it one step below another layer.
For example, select the photograph and use Send Backward until the logo and headline appear above it.
If several objects overlap, you may need to click more than once.
These controls change the order within the current design area.
They do not move artwork from one surface to another.
If an object is completely covered and difficult to select, select the object covering it and send that backward first.
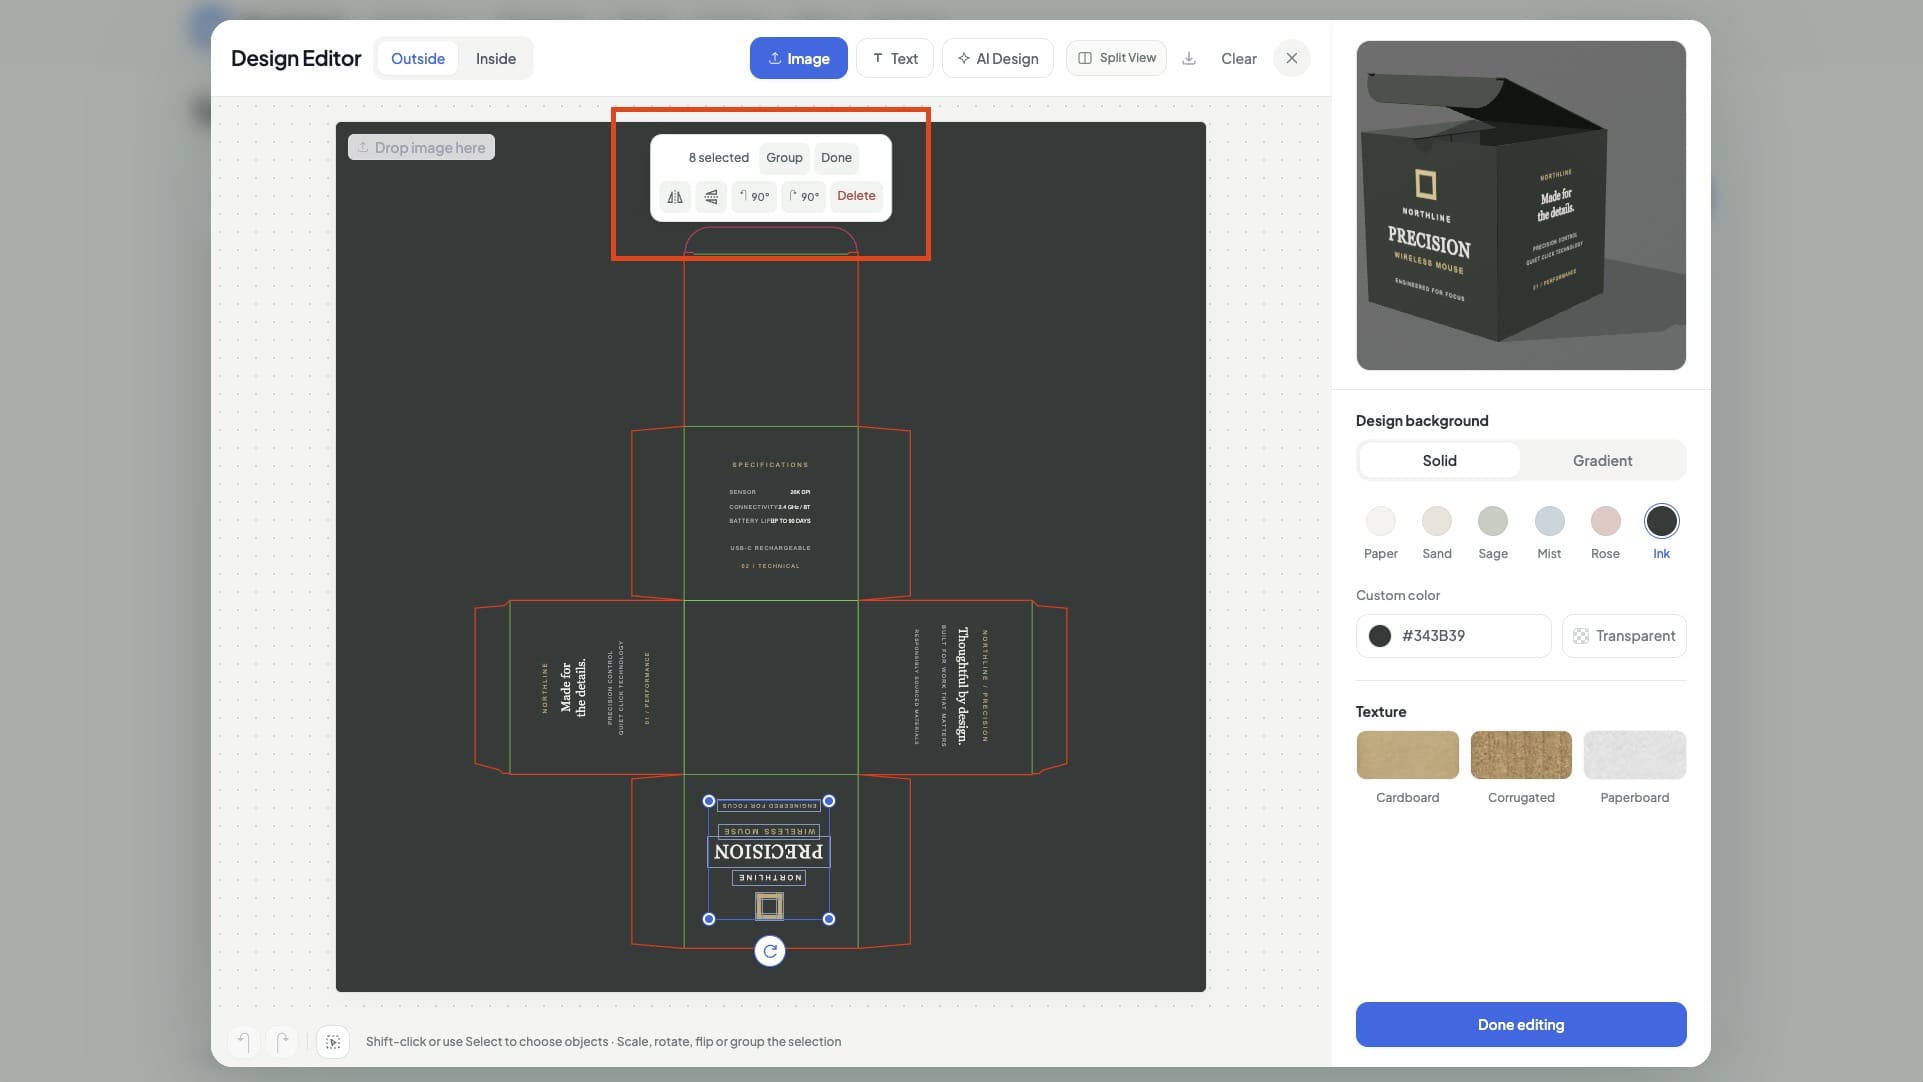
5. Move, resize or rotate several objects together
Sometimes a headline and a logo look right together, but both need to move a little higher.
On a computer, hold Shift and click the objects you want to select.
You can also drag from an empty part of the editing area to draw a selection around several objects.
The editor also has a Select multiple objects control for building a selection.
Once the objects are selected, release Shift and drag one of them to move the selection together.
If you used the multiple-selection control, turn it off before dragging so clicks stop adding or removing objects from the selection.
You can also group multiple objects together and scale or rotate them as a group.
Then, drag a corner of the shared selection box to scale the selected objects together.
This is useful for adjusting a logo and a short tagline while keeping their layout together.
Click an empty part of the editing area when you want to clear the selection.
You can then select one object again and edit it on its own.
Selecting several objects does not merge them into one image.
6. Switch to another design area
After finishing the Front poster, click the Interior tab at the top of the Design Editor.
The editor now shows the artwork for that area.
If you have not added anything there yet, it will be empty.
Your Front design is still there, and you can return to it by clicking its tab.
Next, build the second poster with its own images and text.
For example, keep the exhibition logo and colors consistent, but use the Interior poster for opening hours and a different photograph.
To use the same logo on both areas, add the logo file to each area separately.
Changing its position in one area does not automatically reposition it in the other.
You can also adjust the Design background for each area.
This affects the design surface, rather than the background around the whole 3D mockup.
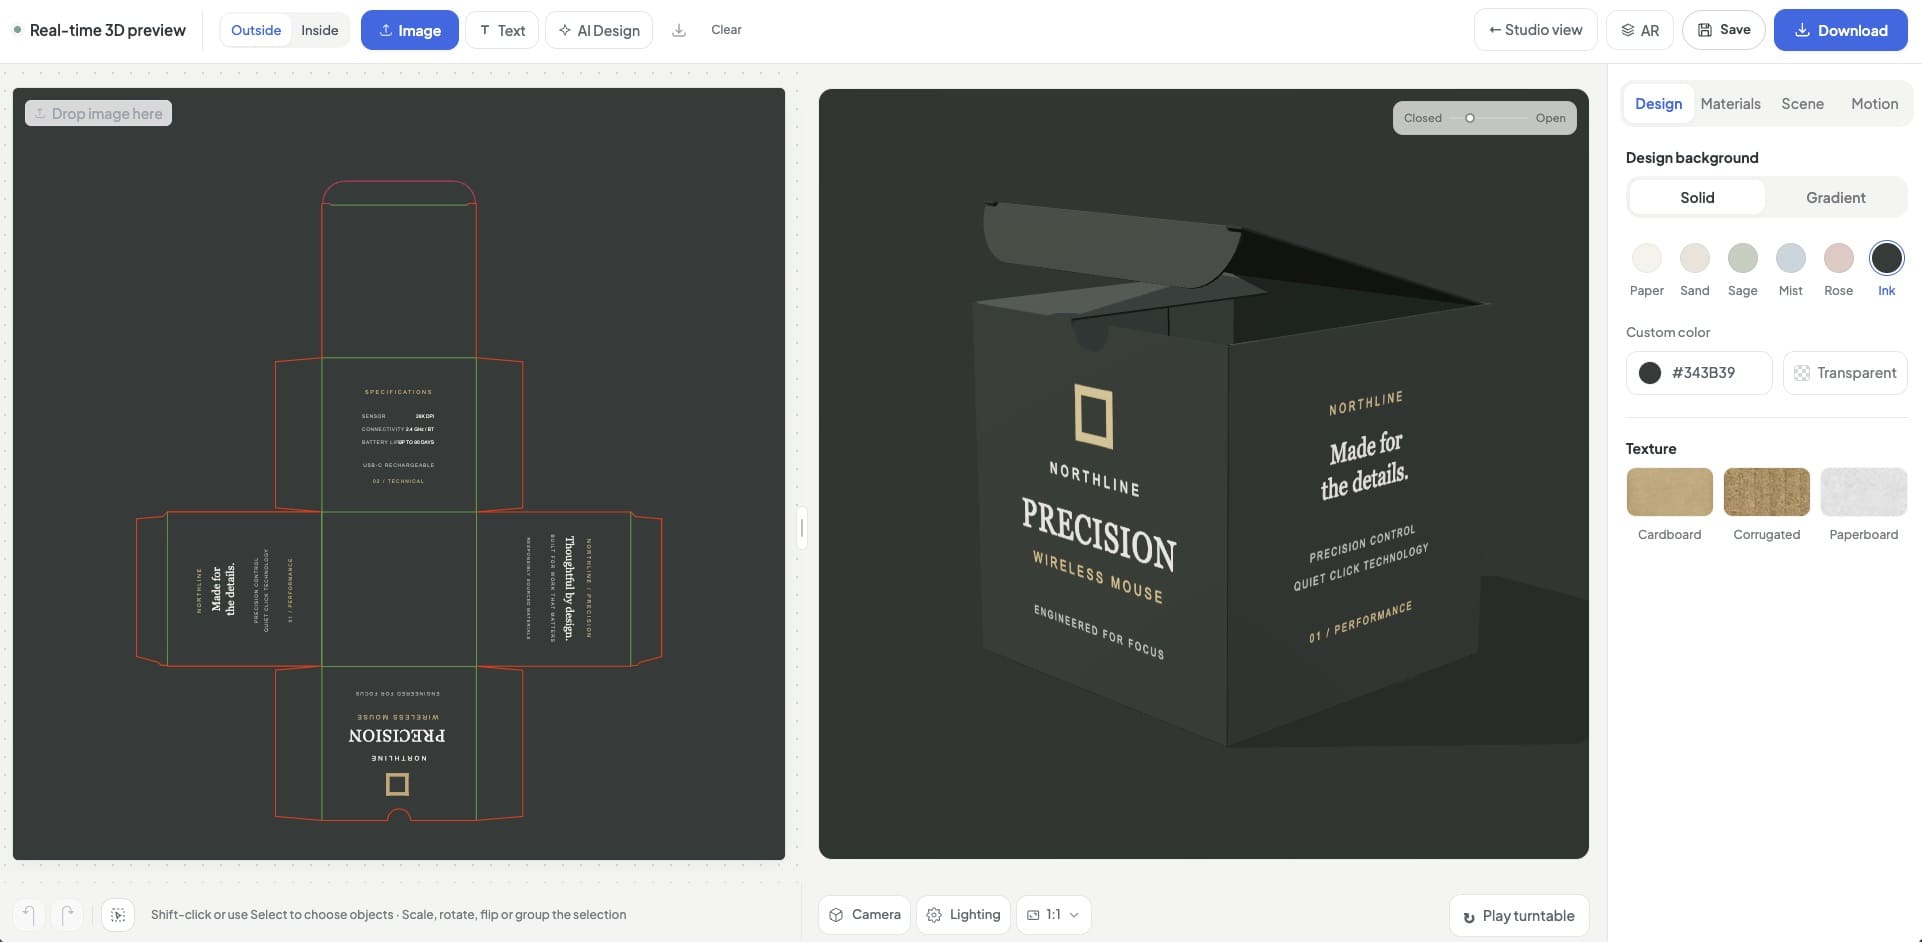
7. Check the complete design in Split View
Next, choose Switch to Split View to see the design editor and 3D preview side by side.
Adjust the artwork in the flat editor, then check how it appears on the model.
For the bus shelter, rotate the 3D view so you can inspect both advertising panels.
Check that the headline is readable, the logo has enough space, and important details are not cut off by the panel edges.
The same layer workflow is useful for smaller designs too.
For example, on a square button-pin badge mockup, you could combine a simple illustration, an event name, and a short date.
Because the badge is small, try fewer elements and give the main message more space.
When everything looks right, click Done editing.
Then, save your mockup if you want to reopen its editable setup later, or download the result you need.
Saving a mockup to your account requires active Pro access.
8. Correct mistakes without clearing the whole design
If you move or resize something by mistake, use Undo.
Use Redo if you want to restore the change you just undid.
To remove one unwanted object, select it and use Delete element.
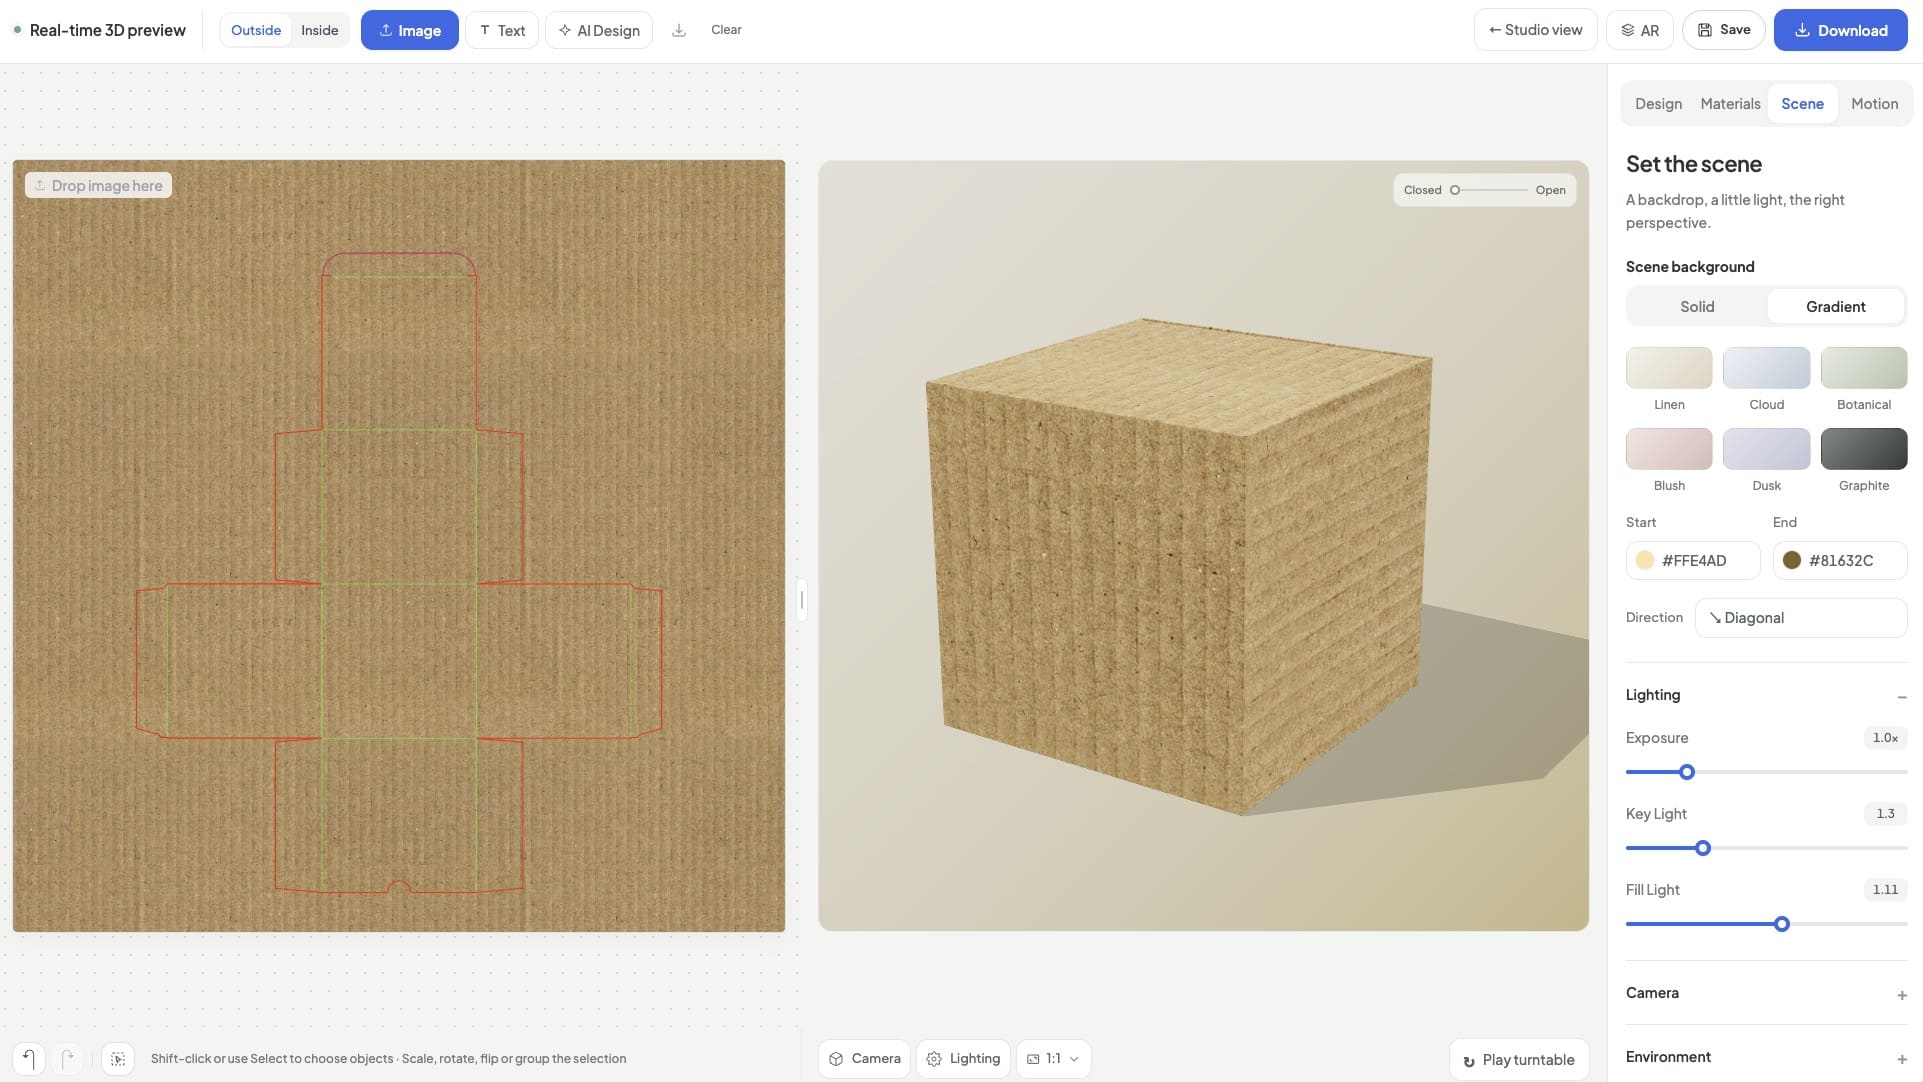
Be careful with Clear all designs.
That control removes artwork and applied textures across the template’s design areas, so it is not the right choice for removing a single logo.
Frequently asked questions
Why did my artwork disappear when I switched areas?
Each design area has its own artwork.
First, return to the area where you added the image or text.
Switching tabs does not copy the design into another area or delete the previous one.
Can I put several images on the same surface?
Yes, add more images to the same design area and arrange them as separate objects.
You can also combine them with text added inside Mockaps.
Why is there a white rectangle around my logo?
The white background may be part of the uploaded image.
Use a file with transparency, such as a transparent PNG, if you want the artwork underneath to show around the logo.
Changing the Design background does not remove white pixels already inside an image.
Can I edit the words inside an uploaded JPG or PNG?
A JPG or PNG is a flat image, so words inside it are not separate text layers.
Edit the original artwork outside Mockaps, or use Add text to create editable text in the design editor.
Can I create another design area?
The template defines which surfaces are available for artwork.
Adding another layer gives you another object inside the selected area, rather than a new surface on the model.
If you need a different surface layout, look for a template that includes it.
Why is my layer toolbar missing?
First, click an individual object in the Design Editor to select it.
If several objects are selected, clear the selection and select just one to use its individual controls.
Does Done editing save the mockup to my account?
No, it closes the Design Editor so you can continue working with the current mockup.
Use the separate Save control to keep an editable project in your account.
KEEP EXPLORING
Need a hand with this guide? Ask a question ↗