
On this page
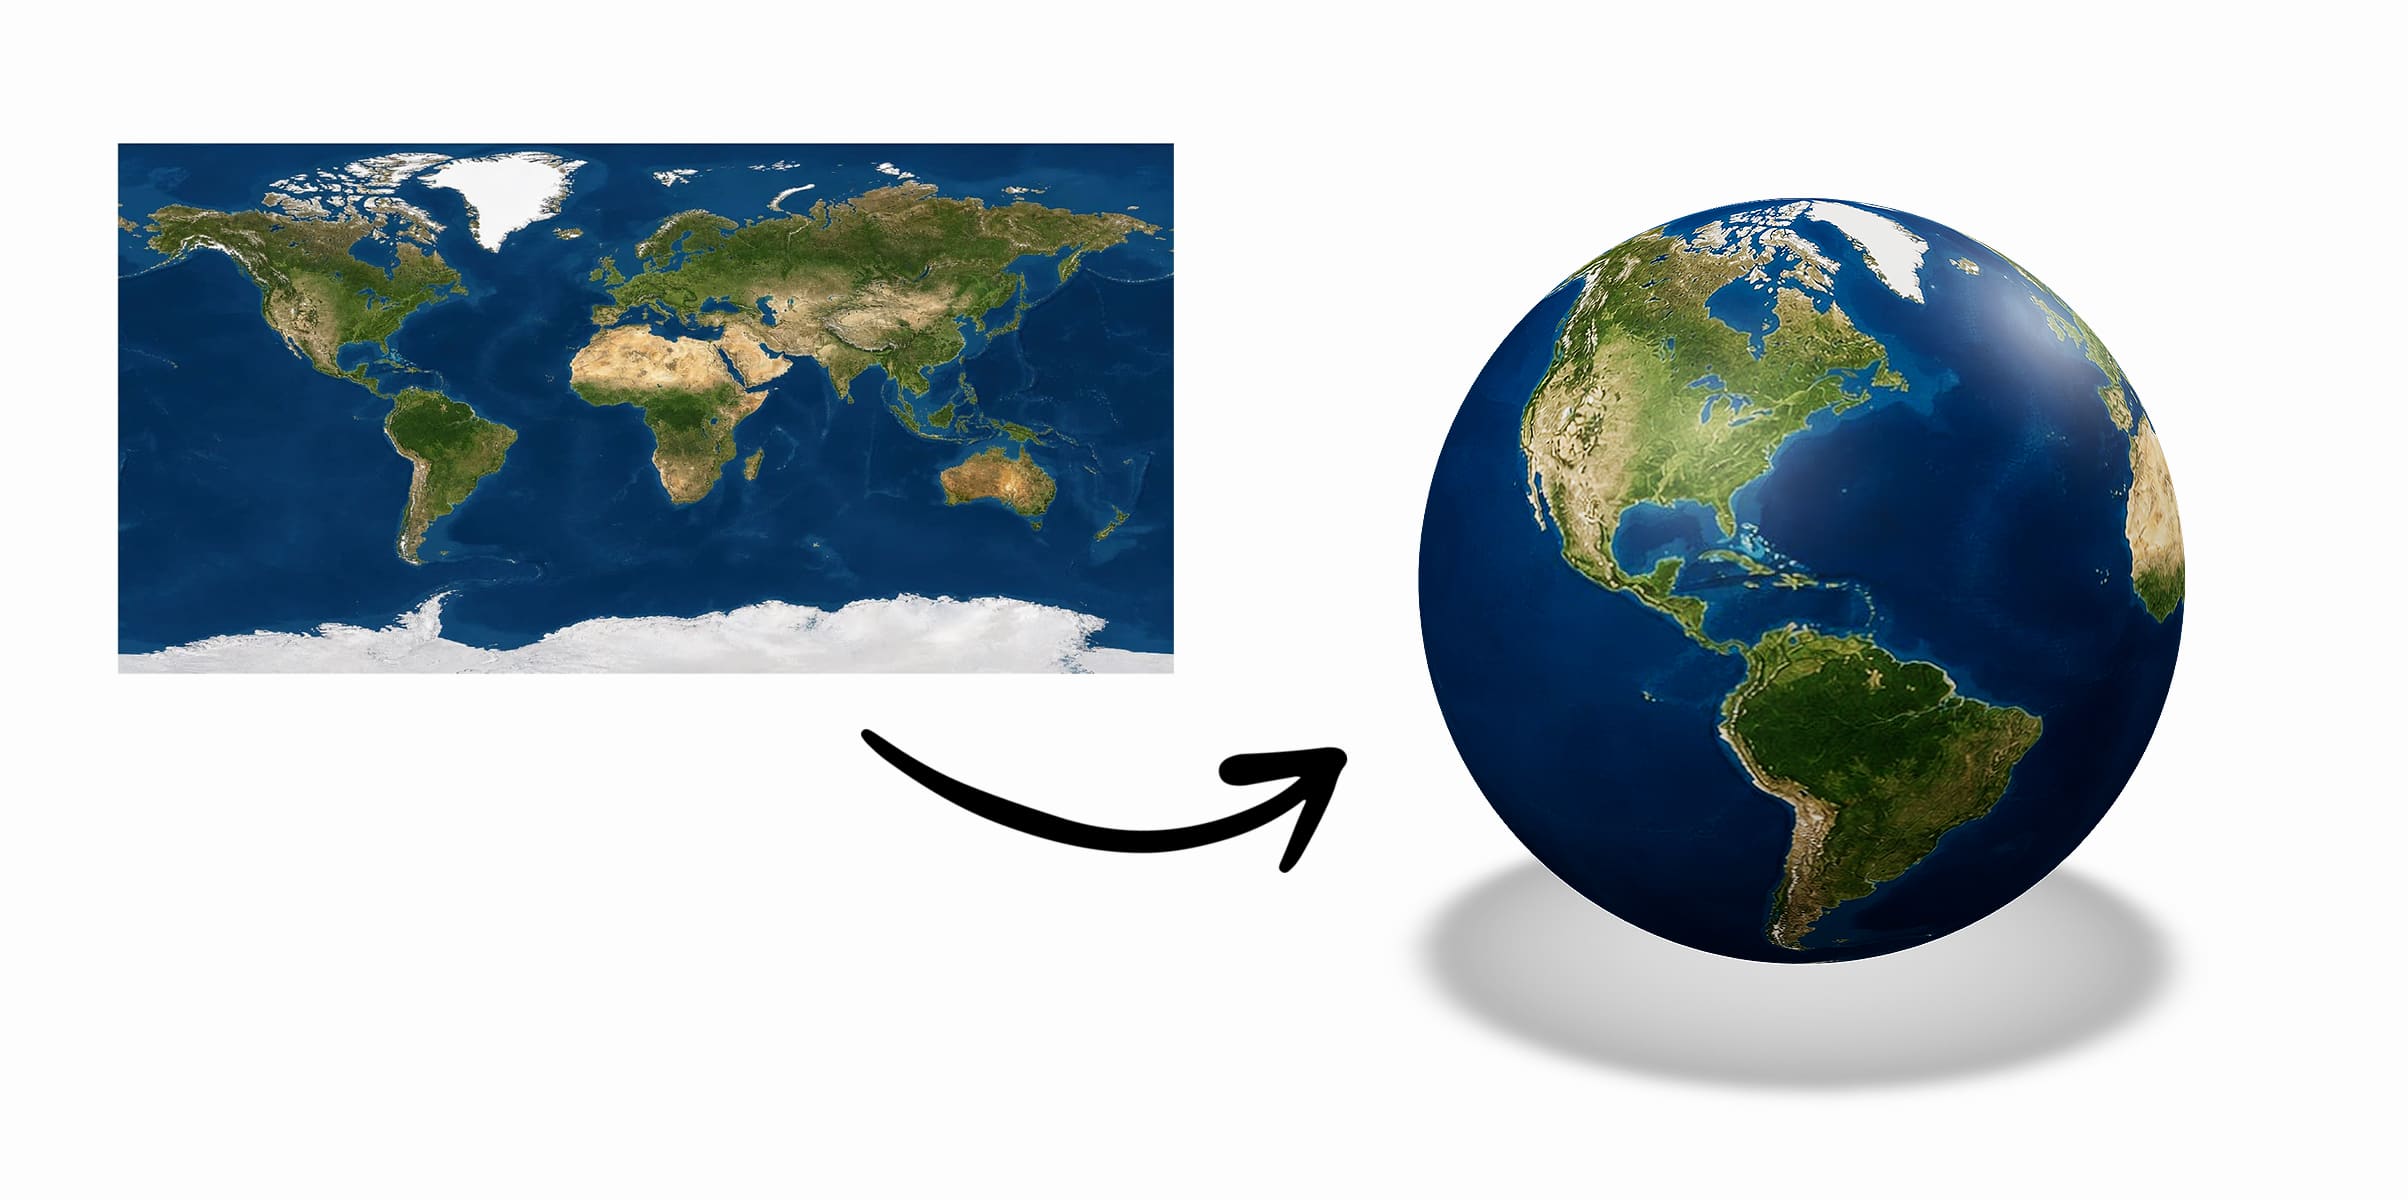
Want to turn your artwork into a ball, a tiny planet or a round brand graphic?
In Mockaps, you can wrap an image around a real 3D sphere and see the result from every side.
You do not need to build a 3D model or learn a separate 3D program first.
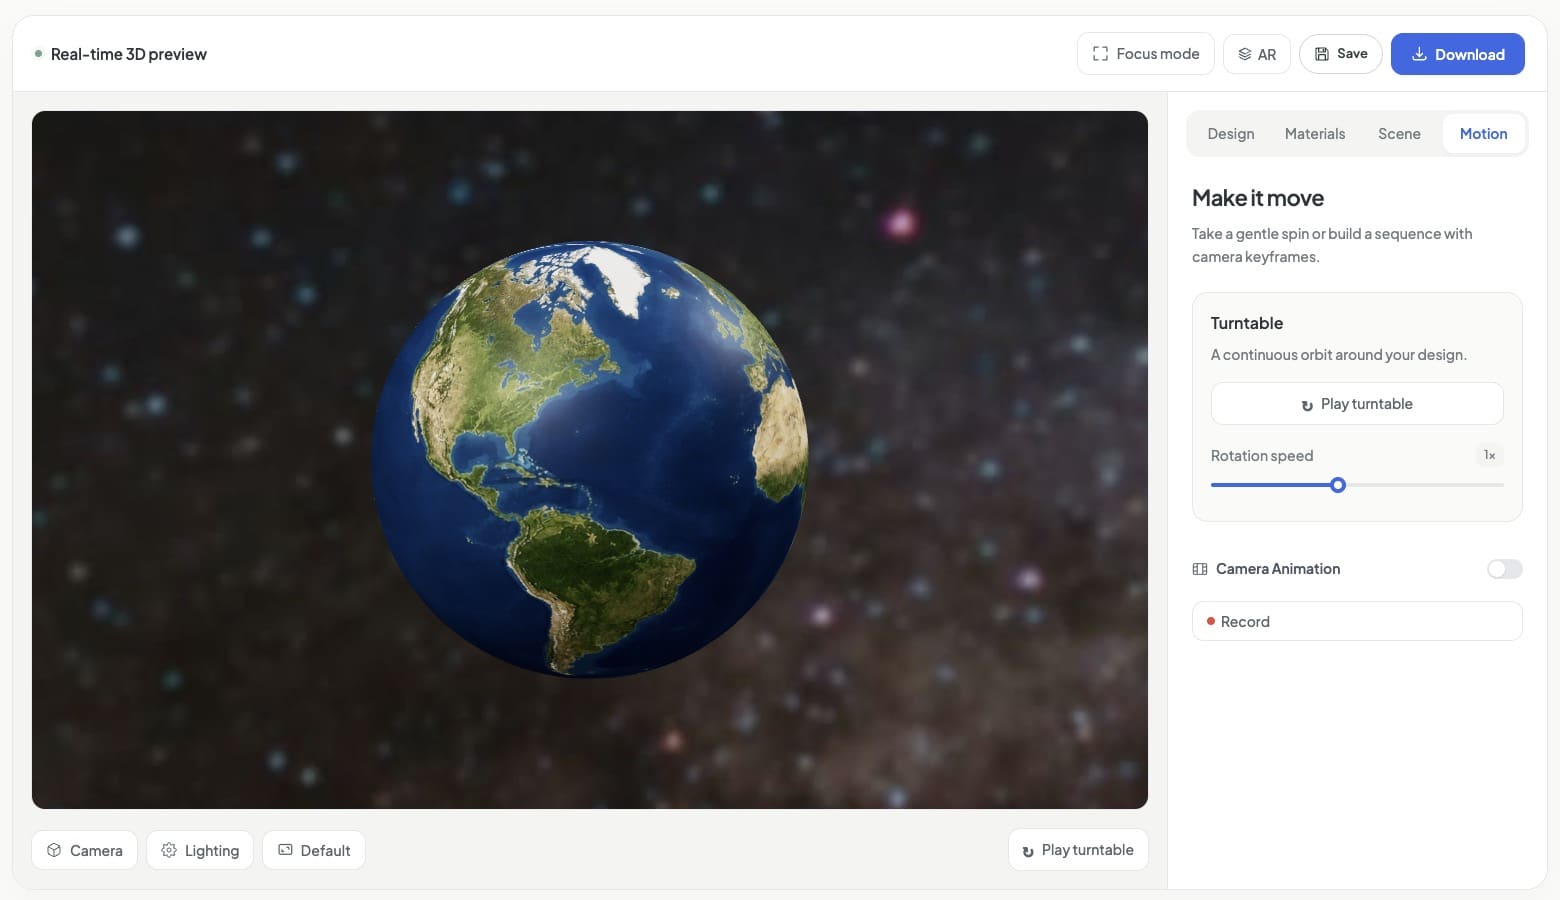
For your first try let's start with a simple world map on a 3D background.
What does wrapping an image around a sphere mean?
Think of your image as a flat cover that goes all the way around a ball.
In 3D space this cover is called a texture.
The image changes how the surface looks, while the model keeps its round shape.
For example, a picture of a face becomes a face printed on a sphere, rather than a sculpted 3D head.
1. Open the sphere mockup
First, open the Full Wrap 3D Sphere Mockup Generator.
This template has a design area that wraps around the entire sphere.
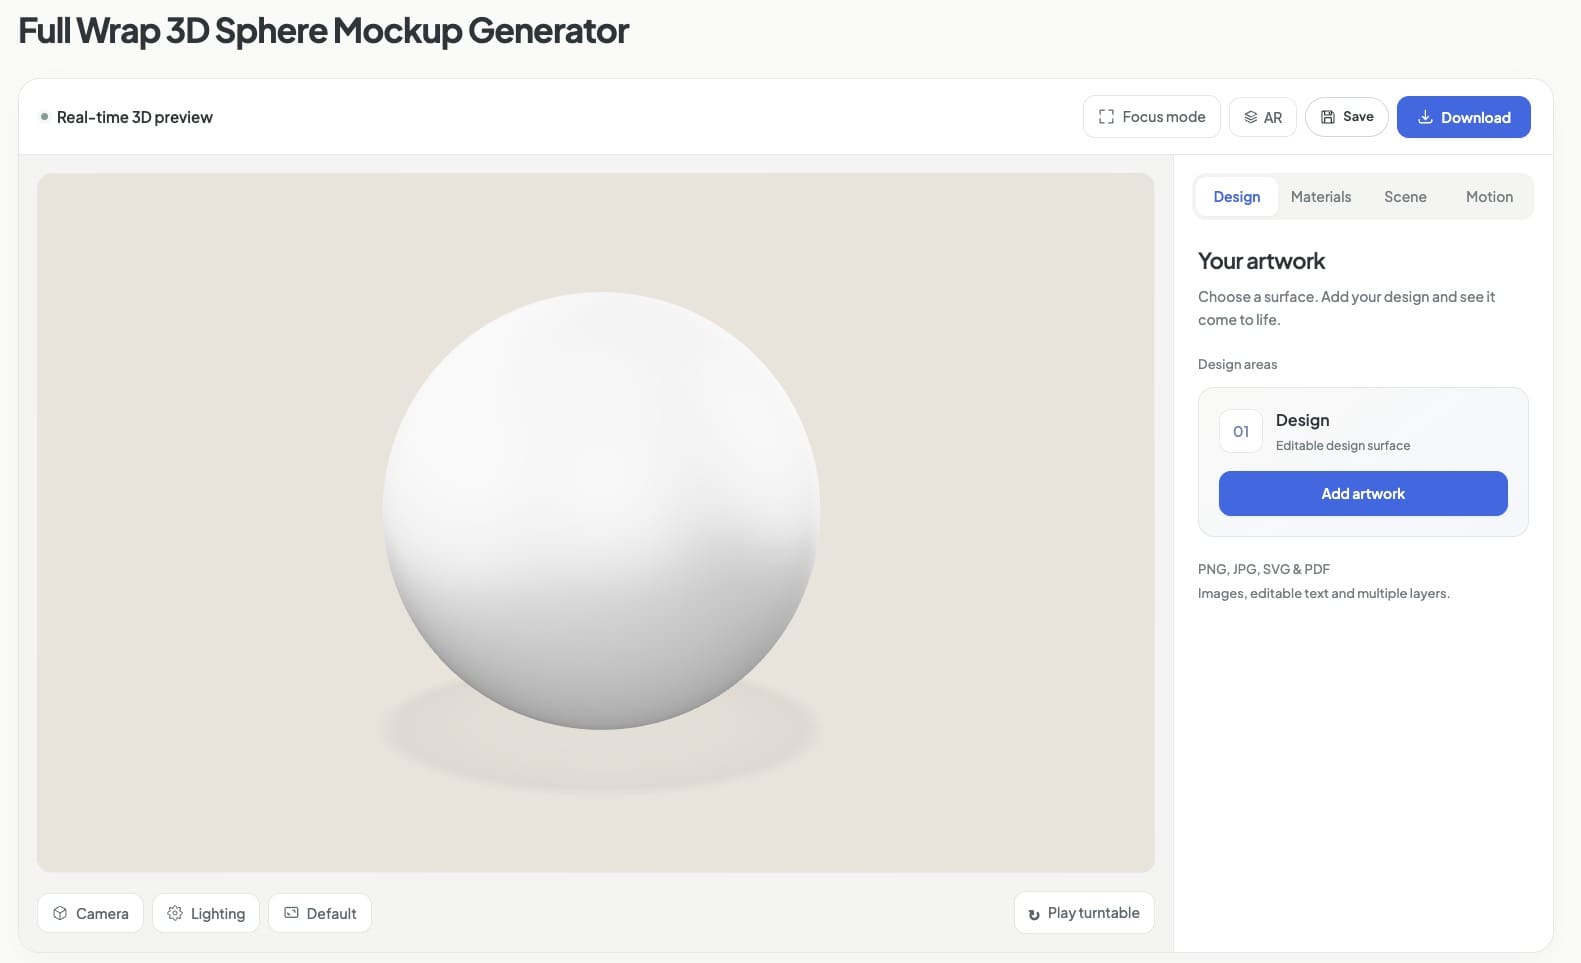
Its flat artwork area uses a 2:1 ratio, which means it is twice as wide as it is tall.
For example, an image measuring 2000 × 1000 pixels has the right proportions.
You do not have to use those exact dimensions.
2. Choose an image for your first design
Next, decide whether you want a full image covering the sphere or a smaller logo on a plain background.
For a full wrap, prepare a rectangular image with a 2:1 ratio.
Abstract shapes, soft color blends, and simple patterns are good starting points because small changes in shape are less distracting.
For a logo, a transparent PNG is useful because it lets the design background show around the logo.
Your logo file does not need to be 2:1 if you are placing it inside the larger design area.
Keep in mind that a 2:1 image will fit the layout, but it will not automatically become seamless.
3. Add your artwork
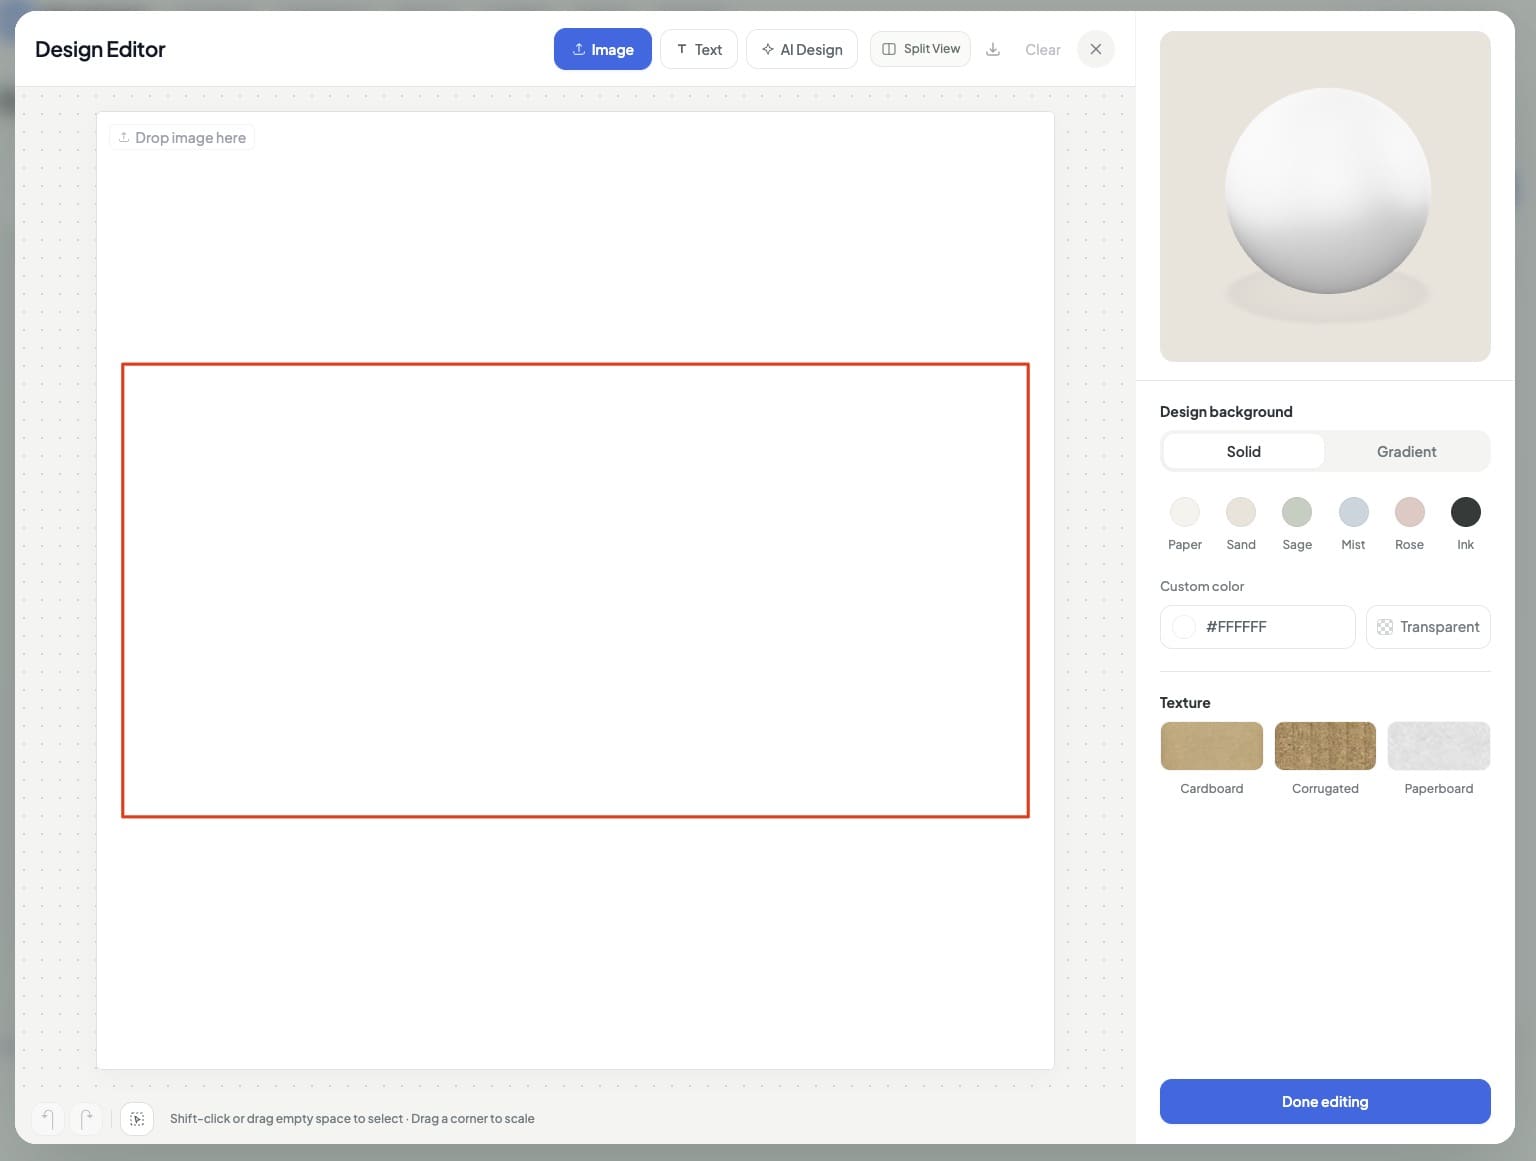
In the Design tab, click Add artwork to open the Design Editor.
Then, click Add image and choose your file.
A PNG or JPG is a straightforward choice for your first attempt.
Once the image appears, drag it to change its position.
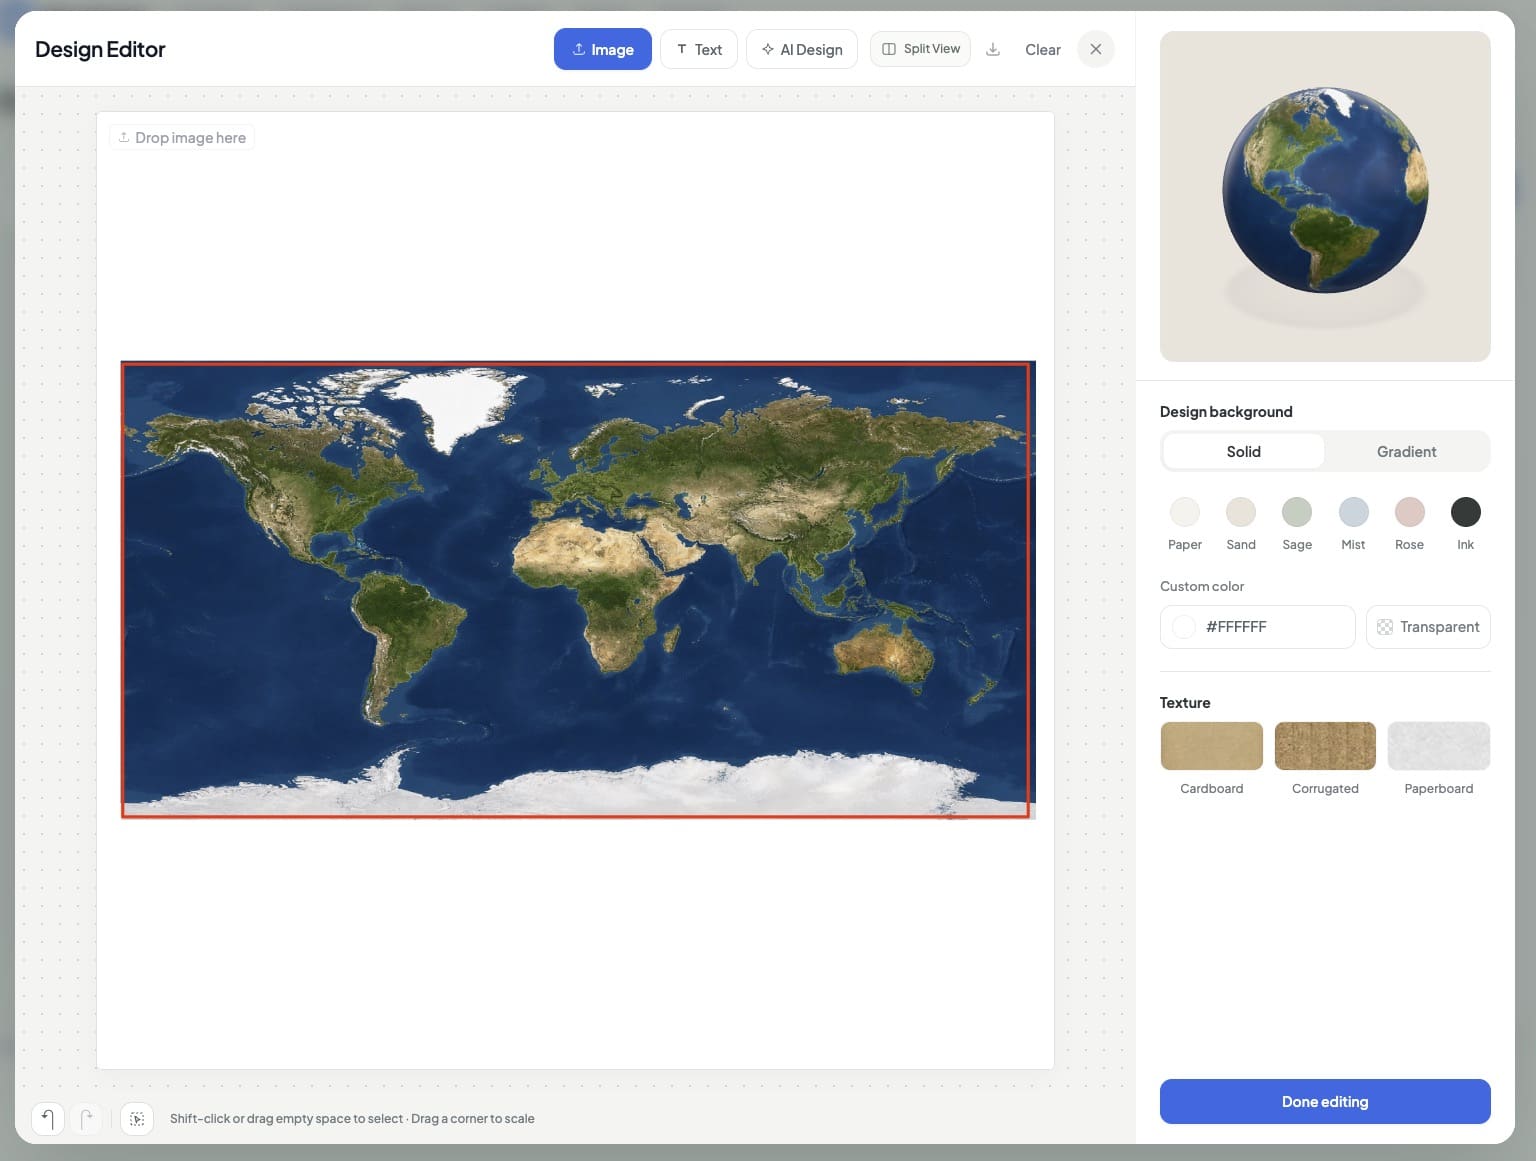
Drag a corner to resize it, keeping its proportions so your artwork does not become stretched.
For a full wrap, make the image cover the whole rectangular design area.
If your image has a different shape, you may need to crop it before uploading or enlarge it so part of the image falls outside the design area.
4. Try your image on a 3D ball
First, use Design background to choose a blue color.
This is the background of your artwork, so it wraps around the sphere too.
Next, place your transparent logo near the middle of the rectangular design area.
Keep it fairly small at first, with plenty of space around it.
Then, click Done editing and rotate the sphere to find your logo.
If it looks too wide or curves too far around the sides, return to the design area and make it smaller.
You can also use Switch to Split View in the Design Editor to work with the design and preview side by side.
5. Check where the image edges meet
Now, rotate the sphere and look at the join between the left and right edges of your artwork.
This join is called the seam.
If one edge is blue and the other is yellow, you will see a sudden color change where they meet.
To make the join less visible, use matching colors or a pattern that continues from one edge to the other.
For your first design, a solid background with a logo away from the edges is an easy way to avoid a distracting seam.
Also, avoid placing an important word across the left or right edge.
6. Check the top and bottom
Next, look at the top and bottom of the sphere.
These points are called the poles.
The rectangular artwork narrows into these points, so details near the top and bottom can look squeezed or distorted.
For this reason, keep logos, faces, and readable text in the middle horizontal band of your design.
Use simpler colors or less detailed artwork near the upper and lower edges.
Some distortion is part of wrapping a flat image around a sphere, so always judge the result in the 3D preview.
7. Choose a view and download your result
Finally, rotate the sphere until the main part of your design faces the camera.
You can also play the turntable animation to check the wrap all the way around.
Once you are happy with the result, click Download and choose the image export you need.
A standard JPG works well for a quick presentation image.
If you need the sphere without the surrounding scene background, choose the transparent PNG option, which requires Pro.
For example, you could place your branded ball in a social media graphic or use a patterned sphere as a visual in a presentation.
Frequently asked questions
Can I wrap any photo around a sphere?
Yes, you can use a photo as artwork.
However, a regular photo was not necessarily designed for a spherical surface, so faces, buildings, and straight lines may look distorted.
Start with the important subject near the middle of the design and check it in the preview.
How do I make a globe?
Use an equirectangular world map, which is a rectangular map prepared for wrapping around a sphere.
These maps normally use a 2:1 ratio.
A random screenshot of an online map may use a different projection, so the continents can end up in the wrong proportions.
If you want to understand the mapping in more detail, Blender's explanation of sphere projection describes why equirectangular maps work for this.
Why is there a line on the back of my sphere?
Usually, the two side edges of the artwork do not match.
Try matching their colors or adjusting the pattern in your original image, then upload the revised version.
Can I add just a logo instead of covering the whole sphere with a photo?
Yes.
Set a design background color, add your logo, and position it in the middle band of the artwork area.
Then, rotate the preview and adjust the logo size until it looks right.
What else can I make with this template?
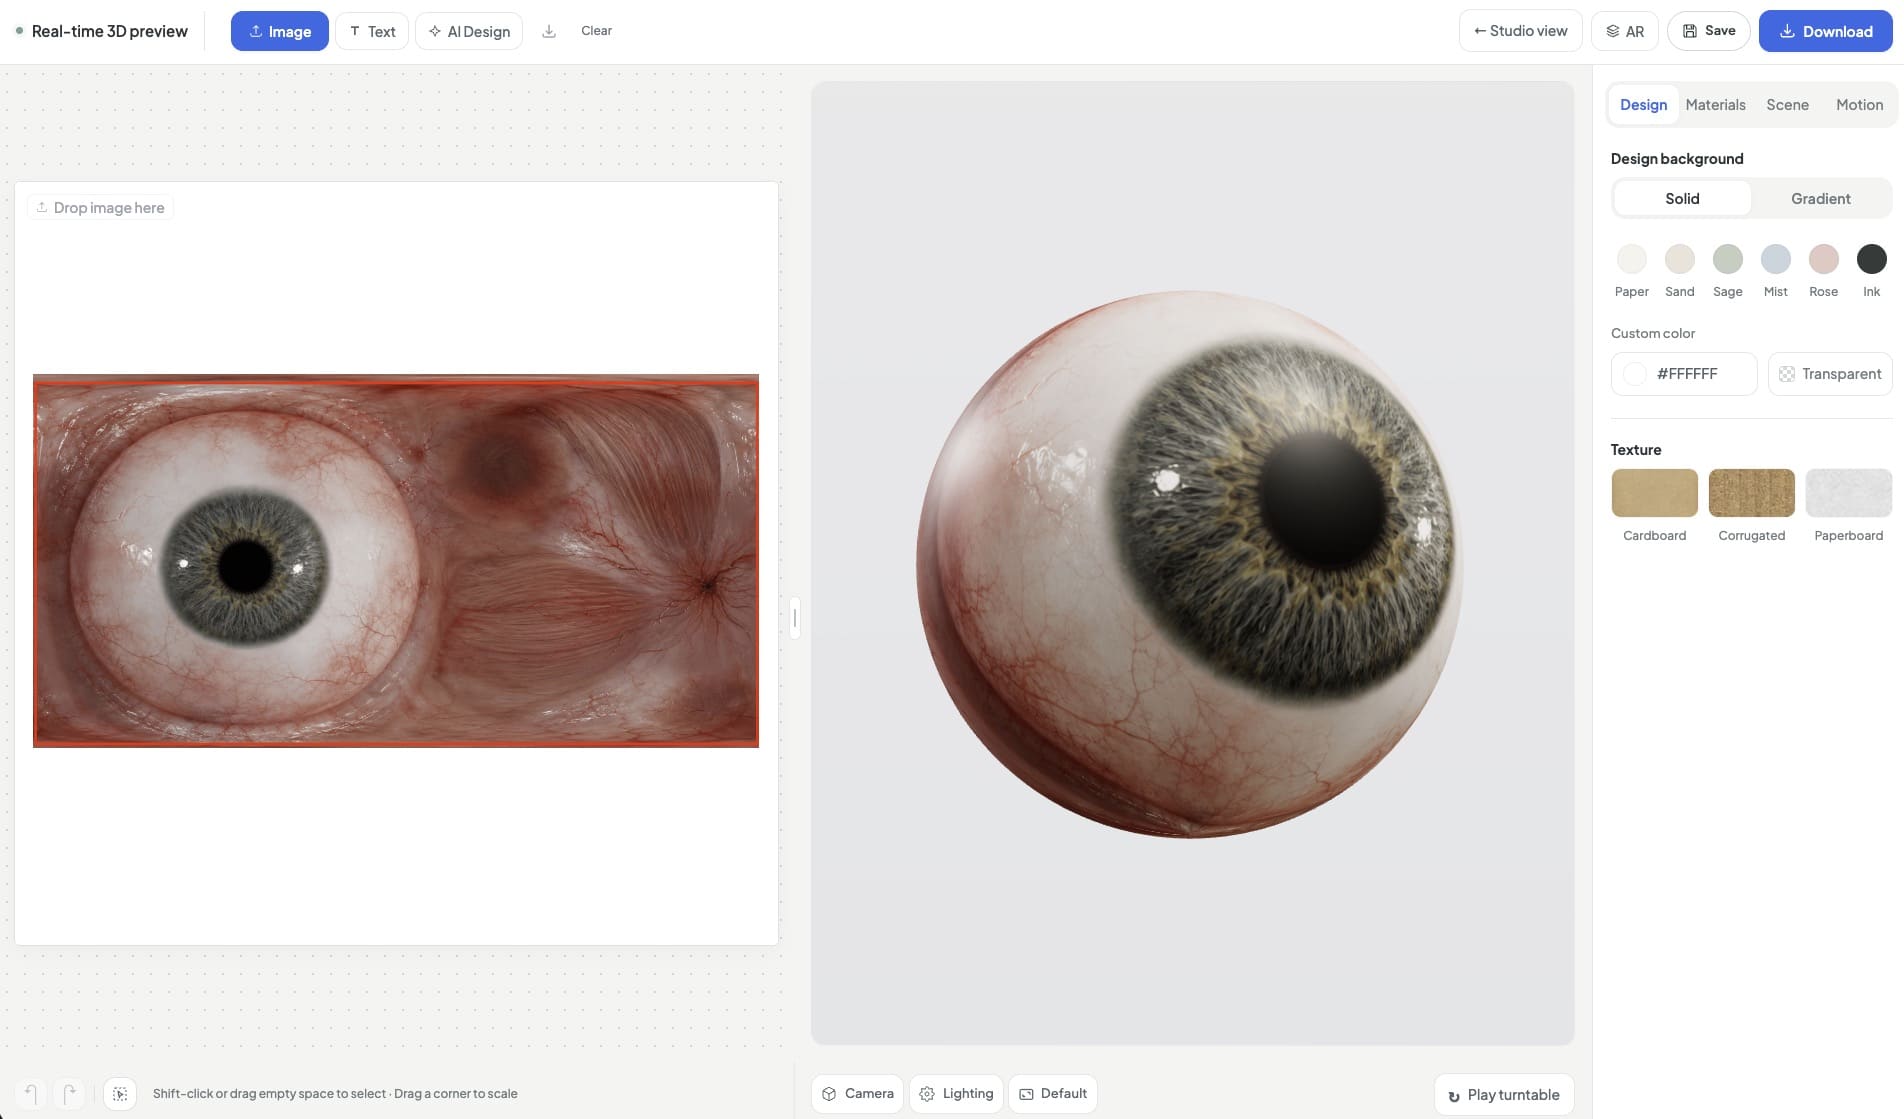
Try a patterned ball, an abstract planet, or a playful eyeball graphic.
For inspiration, explore the Eyeball 3D Mockup and the 3D Earth on Space Background Mockup in the Showroom.
KEEP EXPLORING
Need a hand with this guide? Ask a question ↗