
On this page
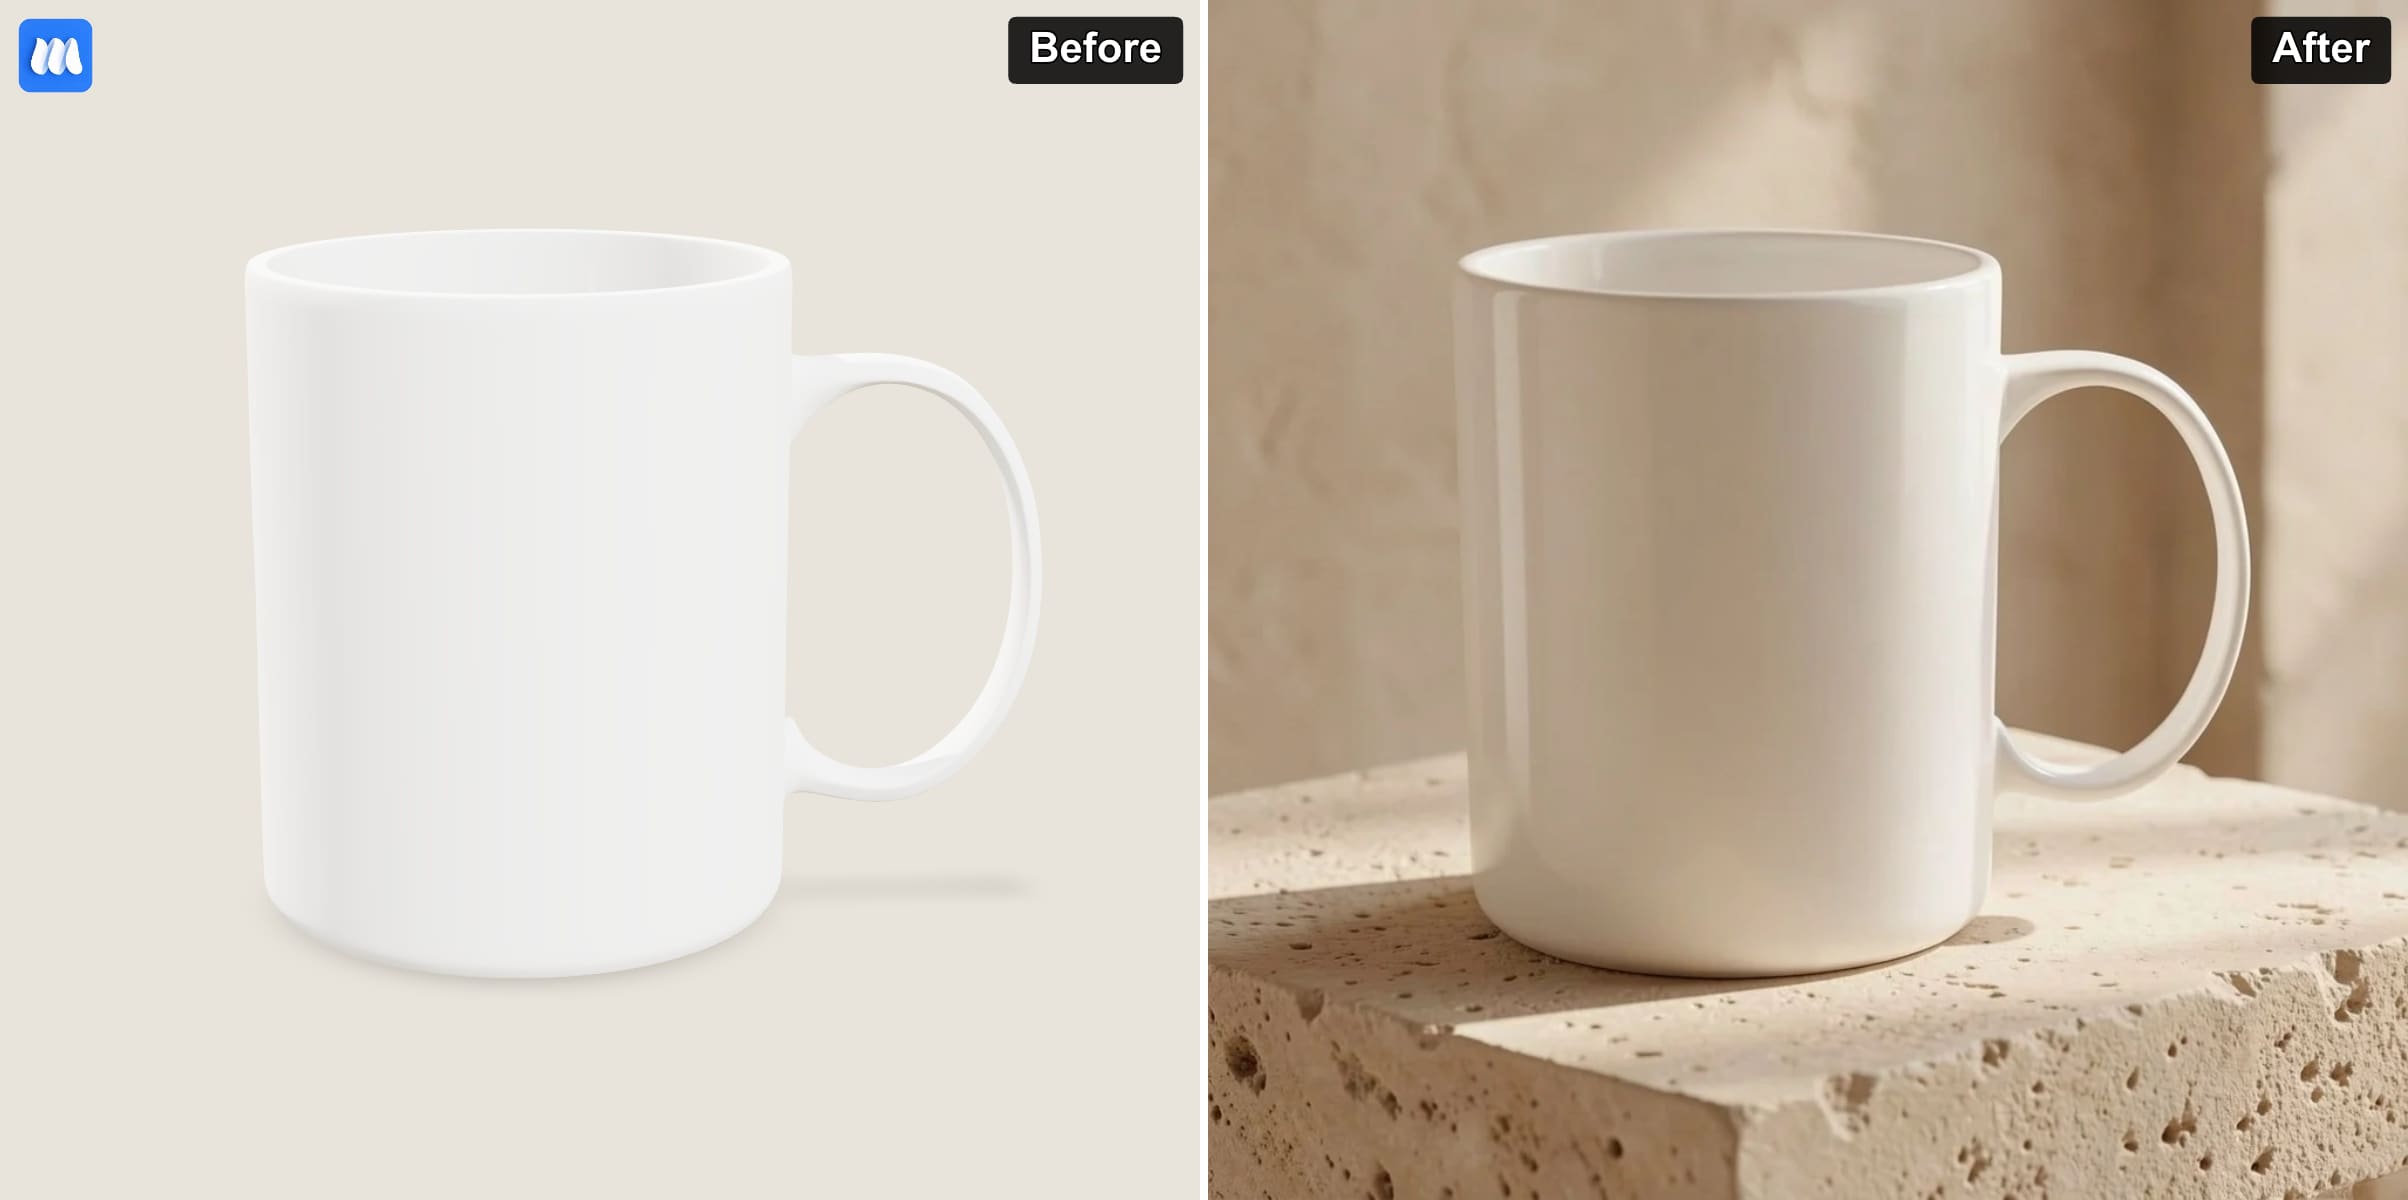
An amber dispenser bottle can look at home on a quiet bathroom counter.
A Christmas bauble might suit a soft fabric surface with warm lights in the distance.
With AI backgrounds in Mockaps, you can explore settings like these without building the whole scene yourself.
The feature is called AI Render in the editor.
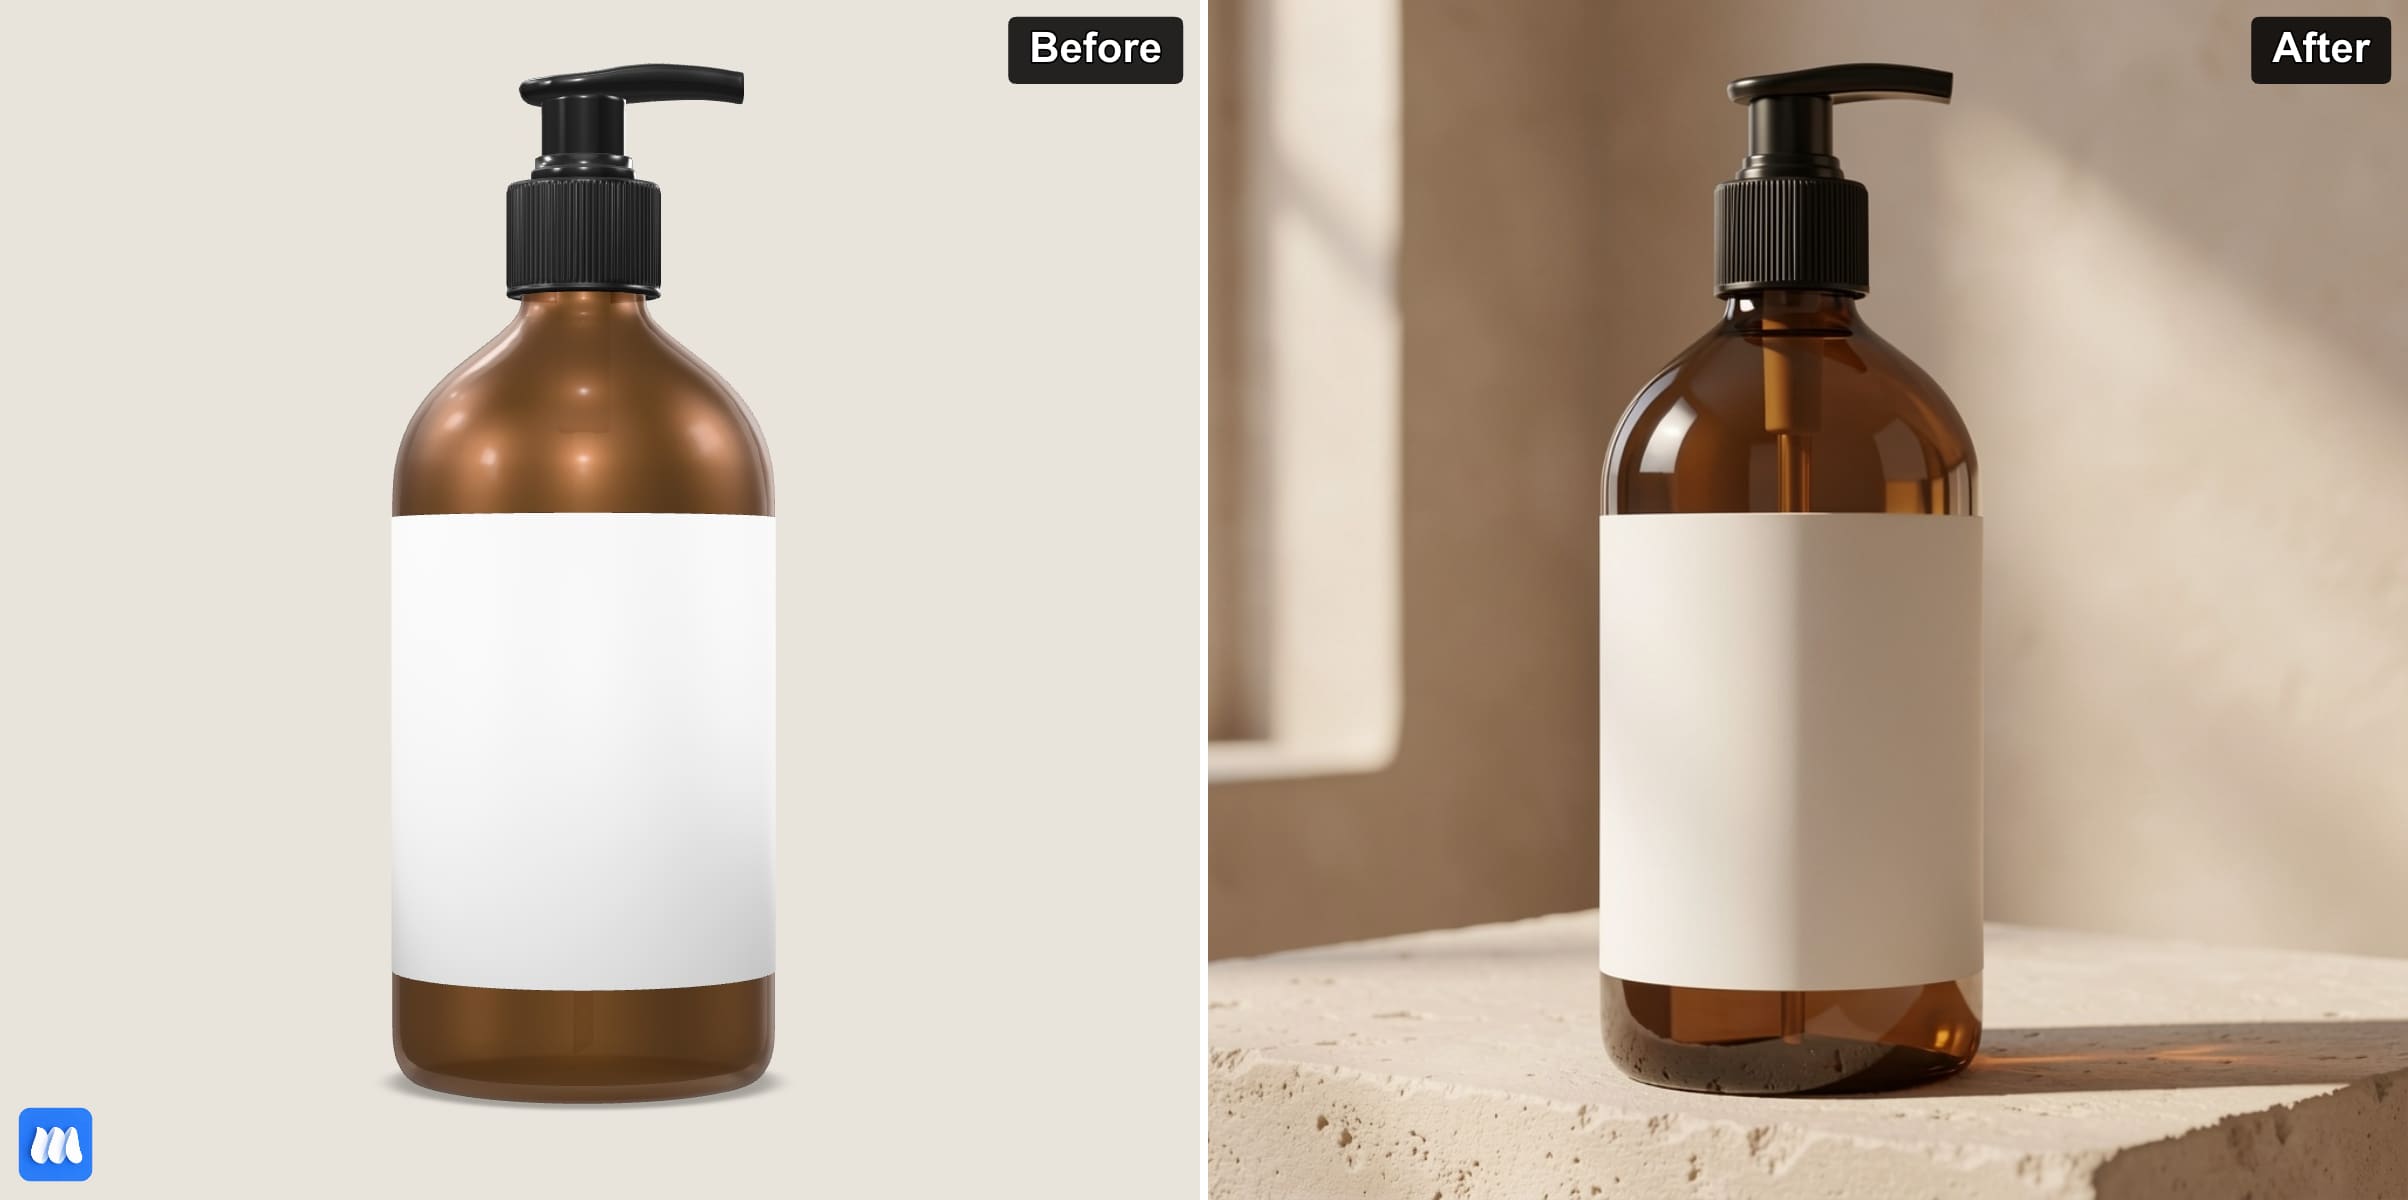
It starts from your current mockup view and generates a finished image based on the setting you describe.
What does AI Render do?
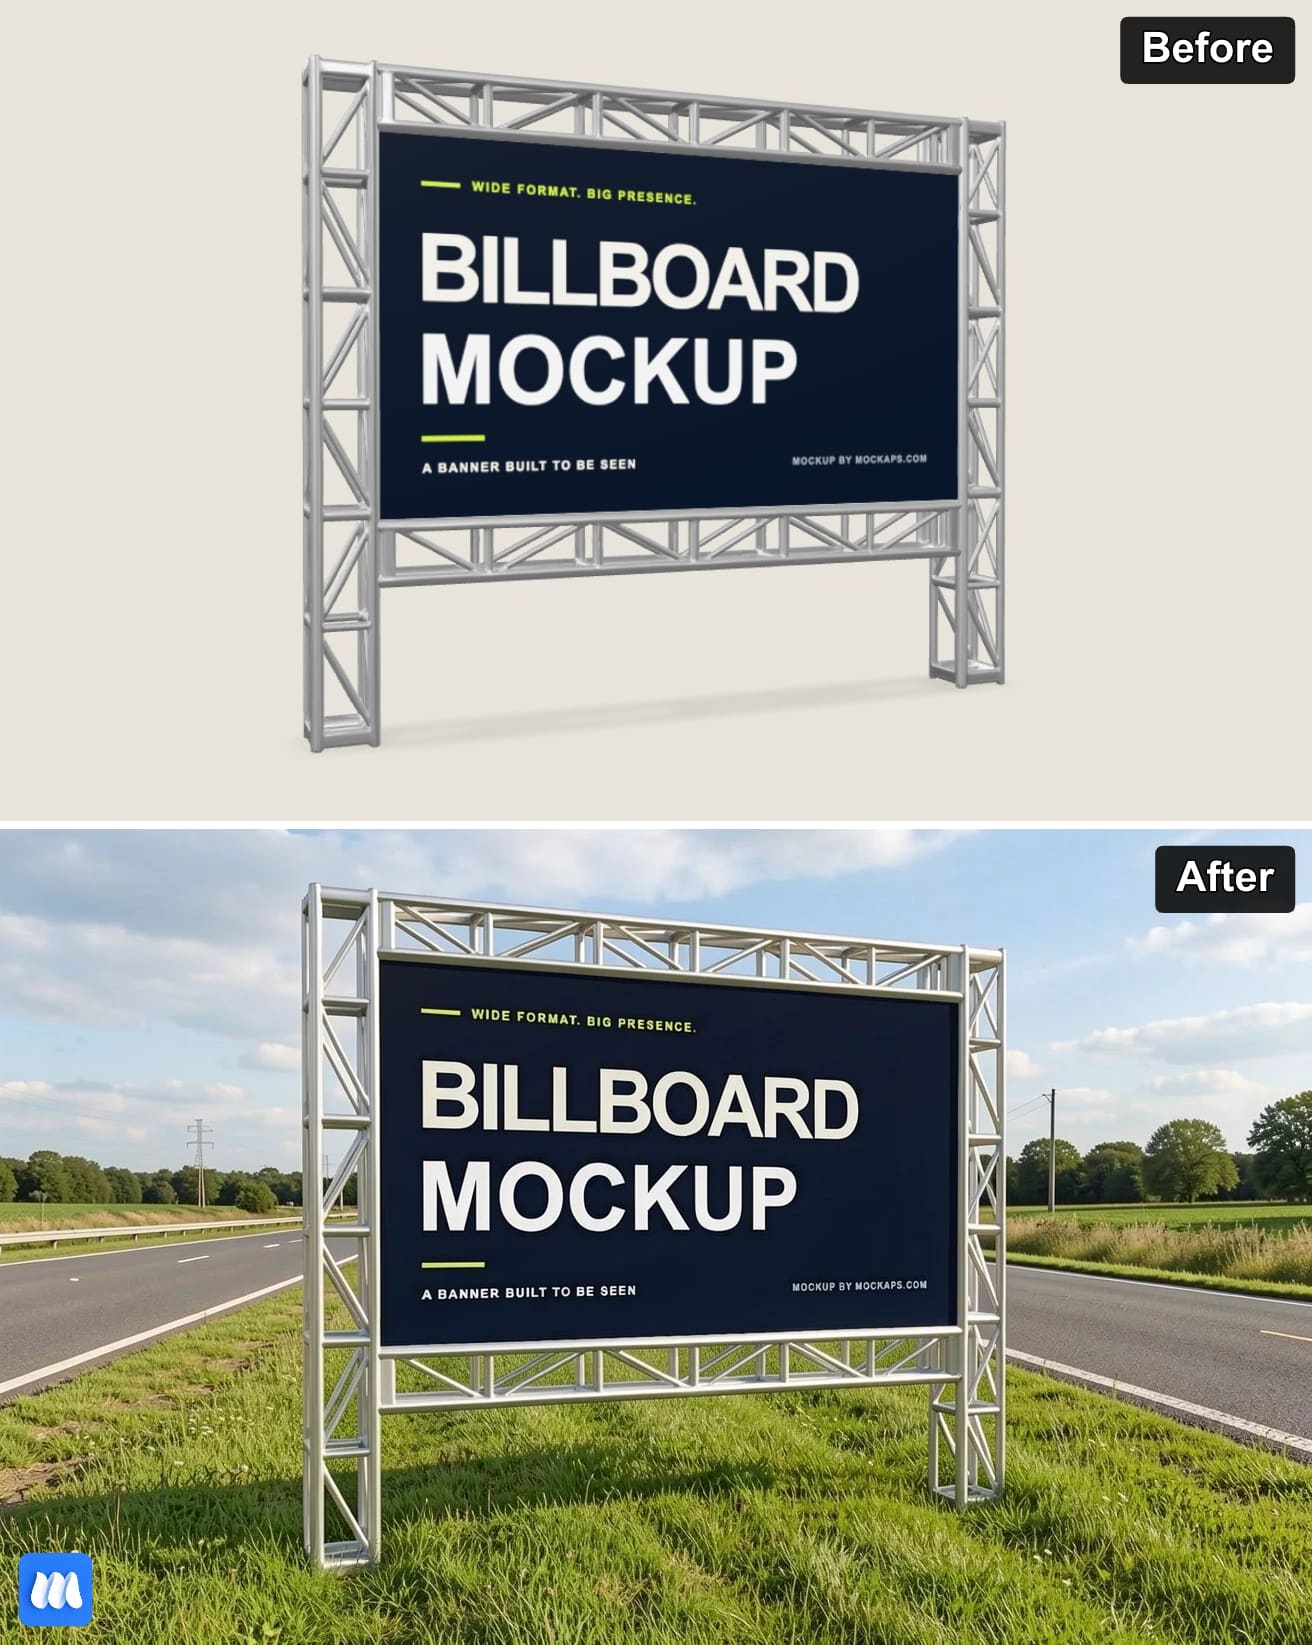
AI Render captures the current view of your 3D mockup and uses it as the starting point for a new image.
You describe the surroundings, lighting, and atmosphere you want or select from a preset.
Then, the AI creates a result that combines your mockup with that setting.
For example, you can ask for a pale stone counter, soft daylight, and a blurred bathroom background.
You can also start with a preset for a studio, surface, interior, outdoor scene, or lighting effect.
The result is a still image.
It does not build a new 3D room that you can rotate around inside the editor.
Your editable 3D mockup remains available when you return to the editor.
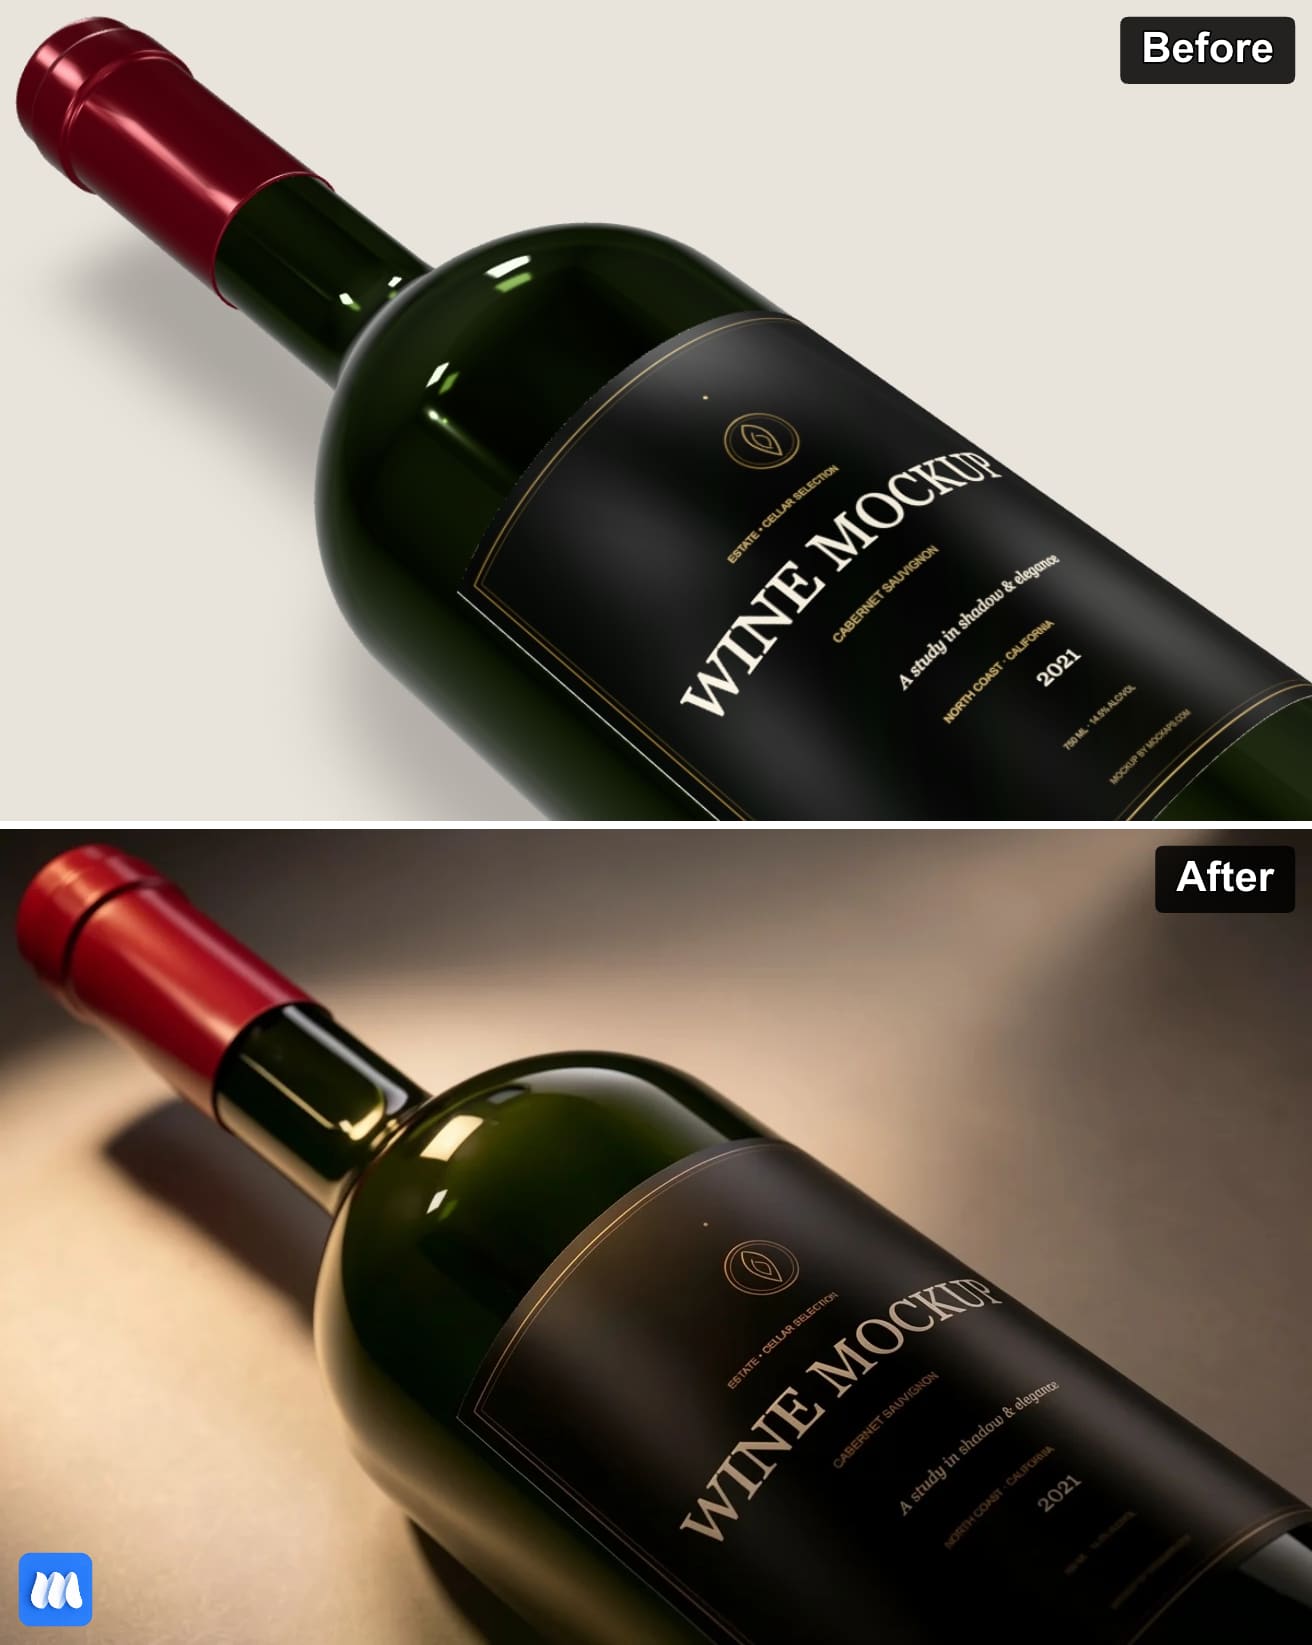
However, the generated image can change more than the empty background, including reflections, shadows, artwork, and small product details.
That is why comparing the result with the original is part of the workflow.
Before you start
First, sign in with active Mockaps Pro access.
AI Render uses credits, and the generation button shows the cost before you start.
Opening the feature or choosing a preset does not generate an image.
You start generation when you click Generate.
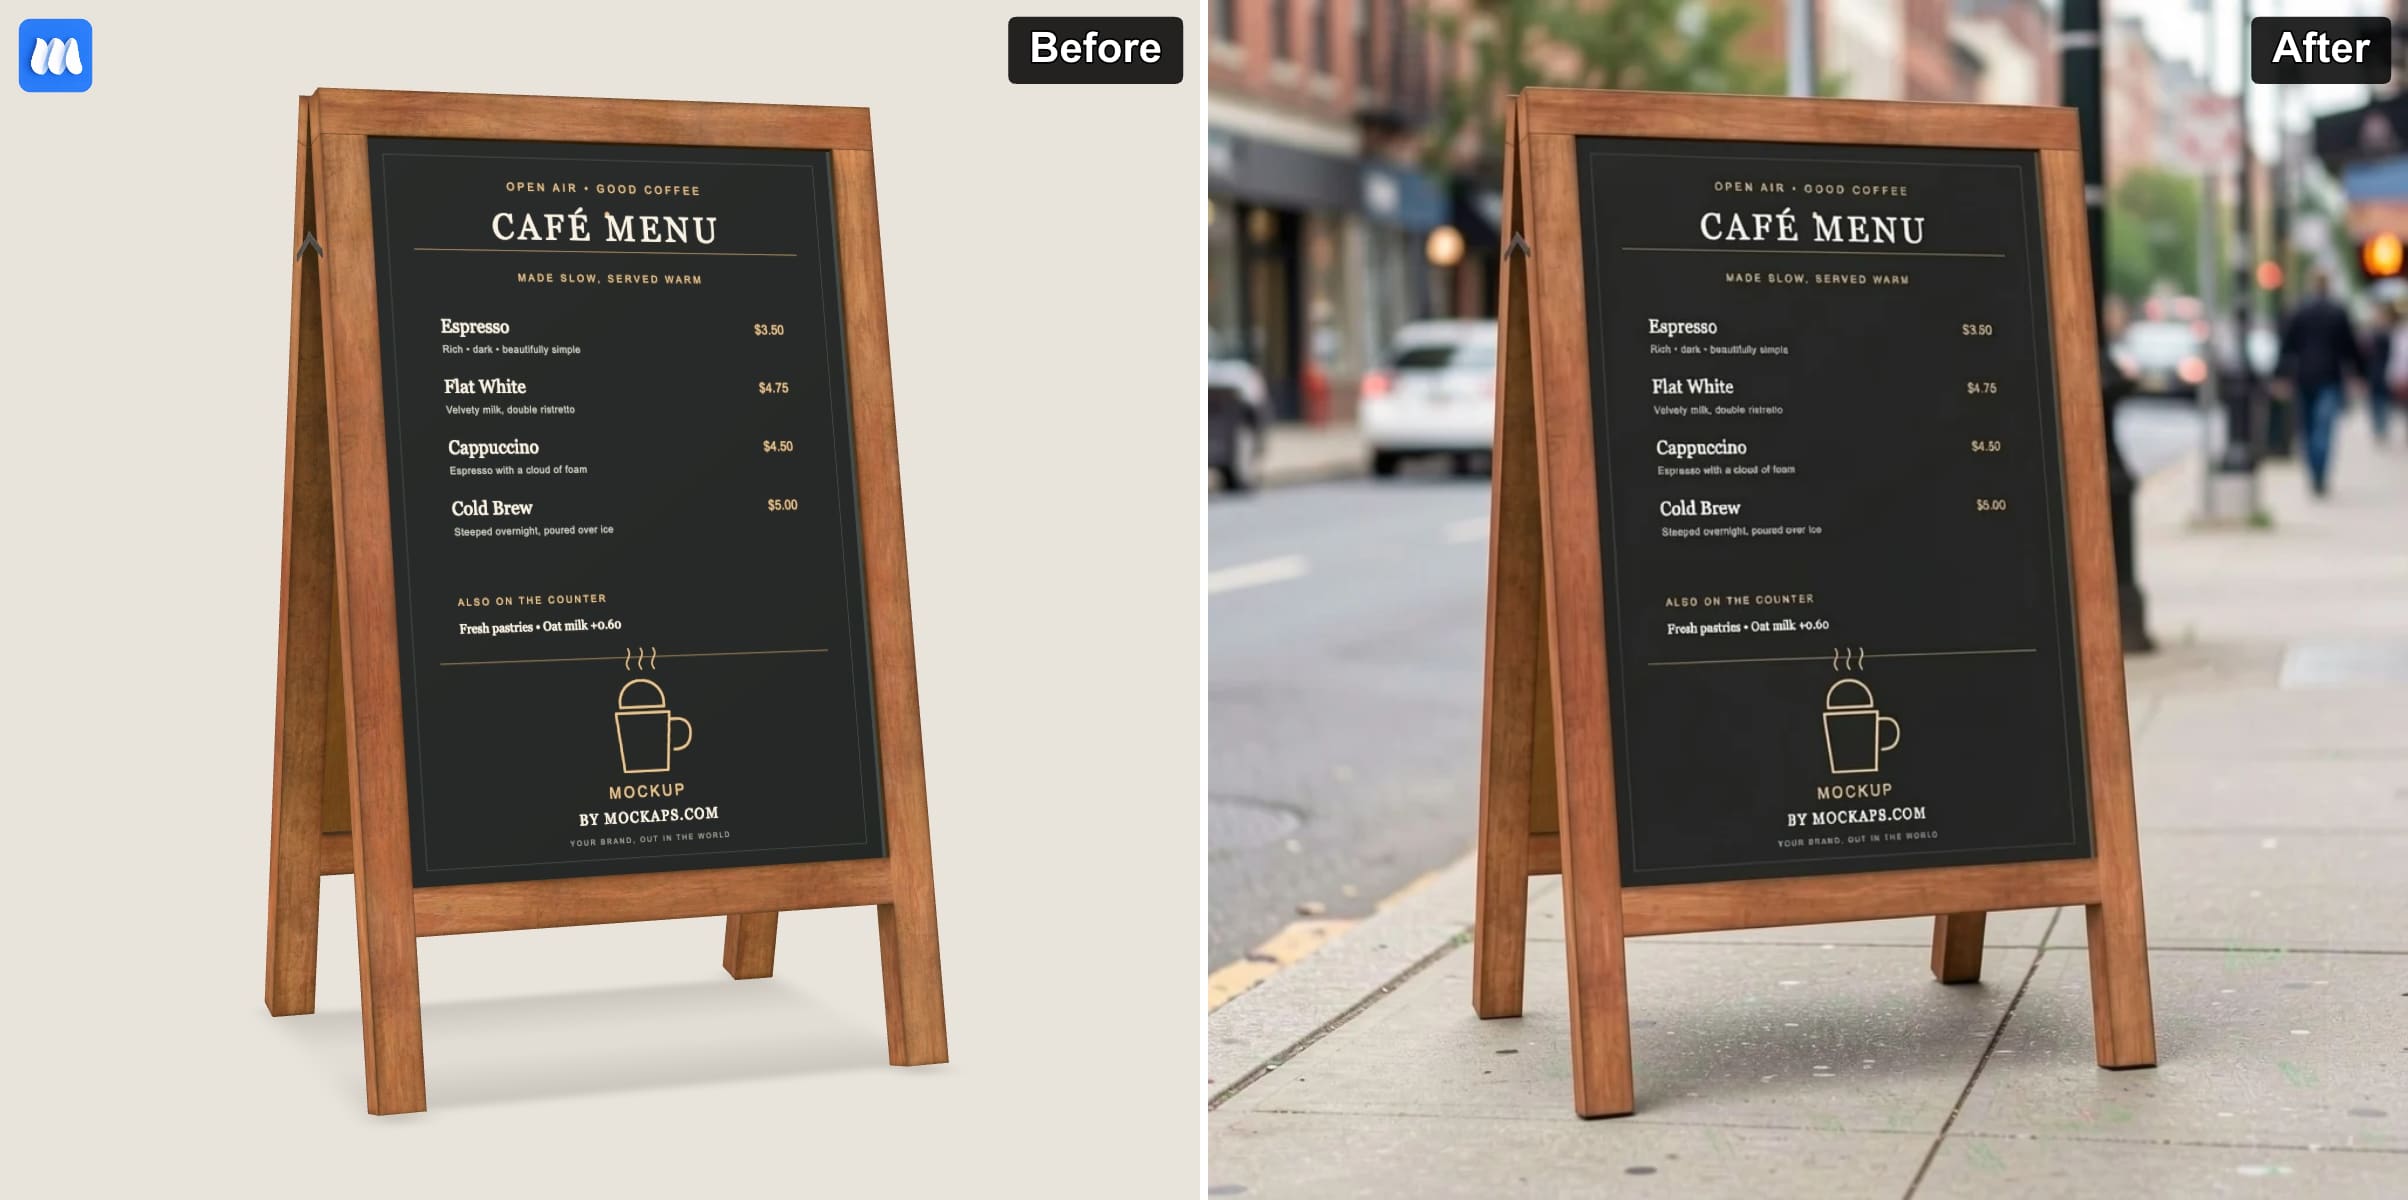
1. Finish your mockup and choose the view
Start with a template from the mockup library.
For this example, open the Amber Glass Dispenser Bottle 3D Mockup.
Add your label design, then adjust the materials and colors you want to show.
Next, rotate, move, and zoom the 3D view until the bottle is framed well.
Make sure the label faces the camera and the pump is not cut off.
Choose the canvas shape you need before generating, such as a square for a product post or a vertical layout for a story.
Leave some space around the product so the new setting has room to appear.
AI Render works from the current view, so a clear starting composition gives it a better reference.
2. Open AI Render
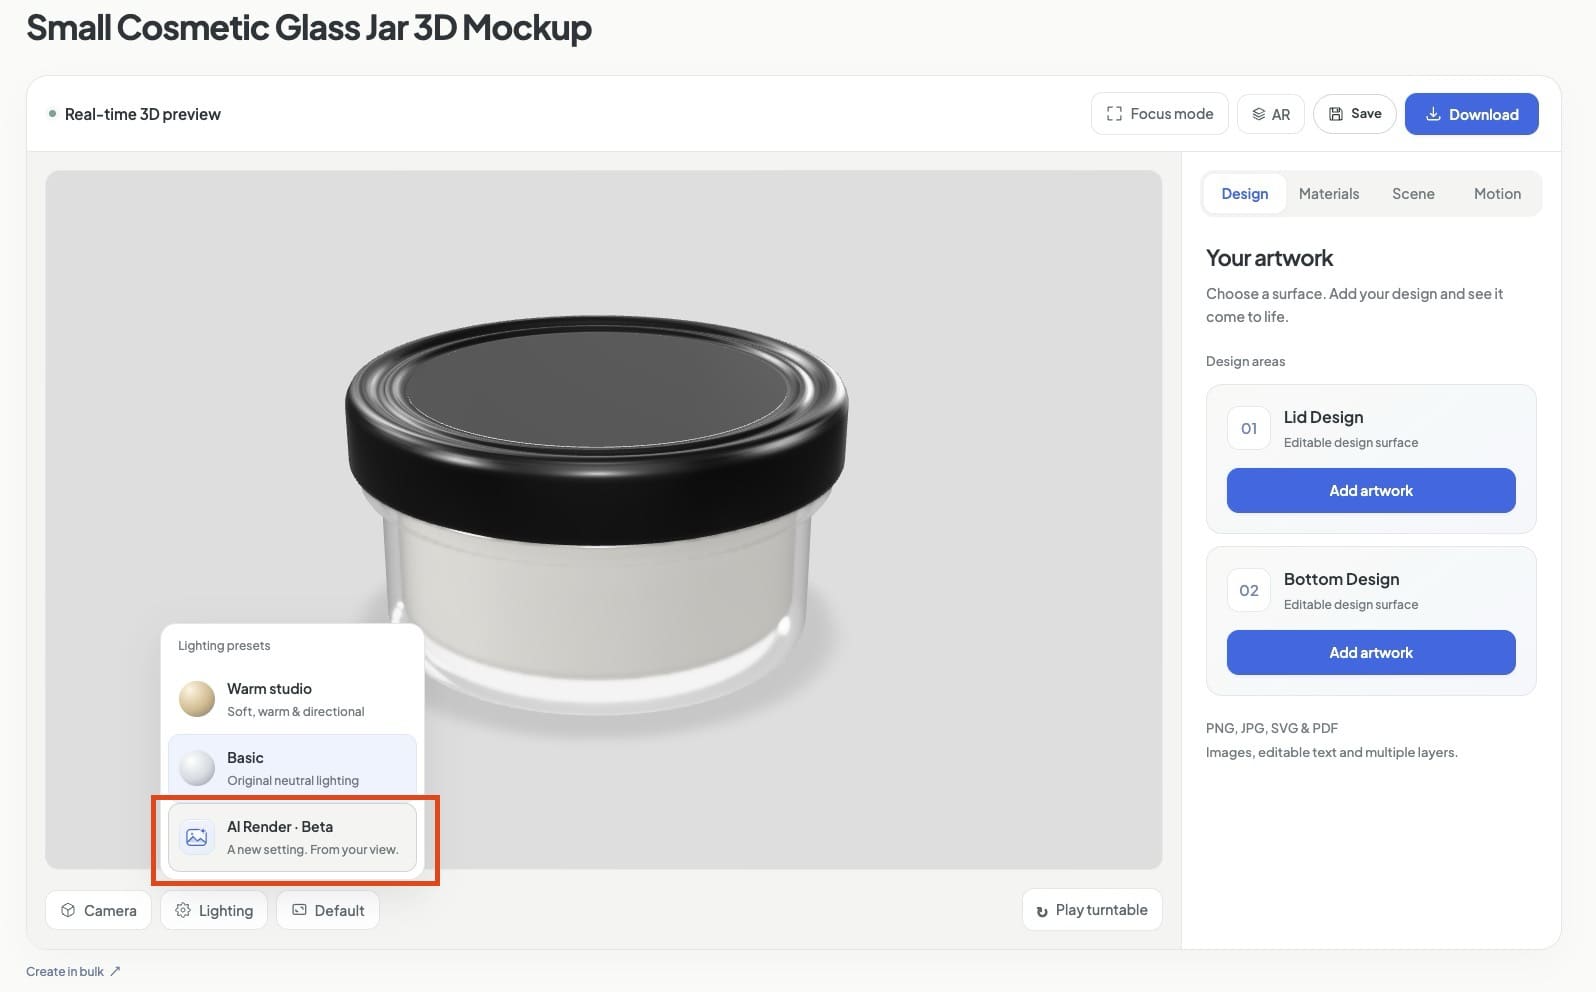
Above the 3D preview, open the Lighting menu.
Then, choose AI Render
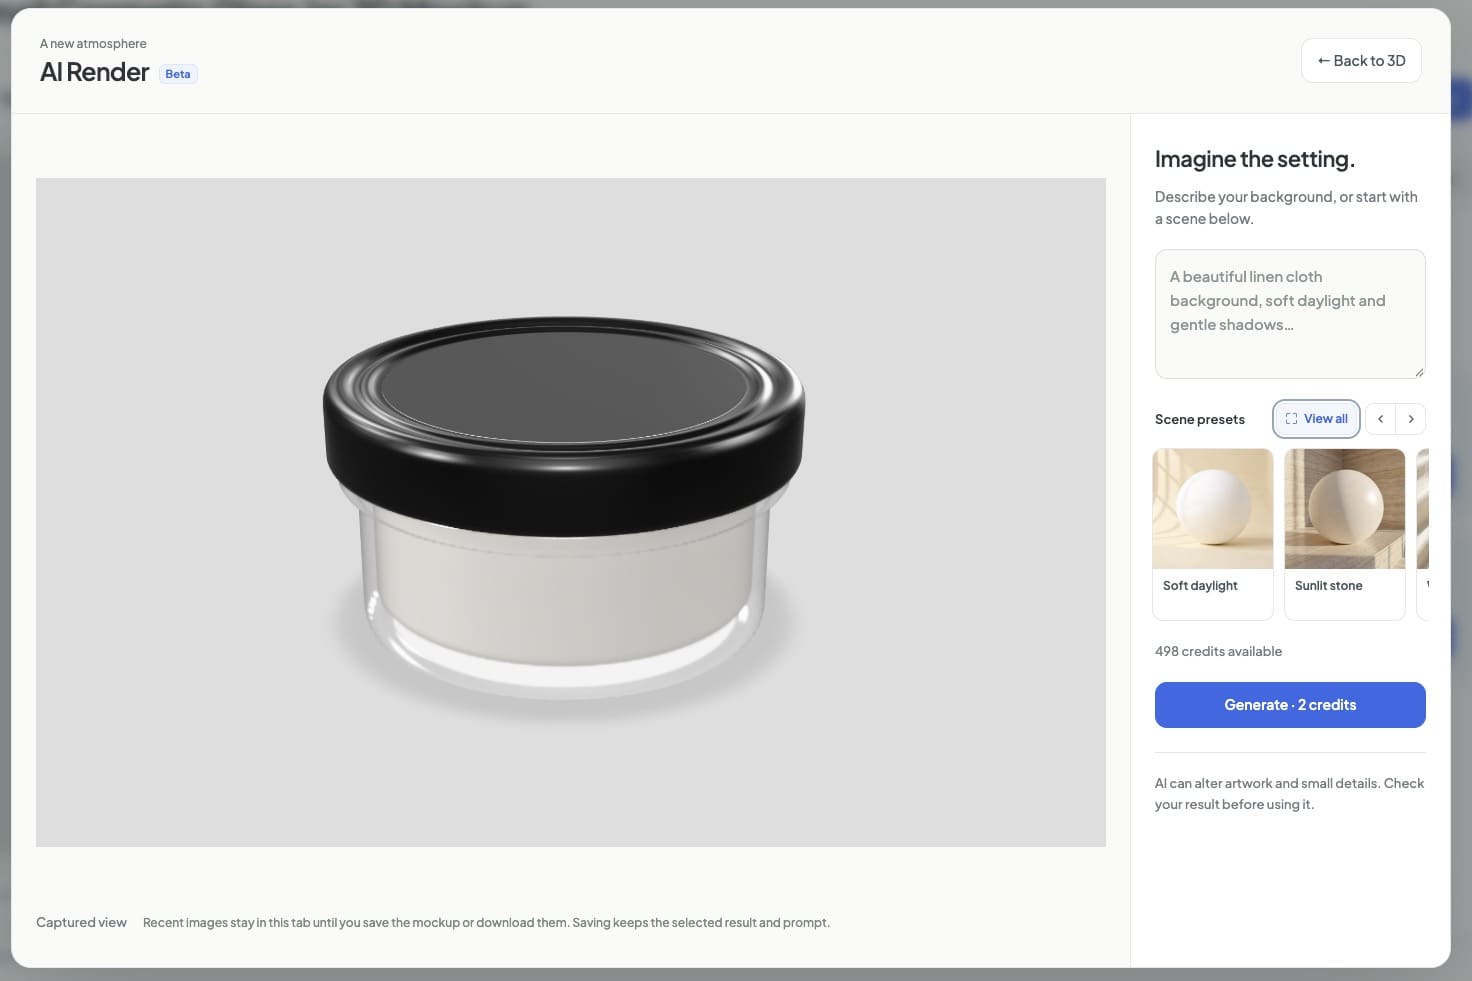
A larger window opens with your captured mockup view on one side and the scene controls on the other.
Check the captured angle and framing image before continuing.
If you need to change the angle or fix the design, click Back to 3D, make your changes, and open AI Render again.
3. Start with a scene preset
If you are not sure what to write then choose a preset under Scene presets.
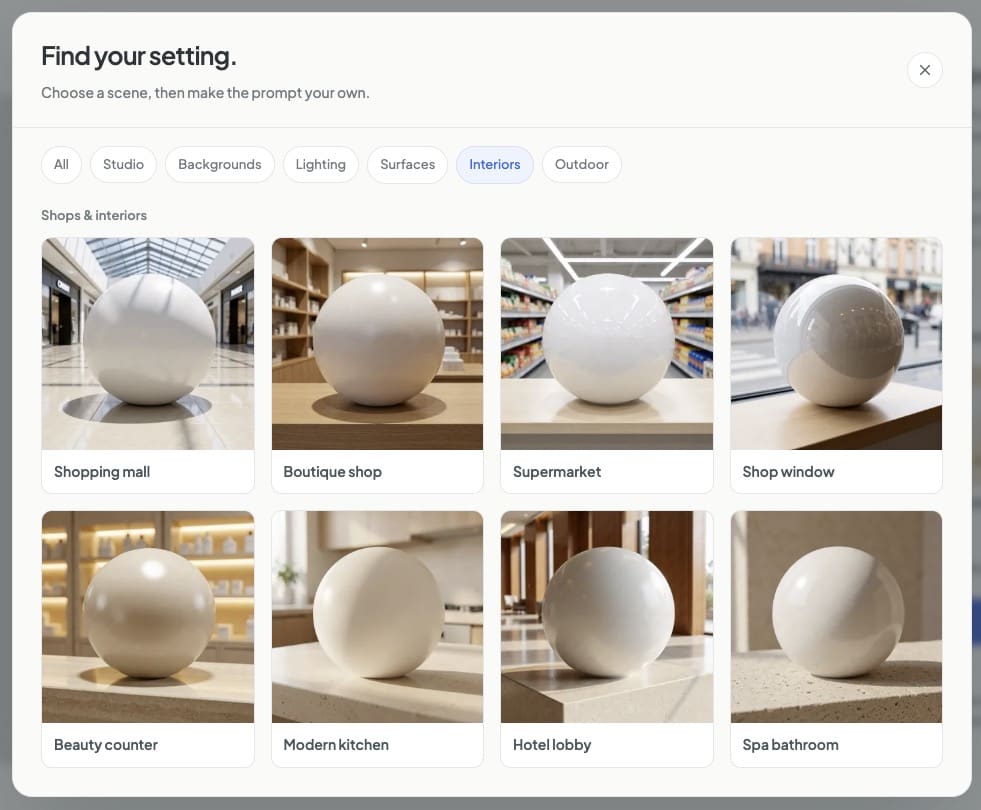
For the dispenser bottle, try Spa bathroom, Beauty counter or a White marble.
Use View all to browse the larger preset collection.
When you choose a preset, its instructions appear in the Imagine the setting field.
Read the prompt, then change any details that do not suit your mockup.
For example, you could change a pale stone surface to a warmer limestone counter.
The preset is a starting description, so the final image can vary each time you generate.
4. Write your own background prompt
You can also describe a setting from scratch.
Start with the surface, then add the background and lighting.
Finally, explain which parts of the product should stay the same.
For the dispenser bottle, try:
Place the existing amber dispenser bottle on a dry, pale limestone counter in a calm bathroom. Add softly blurred plaster walls and gentle daylight from the left. Keep the bottle shape, pump, label artwork, lettering, and camera angle unchanged. Use a natural contact shadow and leave the surrounding surface clear.
This gives the AI a specific setting without asking it to invent a new product.
For a different example, try a Christmas bauble mockup with a seasonal background:
Keep the existing bauble and its printed design in the same position. Create a soft cream fabric surface with a warm neutral background and a few blurred golden lights far behind it. Use gentle side lighting and a natural shadow. Keep the foreground clear and do not add lettering or extra ornaments.
These are suggested prompts, so review the generated image before choosing a final version.
Keep the prompt focused
A useful prompt usually answers four questions:
- Where is the product? On a counter, a fabric surface, or a studio backdrop.
- What is behind it? A softly blurred room, a plain color, or an outdoor setting.
- What is the light like? Soft daylight, warm evening light, or a controlled studio light.
- What should stay unchanged? The product shape, label, text, colors, and composition.
Keep the instructions consistent.
For example, choose either a clean studio setting or a busy room for your first attempt, instead of combining several different scenes.
If you want to preserve artwork, say so clearly, but remember that a prompt cannot guarantee every detail will stay identical.
5. Generate the image
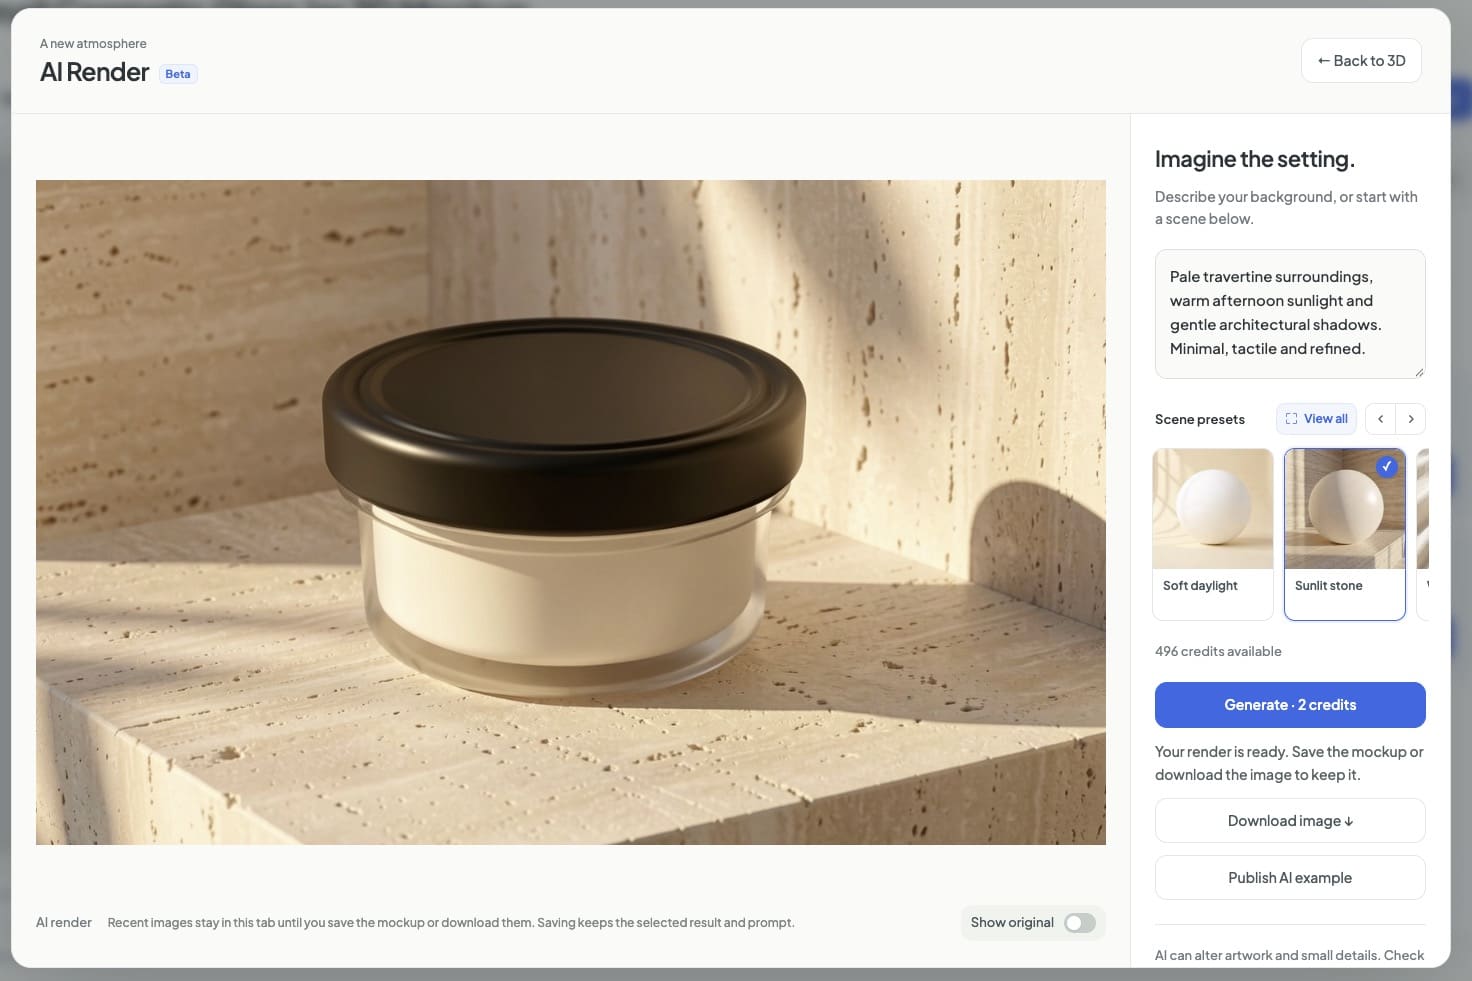
Next check the credit cost and click Generate.
Mockaps captures the current scene and sends it for generation.
Keep the tab open while the result is being prepared.
After the capture step, you can use Back to 3D while the image renders.
Changes you make afterward will not update a generation that is already in progress.
When it finishes then review the generated image in AI Render.
6. Compare the result with the original
Use Show original to switch between the captured mockup and the generated result.
First, check the overall composition and whether the setting suits your design.
Then, look closely at the product itself.
For the dispenser bottle, check the label wording, logo, pump shape, glass color and bottle edges.
For the bauble, check the printed design, hanging loop, and round outline.
Also inspect the shadows and any reflections to see whether the object looks naturally placed.
If the AI changed an important detail then simply revise the prompt or try another setting.
Each new generation uses credits so make a specific adjustment rather than changing several things at once.
7. Save or download the result you want to keep
When you are happy with the result then click Download image inside AI Render.
This downloads the generated image with including its background.
If you try several versions, use the thumbnails under From this session to return to a recent result.
Select the version you want before downloading it.
You can also return to the 3D editor and save the mockup to your account.
Saving keeps the selected AI result and its prompt with the mockup.
Recent images are kept in the current tab, so download any alternatives you want before reloading or leaving.
Saving one selected result does not save the whole session’s list of alternatives.
When is an AI background useful?
AI backgrounds are useful when you want to explore a product in a setting without arranging a physical photoshoot.
For example, you can compare a dispenser bottle on a beauty counter with the same view in a calm bathroom.
You can also create seasonal product images, presentation concepts, or different moods for a campaign.
Browse the Showroom for some useful AI background examples.
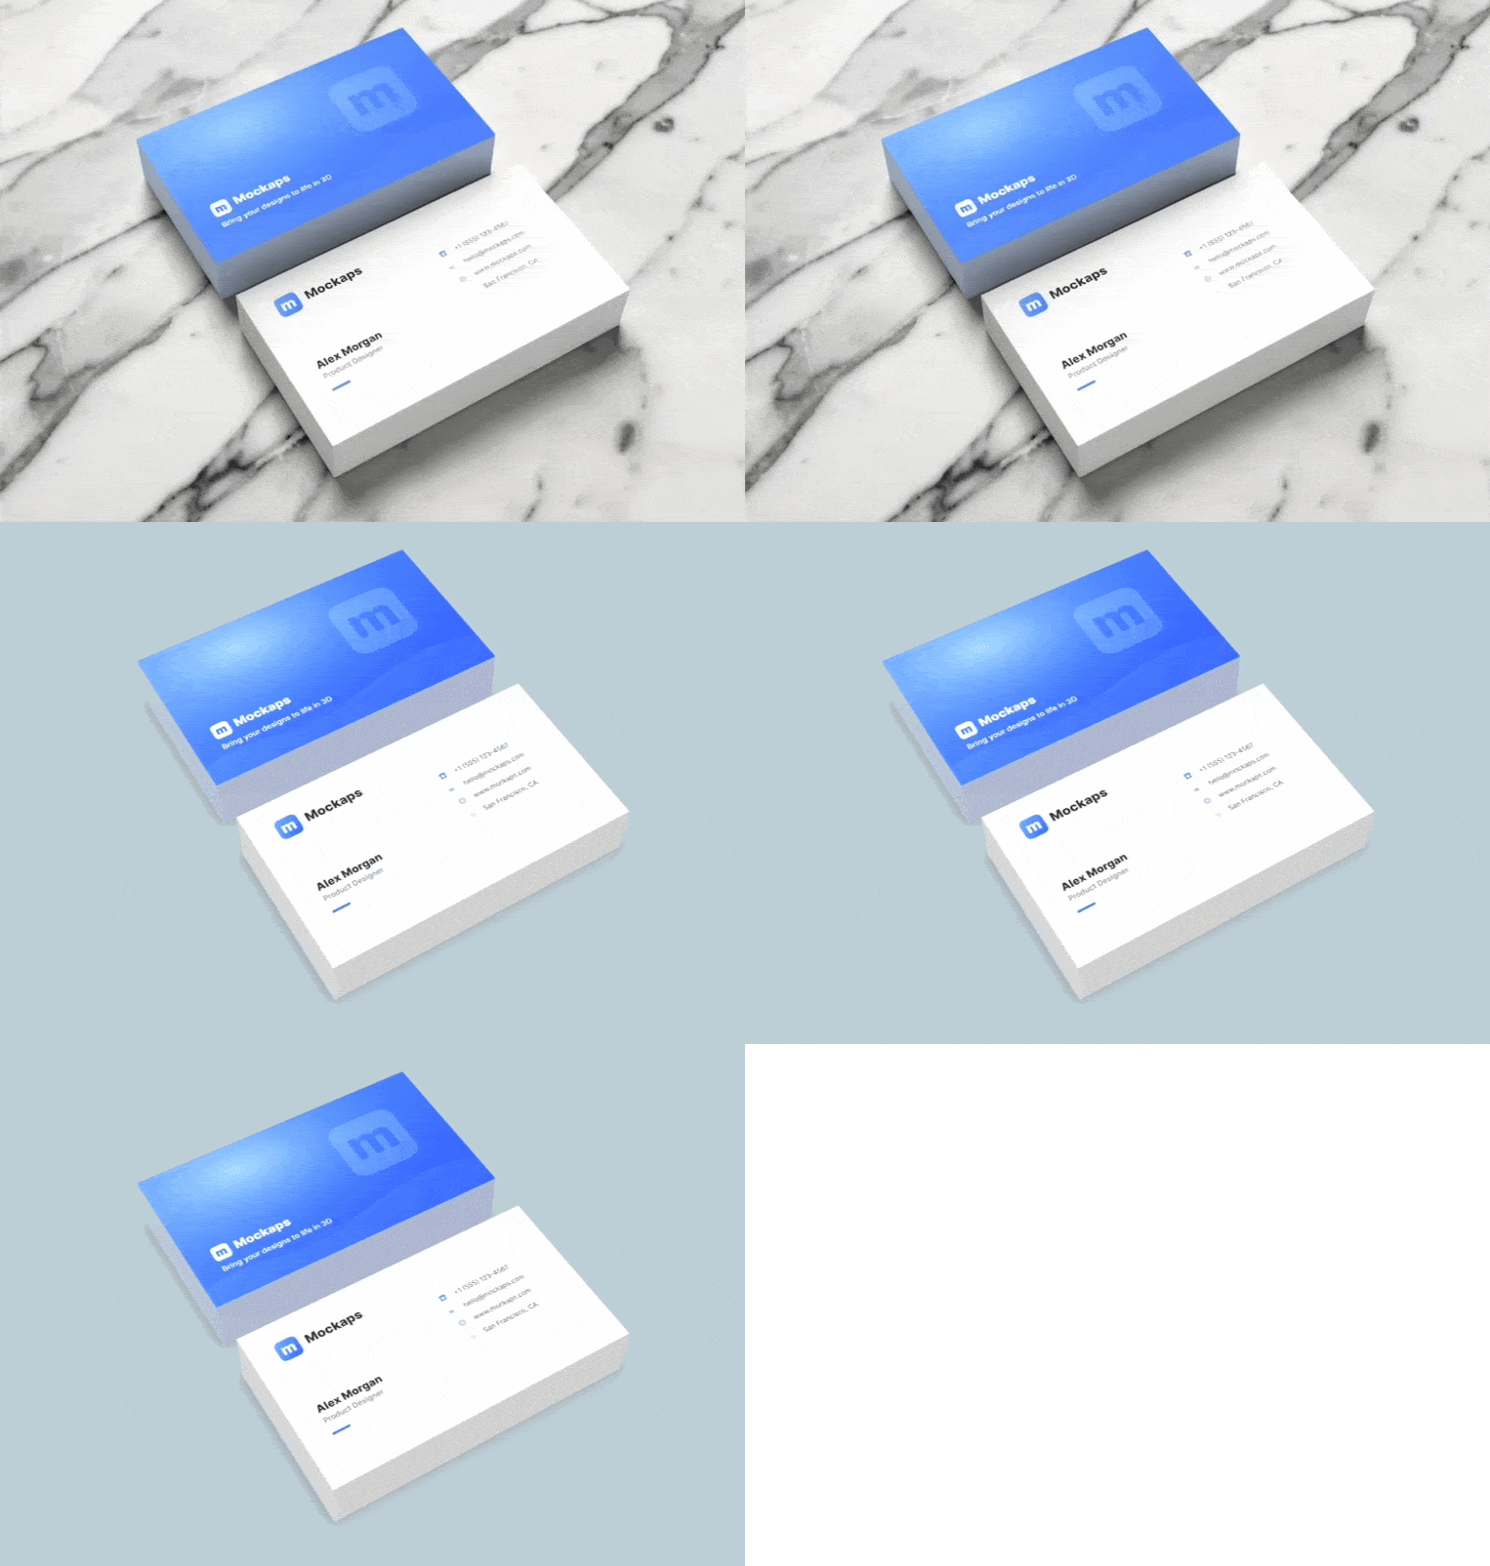
If you only need a precise flat color or gradient around your mockup, use the ordinary Scene background controls.
Those controls are useful when the background needs to be predictable and the product must remain exactly as rendered in the 3D editor.
Frequently asked questions
What is the difference between AI Render and AI Design?
AI Render creates a finished image from the current mockup view and your scene prompt.
AI Design creates artwork for the inside of a design area, such as a label or printed graphic on the product.
Use AI Design for the artwork on the object and AI Render for the setting around its captured view.
Will my logo and text stay exactly the same?
AI can change artwork and small details, even when the prompt asks it to preserve them.
Use Show original and inspect the lettering, logo and product shape before using the result.
Can I rotate the generated background or use it in a turntable video?
The result is a still image and not a new 3D environment.
It does not become a background that follows your camera or turntable animation.
To generate another angle, return to the 3D editor, change the view and create a new AI render.
Does changing my label update an existing AI image?
No, an existing result reflects the view captured for that generation.
After changing the label, generate a new result to include the updated design.
Why is Generate unavailable?
Check that you are signed in with active Pro access, have enough credits, and have waited for the mockup to load.
Then, read any status message in the AI Render window for the next step.
What should I do if generation appears interrupted?
If Check render appears, use it to check the existing request.
Read the status message before starting another generation.
Does returning to 3D remove my artwork?
No, AI Render creates a separate image from your captured view.
You can return to the editable 3D mockup and continue working on its artwork, materials, and composition.
KEEP EXPLORING
Need a hand with this guide? Ask a question ↗